Installing License and Certificate
AIQ requires a valid license file and a valid certificate for the server that hosts the Controller.
Install License
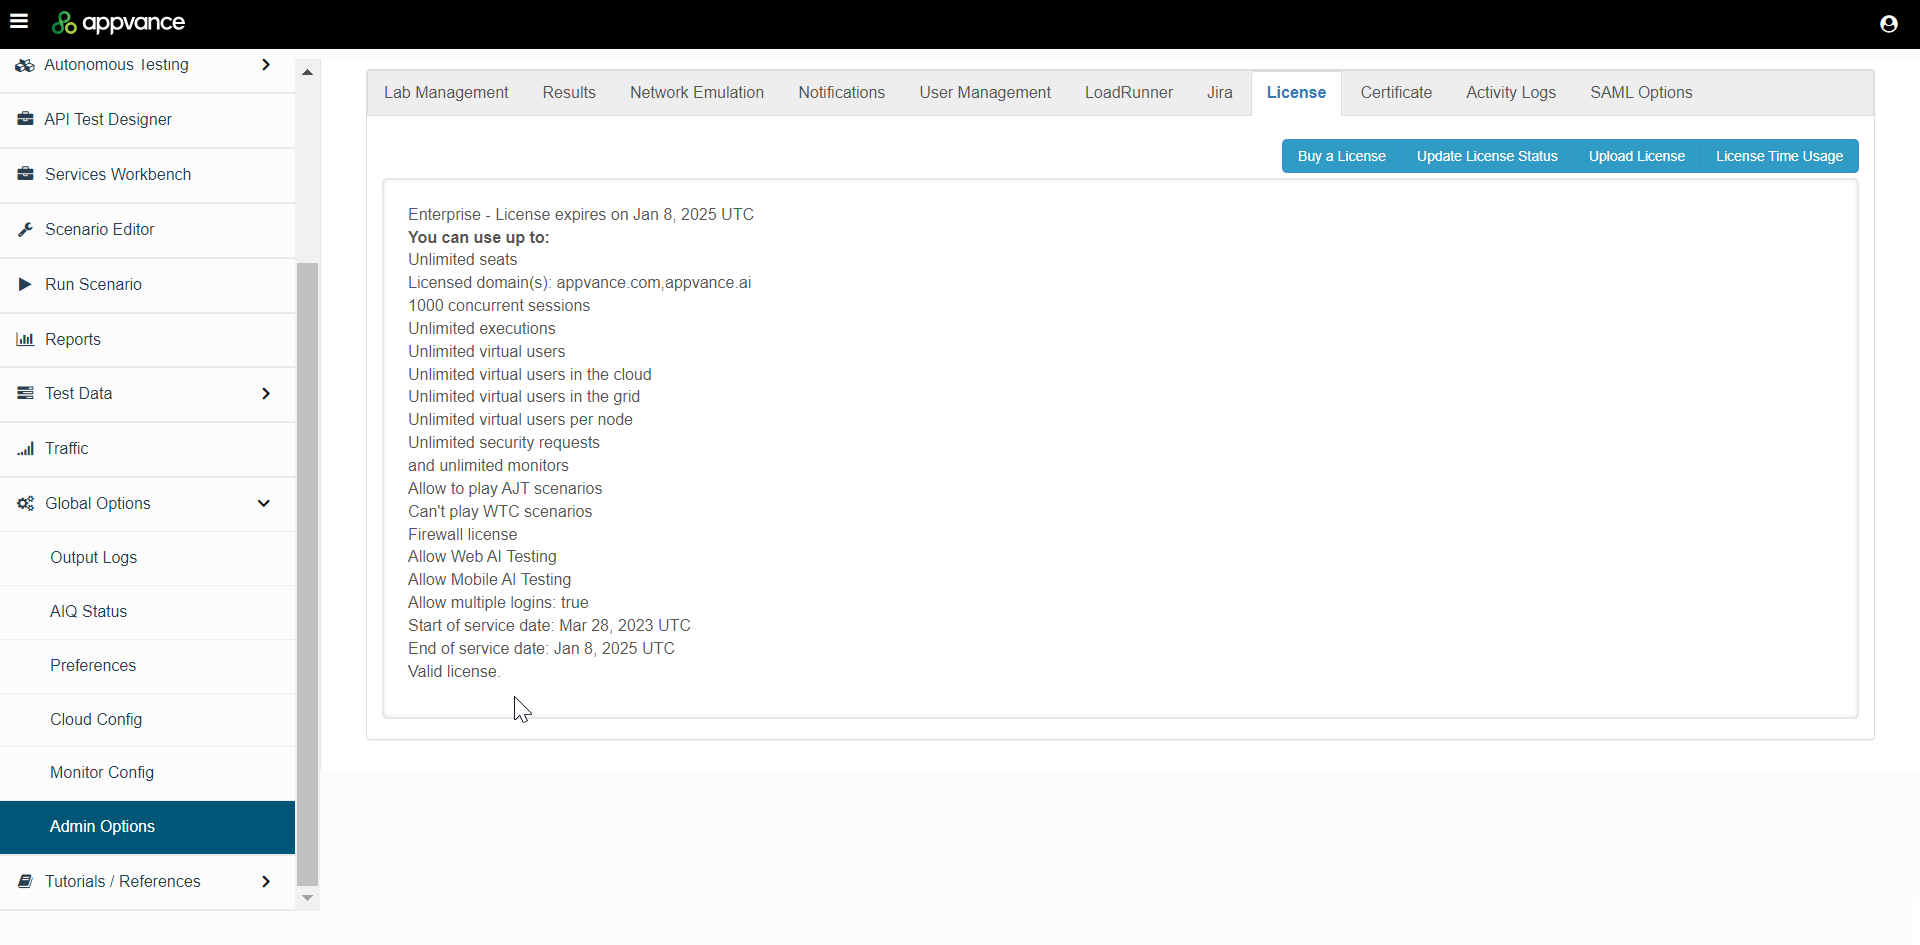
License files are distributed by the Appvance Customer Success Team or Appvance Support. Be sure that you have been provided a license file before you proceed.
-
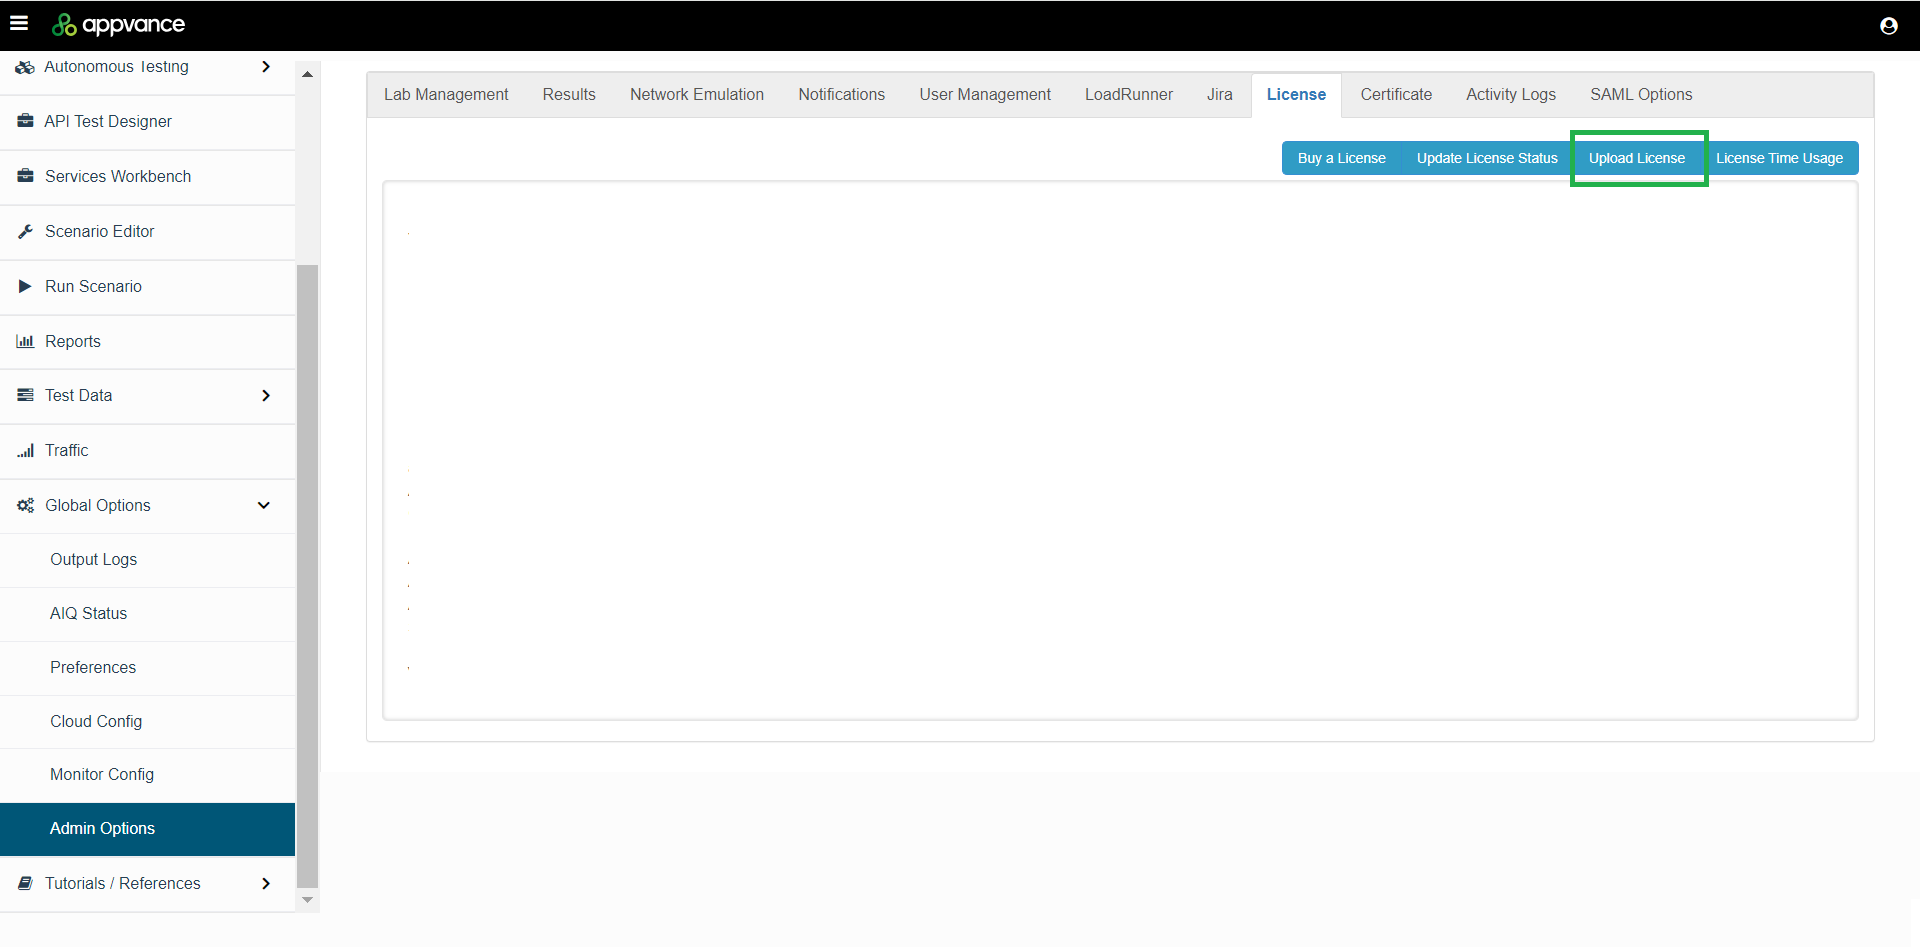
From your Appvance IQ URL, login and select Global Options > Admin Options > License (tab).
-
Click Upload License.
-
Browse to the license file provided by Appvance and click Open to load the license file.
Install Appvance Certificate
Every Appvance Controller requires a valid certificate. You may provide and install your own server certificate, or update and use the Appvance-provided certificate.
Provide your own certificate
-
Copy your certificate to:
<AIQ install path>\sahi\ -
Install your certificate in Trusted Root Certification Authorities.
See the Microsoft site for more information on Trusted Root Certification Authorities.
Update the Appvance-provided certificate
About the Appvance Certificate
The default Appvance certificate points to localhost and must be updated to point it to your specific IP or DNS. To do so, follow the steps in this topic.
Important
- These steps are only to be performed on the Appvance Controller machine
- The certificate creation steps currently ONLY work on Windows, however, the generated certificate is valid for Linux/Mac as well
- If using EC2 and you stop and restart the server, the DNS will be lost and you must repeat this process
- Once installed on the Appvance Controller, configure the certificate on client machines using How to Install Appvance IQ on Windows (GraalVM 11 Based) (related topics: Firefox configuration to work with https and Windows configuration to work with https)
Generate an Appvance Certificate
This procedure assumes that your Appvance Control machine is already set up and running.
-
On the Appvance Controller machine, login to AIQ.
-
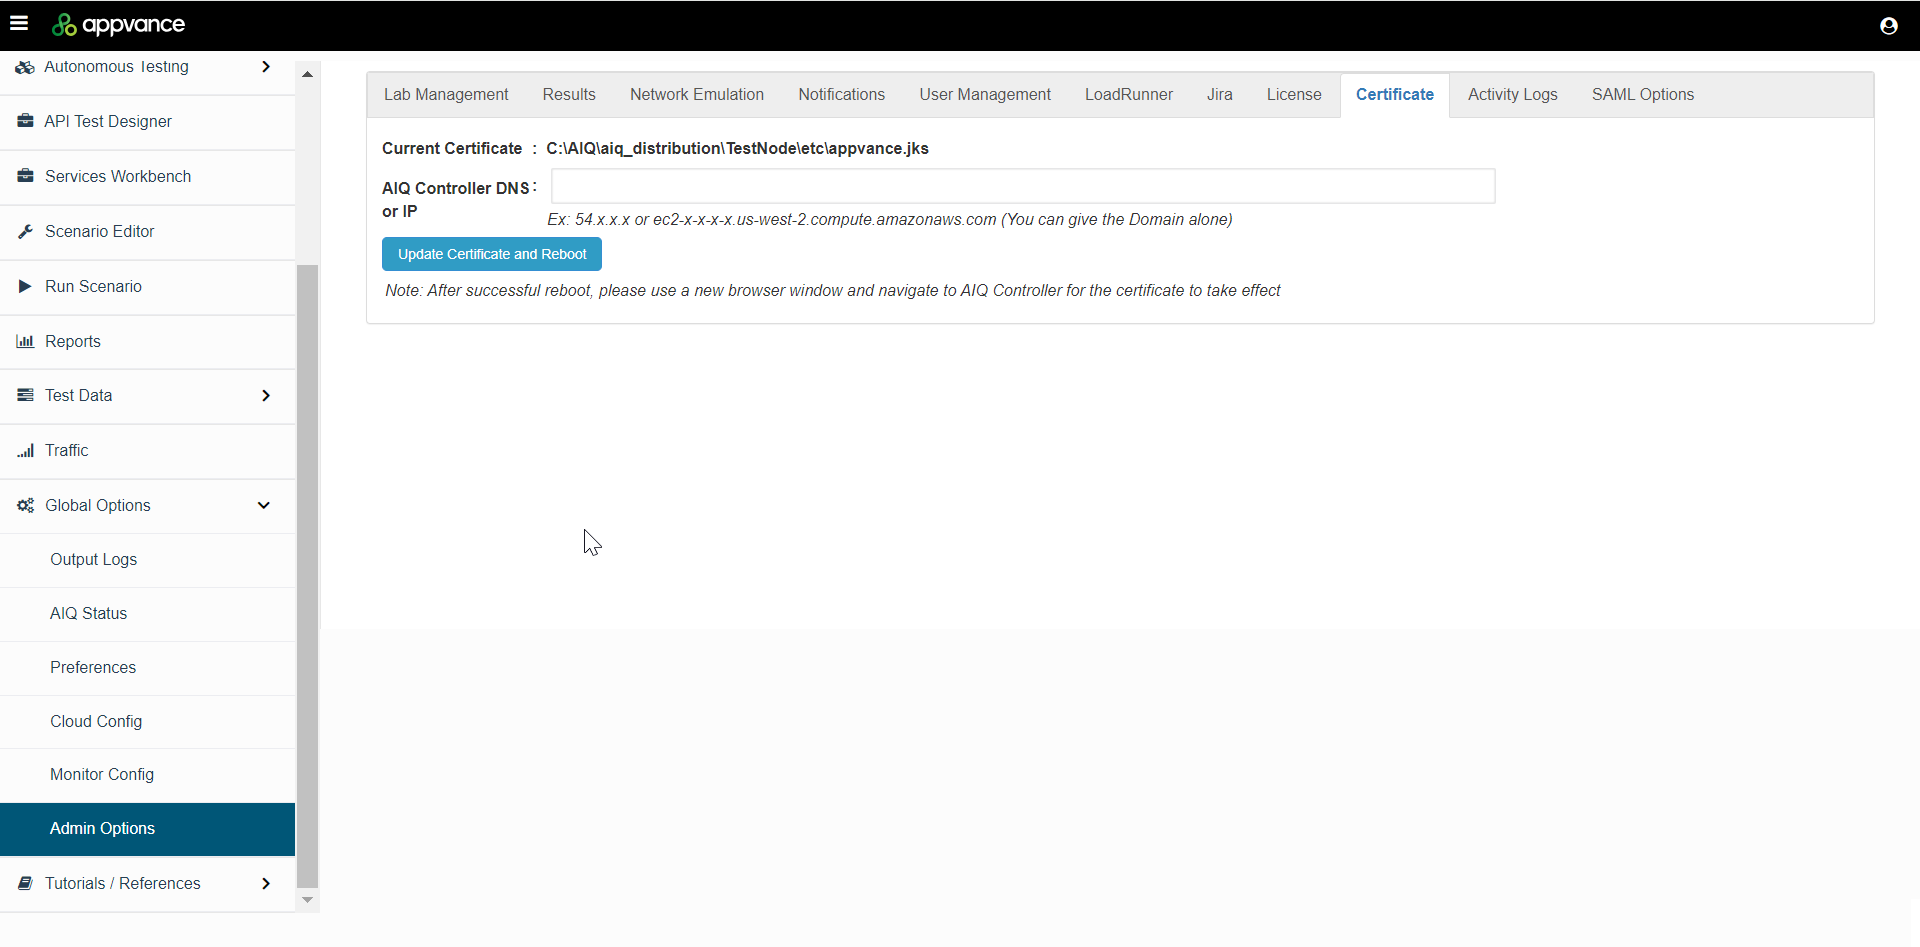
Navigate to Global Options > Admin Options > Certificate (tab).
-
Enter the DNS or IP of the AIQ controller. Do not enter a protocol or a port. For example:
ec2-12-21-23-23.us-west-2.compute.amazonaws.com -
Click Update Certificate and Reboot.

-
After a successful reboot, please use a new browser window and navigate to the AIQ Controller for the certificate to take effect. The browser may fail to load the IP address, the certificate still generate.
-
Appvance generates the certificate, with a valid key store, inside the Appvance Controller machine's TestNode\certs directorySpaces and periods are replaced with '_' in the file name.
-
Restart the Appvance services on Appvance Controller machine.
-
Browse to <AIQ install directory>\sahi and double-click appvance.cer
-
Click Install Certificate.
-
Select Current User and click Next.
-
Select Place all certificates in the following store and click Browse.
-
Select Trusted Root Certification Authorities and click OK.
-
Click Next.
-
Click Finish.
-
When the Certificate Import Wizard window appears, indicating the import was successful, click OK.
-
Click OK.
Configuring Port 8443
Once installed, you need to configure Port 8443 for public access.
-
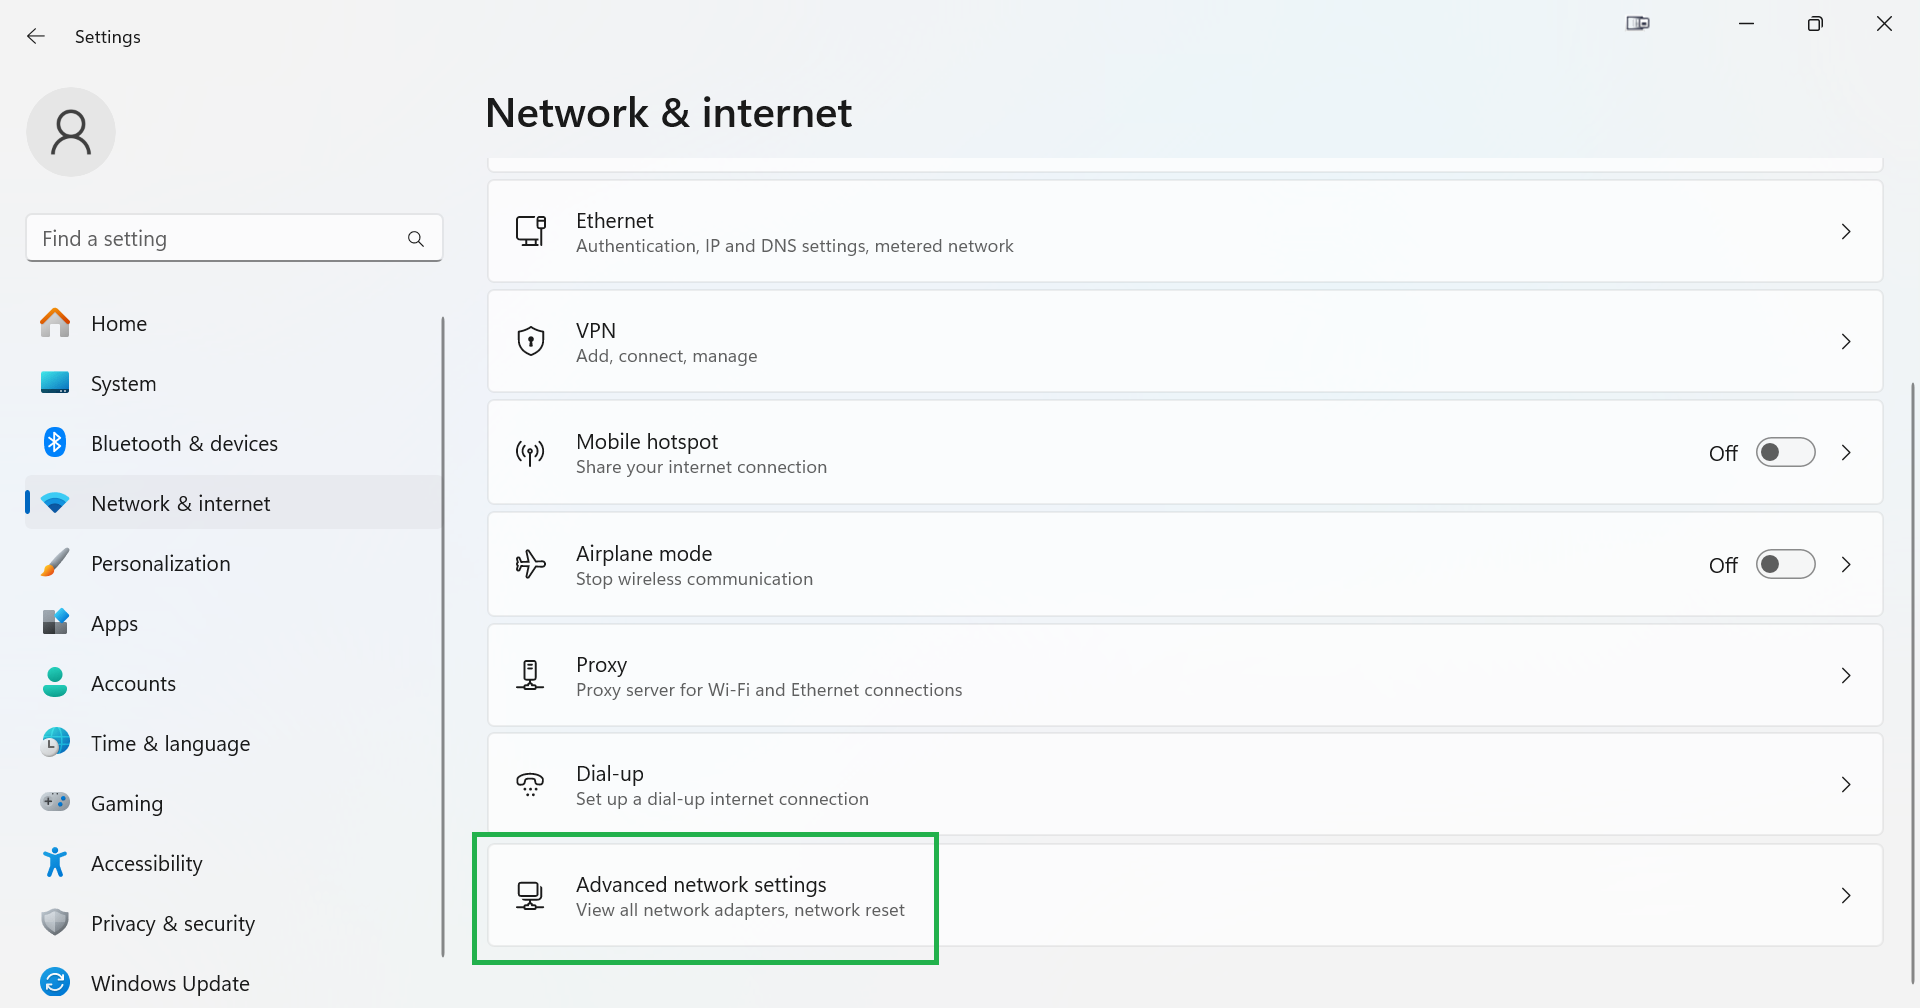
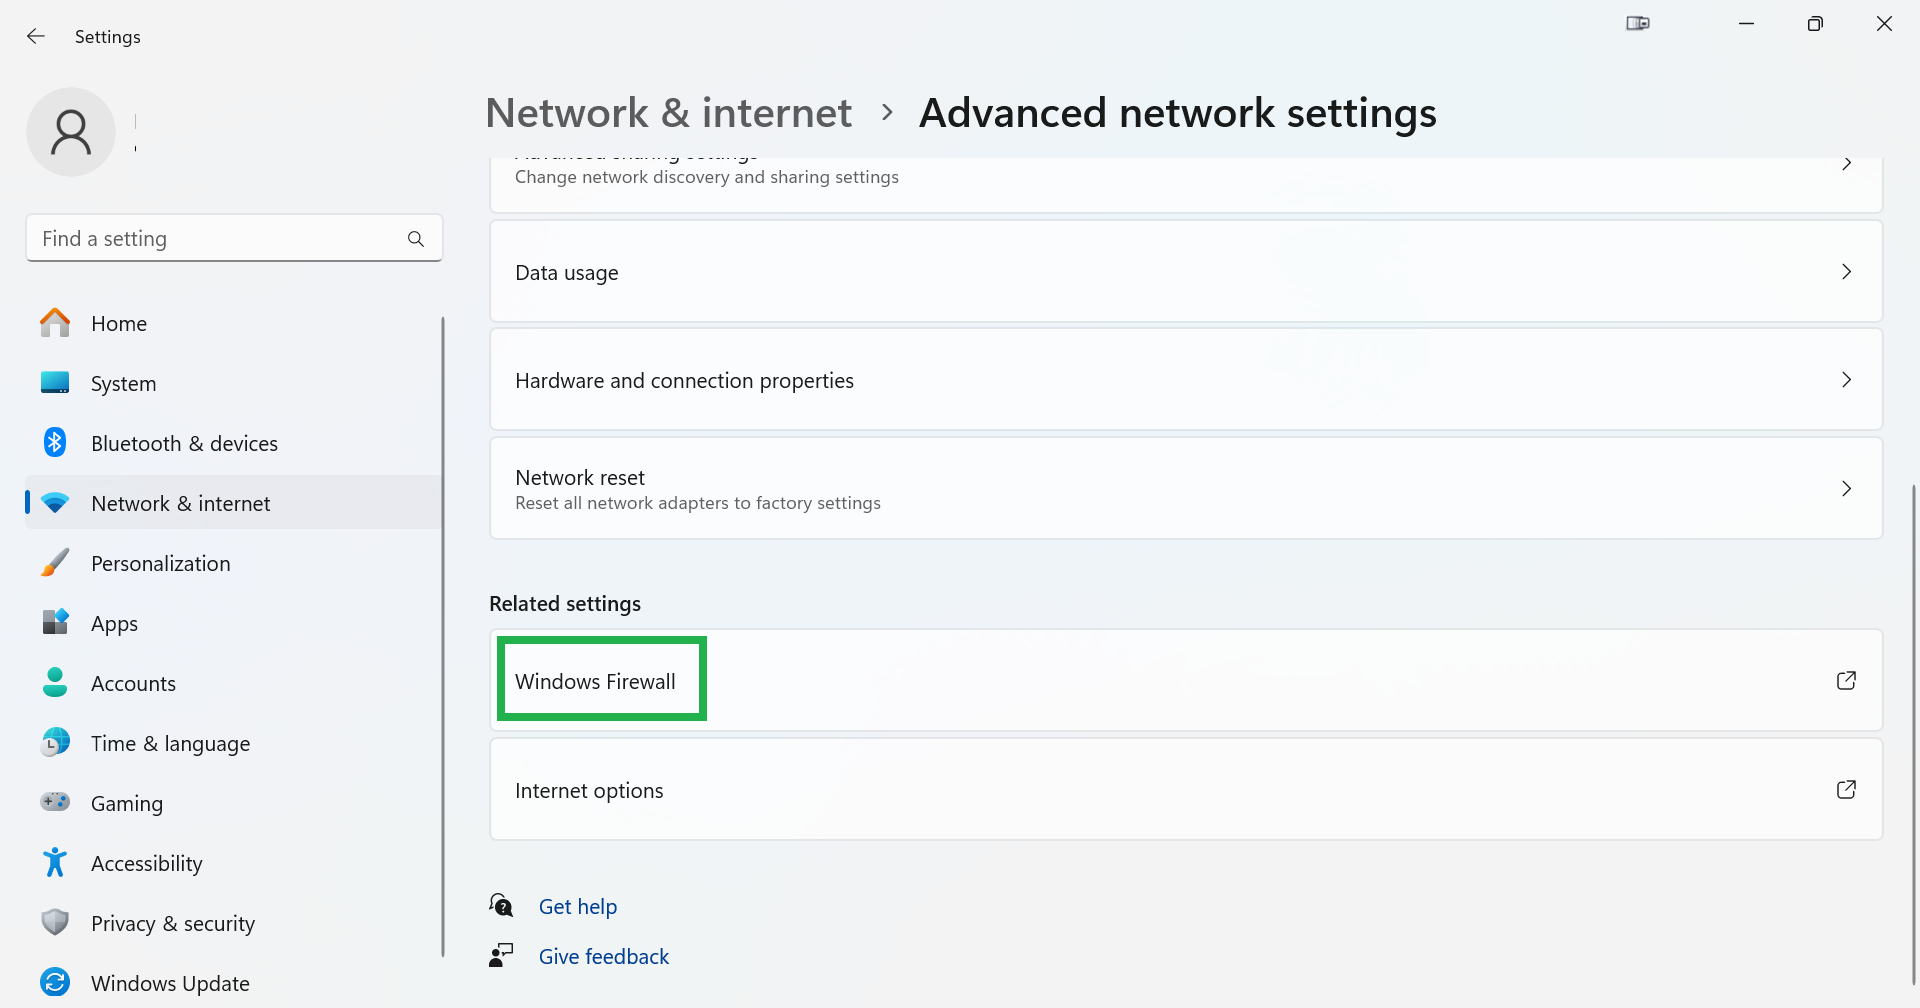
In Windows Settings, open the Network and Internet. Select Advanced network settings.
-
Select the Windows Firewall option.
-
Select Advanced settings.
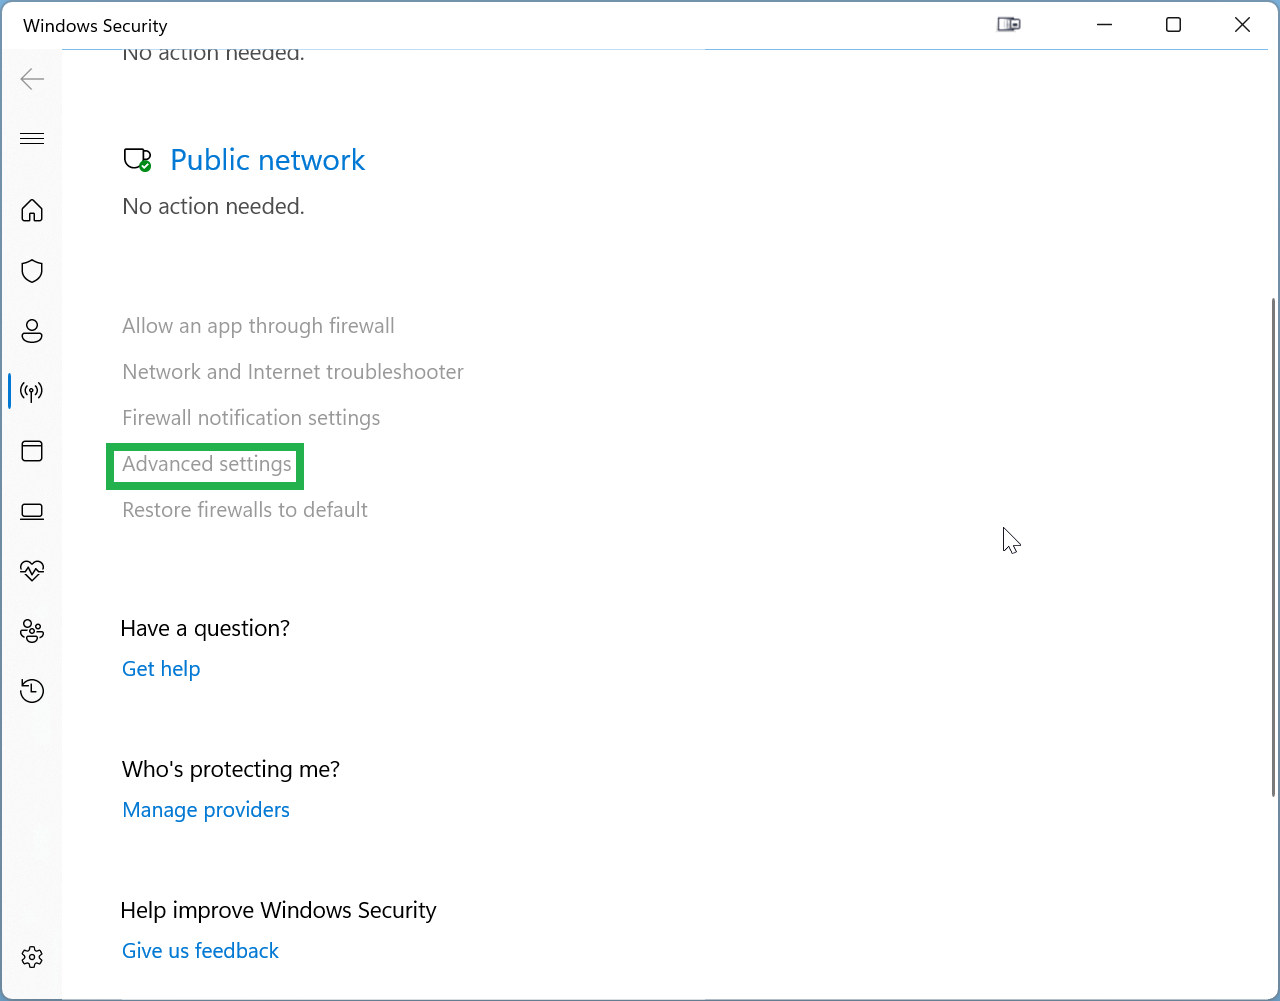
-
Select Inbound Rules.

-
In the Action tab, select New Rule.
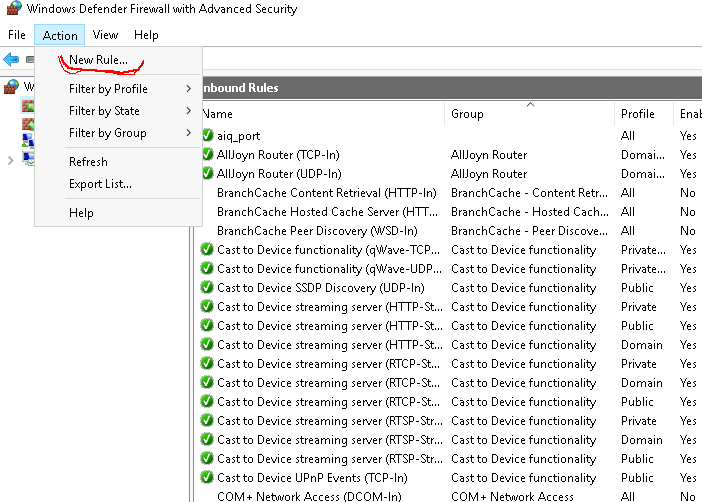
-
In Rule Type, select Port.
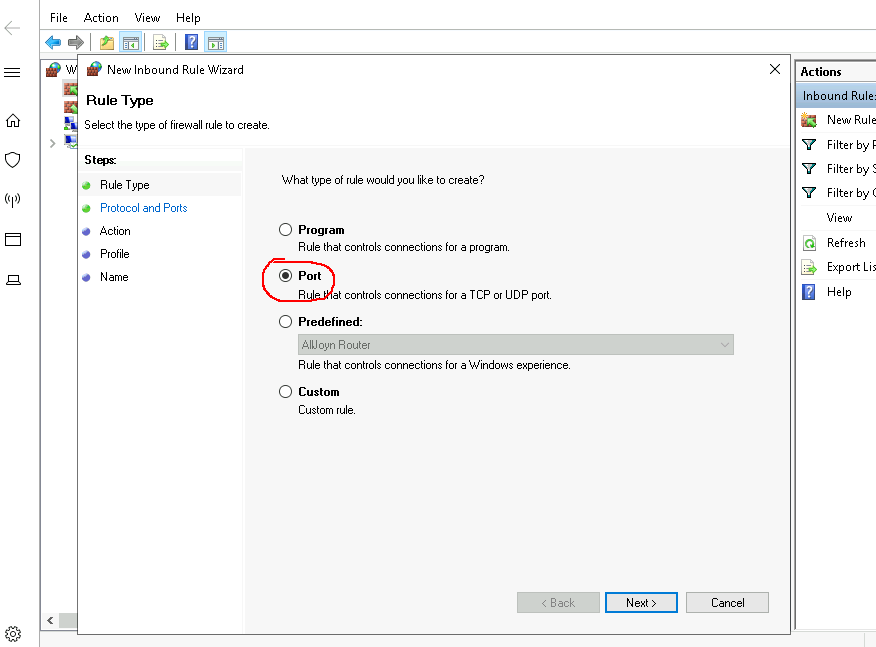
-
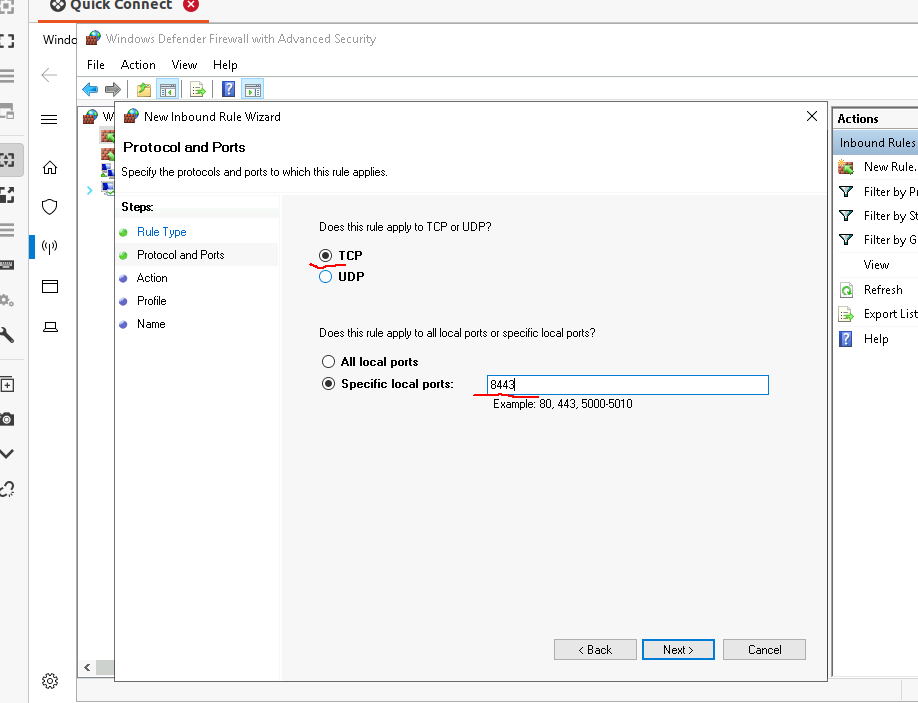
In Protocol and Ports, select TCP and specify the local port as 8443.
-
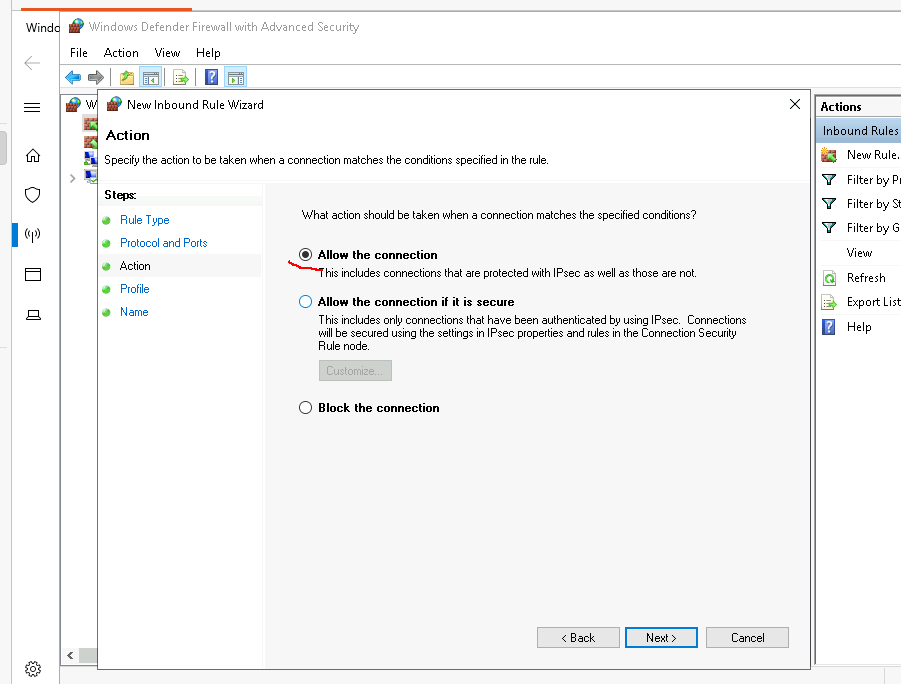
In Action, select Allow the connection.
-
In Profile, select all the options.

-
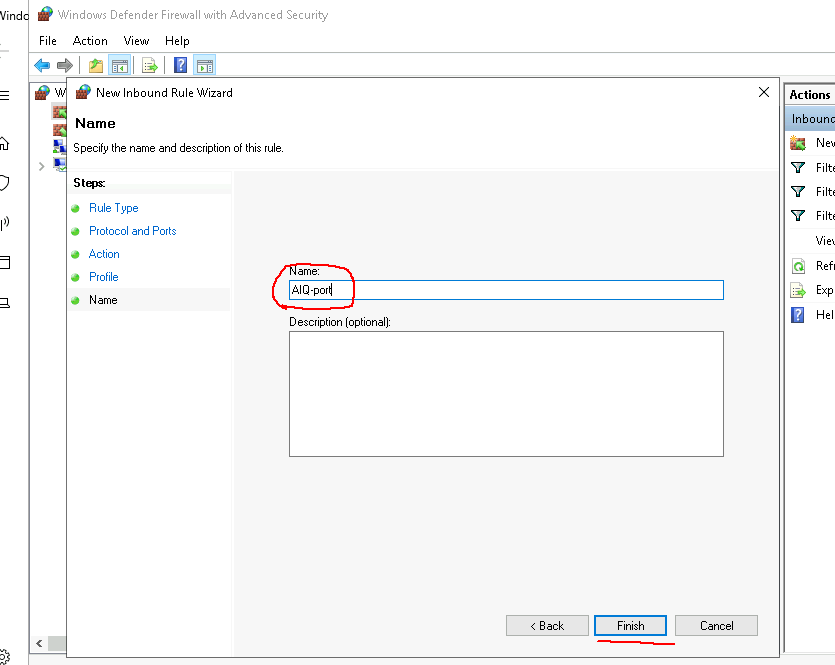
Name the port.
-
Click Finish.
The AIQ controller firewall requires specific TCP ports open. Find the complete list in .Appvance IQ Production System Requirements.