Web SmartTags
This is a guide of how to use DS3 SmartTag Library, to know about all the types of SmartTags, rules and how to verify if it works.
Introduction
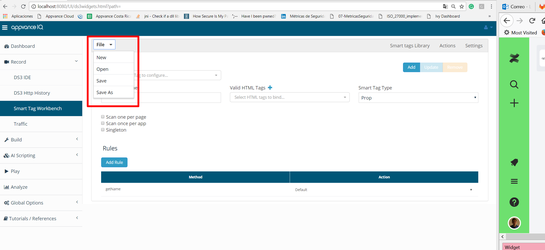
By clicking the File button you can access to a menu with the following options:
"New": to create a new Library.
"Open": open a previous saved Library.
"Save": save current changes of the actual Library.
"Save As": save the file in a specific path with a new name.
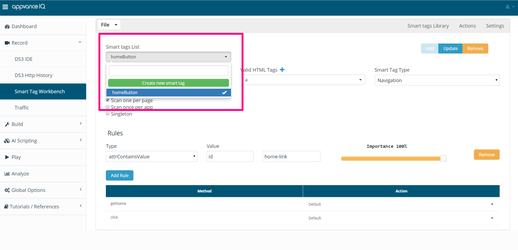
Clicking the SmartTag List button you can see all the SmartTags that are in the Library.
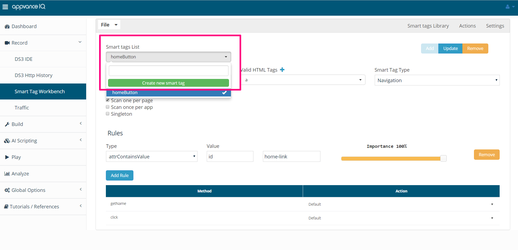
Creating a new SmartTag
To create a new SmartTag, simply fill all of the required input fields of the form and then click on the "Add" button located at the top right of the container window. Make sure to fill up the following required inputs to be able to add a new SmartTag:
- SmartTag Name
- At least one valid HTML tag
- SmartTag Type
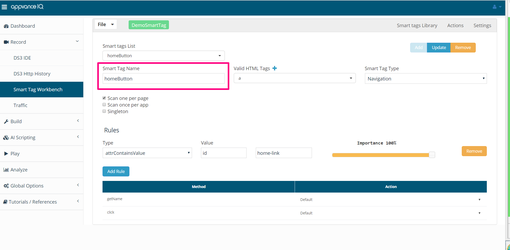
Here is where goes the name of the SmartTag.
It worths to mention that the SmartTags UI will let you know when you have modified and opened file and the changes have not been saved. When you open a file, the UI will display the file name right next to the "File" option of the file manager, if the file name label is on green color, it means that the file has not been modified since the last save (or not modified at all when opened), if the file name label is on orange color, it means that the file content has been modified but not yet persisted to disk, meaning that in-memory changes have not been saved to the file. In order to save the changes, use the "Save" option of the file manager.


Manage Valid HTML Tags
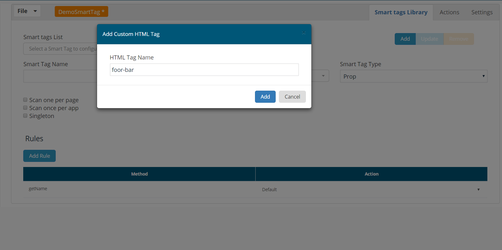
The list of valid HTML tags is a static list of elements referenced from W3Schools valid HTML tags list. However, if you have the need of adding a custom HTML tag, you can do so by clicking the plus sign ("+") located beside the valid HTML tags selector label. This will prompt a modal window where you can type in the custom HTML tag to be added to the list of valid HTML tags of the current context. Please note that you must follow W3C Custom Elements standard for custom HTML tags such as hyphenation in order to add a valid HTML tag.
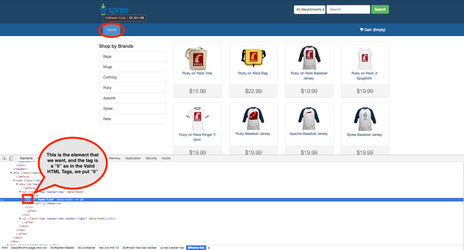
The field Tags depends of the element that we want. To see the tag of the element, in the respective page, put the pointer above the element and press right-click and select "inspect".

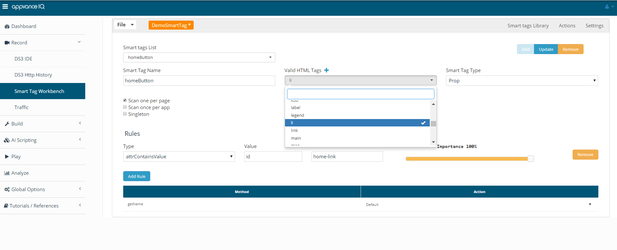
Now that we already know the element tag, in the "Valid HTML Tags" field, press click, wrote the tag and press Enter.
SmartTag Types
A SmartTag can be of different types:
-Navigation: click the element and always navigates to the same site. For example, a home button that always redirects to the home page.
-Action: ask the user if he wants to click on it or not. For example, a button to login.
-RadioButton: click a radio button.
-Check: click a checkbox.
-Select: get all the elements of a comboBox.
-Form: similar to the standard HTML form, previous inputs are expected to be filled before the form is submitted.
-Text: detect a textField to input text.
-Menu: display the options of a menu.
-Search: specific type of form with only one input.
-Hover: make a Mouse Hover above the element.
-Prop: this type of SmartTag is like "null", but it is used in parent SmartTags to create references.
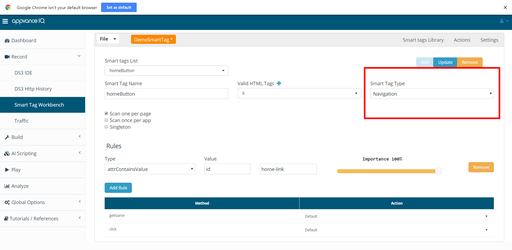
In the example we have been working at, this homeButton SmartTag is of type: Navigation, because the button always navigate to a page, in this case the home page.
Types of scan for the SmartTags:
This checkboxes are only used by the AI blueprint scan process. Not needed for normal DS3 scripting.
-Scan one per page: in a list of elements only gets the first element.
-Scan once per app: get all the elements of the list.
-Singleton: is used for elements that only appears one time in the page.
SmartTags Rules
To change a Rule Weight you can interact with the "Importance" slider of each rule container, the slider label will dynamically change based on the slider value so you can know exactly which is the rule weight.
To Remove a Rule simply click on the "Remove" button located at the rightmost of the rule container, this will automatically remove the selected rule.
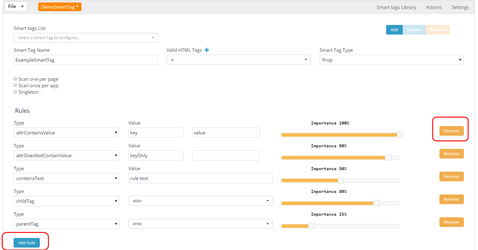
The rules for the SmartTags are the following:
-attrContainsValue: this means that the element have a attribute that contain a specific value. For example, the button "Home" have the attribute "id = home-link".
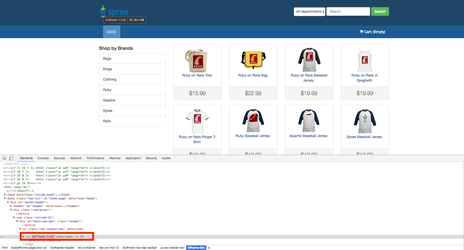
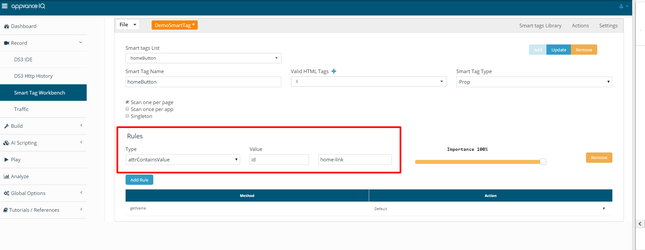
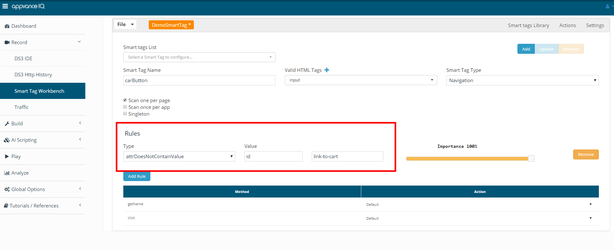
-attrDoesNotContainValue: this rule ignore the elements that contains this attribute. For example, want to ignore the button "Cart"; select attrDoesNotContainValue and enter the respective attribute.
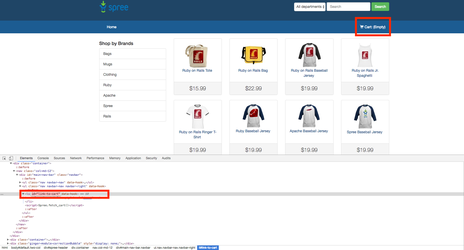
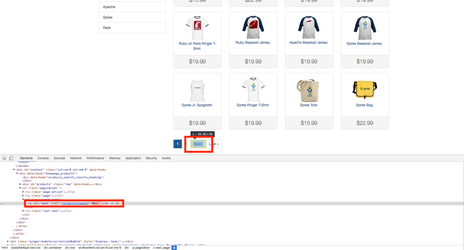
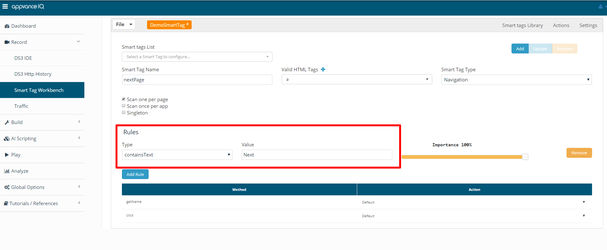
-containsText: if the element have the same text, it will be a valid SmartTag. For example, want to create a SmartTag for the "Next" button; select containsText and enter the text.
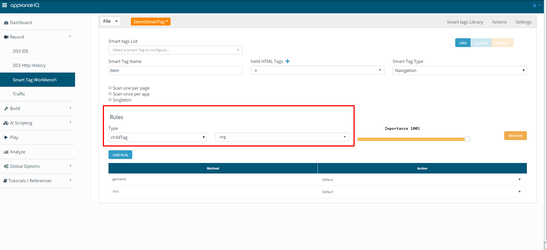
-childTag: evaluate that the item has a child with a specific tag. For example, want to create a childTag as a rule for this element.
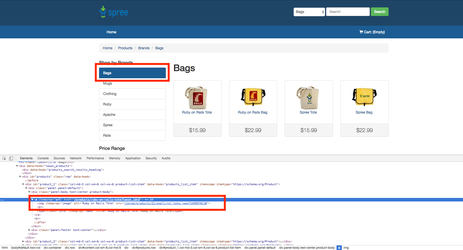
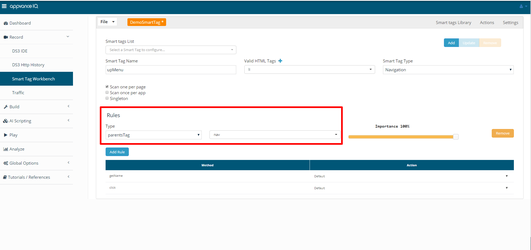
-parentTag: evaluate that the item has a parent with a specific tag. For example, want to create a parentTag as a rule for this element.
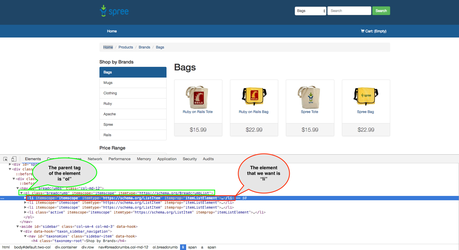

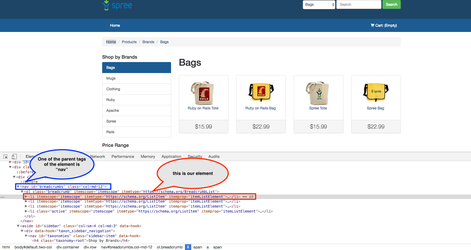
-parentsTag: evaluate that the item has many parents tags. For example, want to create a parentsTag as a rule for this element.
-childSmartTag: create a SmartTags
-parentSmartTag:
-parentsSmartTag:
Actions Tab
The Actions tab allows the user to create and configure Actions in the current context that can be bound to the SmartTags methods in the Methods & Actions table of the SmartTags tab. In order to create a new Action, type in the action name and the corresponding JavaScript function string and click on the "Add" button located at the top right corner of the Actions tab container window. Make sure to fill in the following required inputs to be able to add a new action:
- Action Name
- JavaScript Function String
Once you have added the Action it will be available at the Actions selectors of the Methods & Actions table of the SmartTags tab. If you have selected an Action from the "Actions List" and you need to create a new SmartTag, click on the "Actions List" selector and select the "Create New Action" option, this will reset the Actions form and allow you to create a new Action from scratch.
The array hint field is optional.
To update an Action behaves like the SmartTags tab functionality. First select an Action from the "Actions List", modify the configuration accordingly and the click the "Update" button located at the top right corner of the actions tab container window next to "Add" button.
To Remove an Action simply select the action form the "Actions List" and then click the "Remove" button located at the top right corner of the actions tab container window next to "Update".
Post Actions & Previous Actions
Post Actions & Previous Actions selectors are linked with the "Actions List" selector, meaning that whenever you create or delete an action, this change will take place at all of the form selectors. These selectors allow you to bind multiple post and previous actions to the current action in scope. Previous actions will be executed before the current action and post actions will be executed after the current action.
JavaScript Function String
The JavaScript function string is exactly what its name suggest, a string representing a JavaScript function, this field is a JavaScript editor embedded into our UI that allows you edit the JavaScript code professionally, providing coding tools such as code highlight, auto close brackets, line numbers and so on. It's important to notice that you must not include the function declaration, only the function body, this is part of the AKM implementation under the hood, you must only code the JavaScript function body.
Settings
Settings is the most simple screen of the SmartTags UI, its purpose so far it's only to configure the SmartTags rules Threshold, there's only a Slider control that allows you to change this threshold, by default it's 0.75. The range of this slider is from 0.0 to 1.0.