Desktop Designer Example - Kindle Desktop App
Here is a basic example of creating a desktop test that interacts with the Kindle desktop application.
This example will show:
- Creating a new Desktop Designer test script
- Starting the recording
- Launching the desktop application being tested
- Interacting with the desktop application
- Creating Visual Accessors
- Creating an assert
- Exiting the application
- Editing the test script
- Playing back the recording of the test script
Example
-
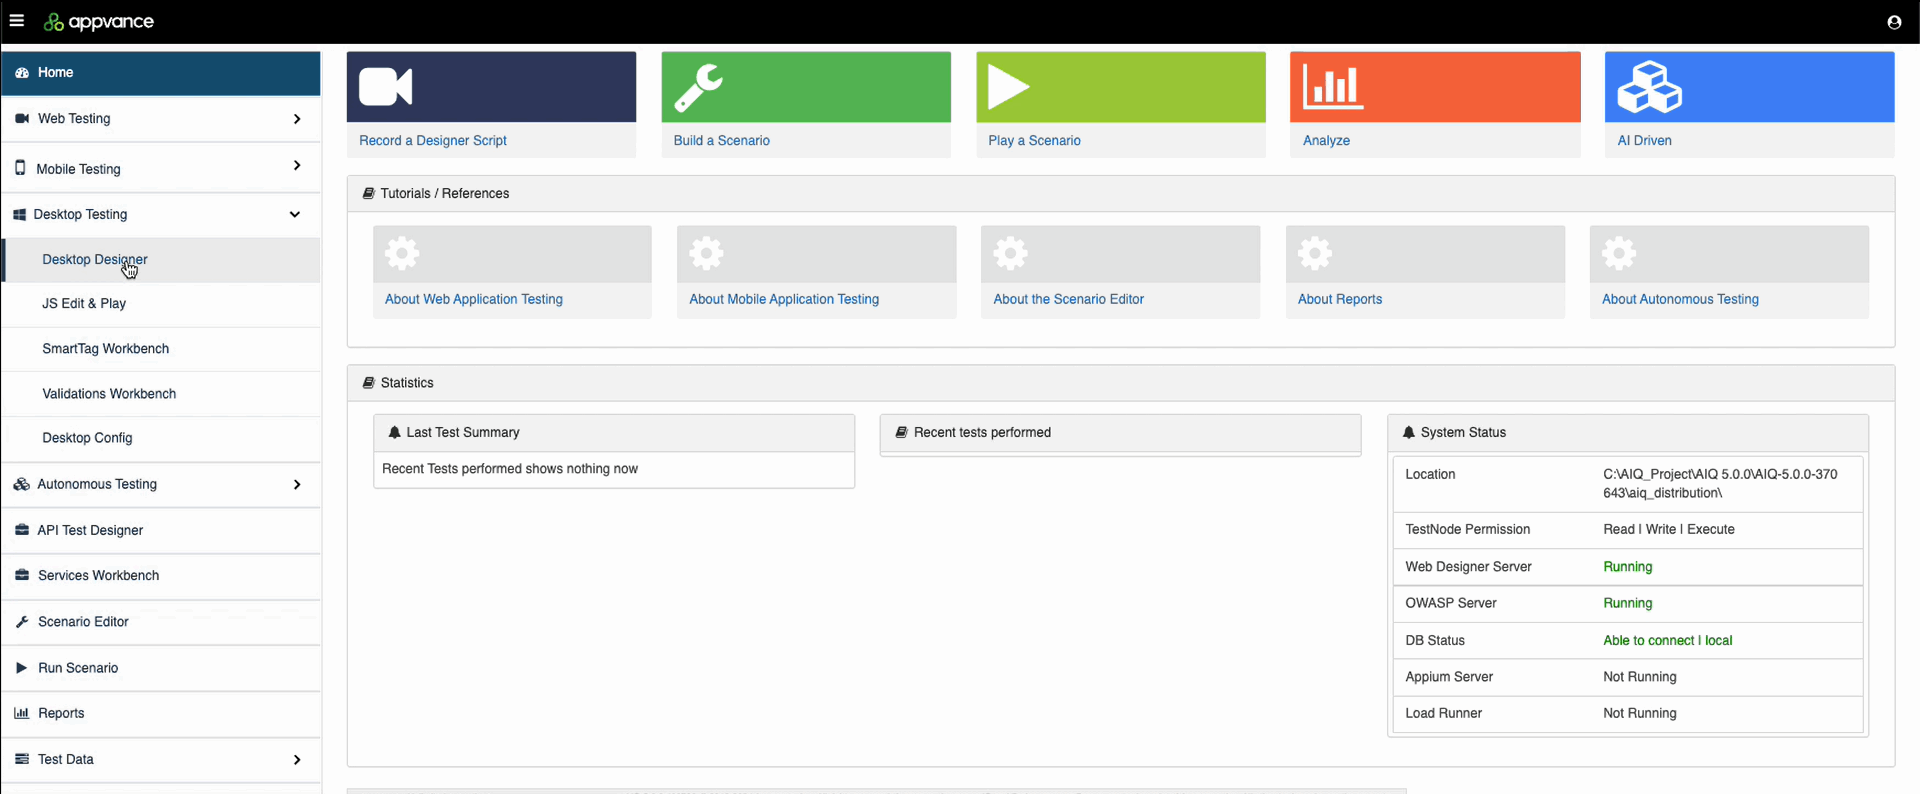
In AIQ navigate to Desktop Testing > Desktop Designer.
-
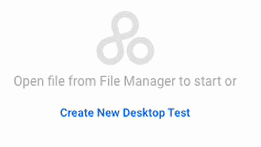
Click Create New Desktop Test.
-
Name and save your new test script. In this example the file is named
KindleVideo.dds.
.ddsis the file extension for all Desktop Designer test scripts. -
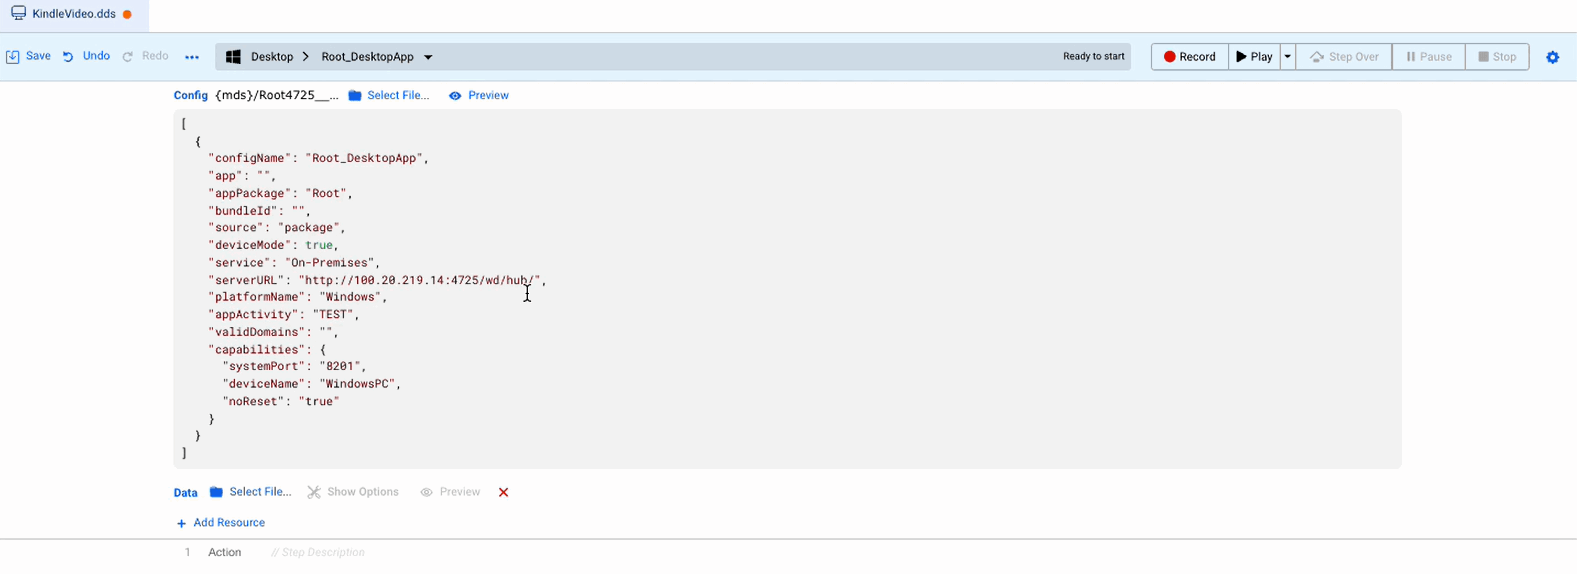
Select a Desktop Configuration file. If you have not created a Desktop Configuration file, see Desktop Designer Configuration Files for more information.
-
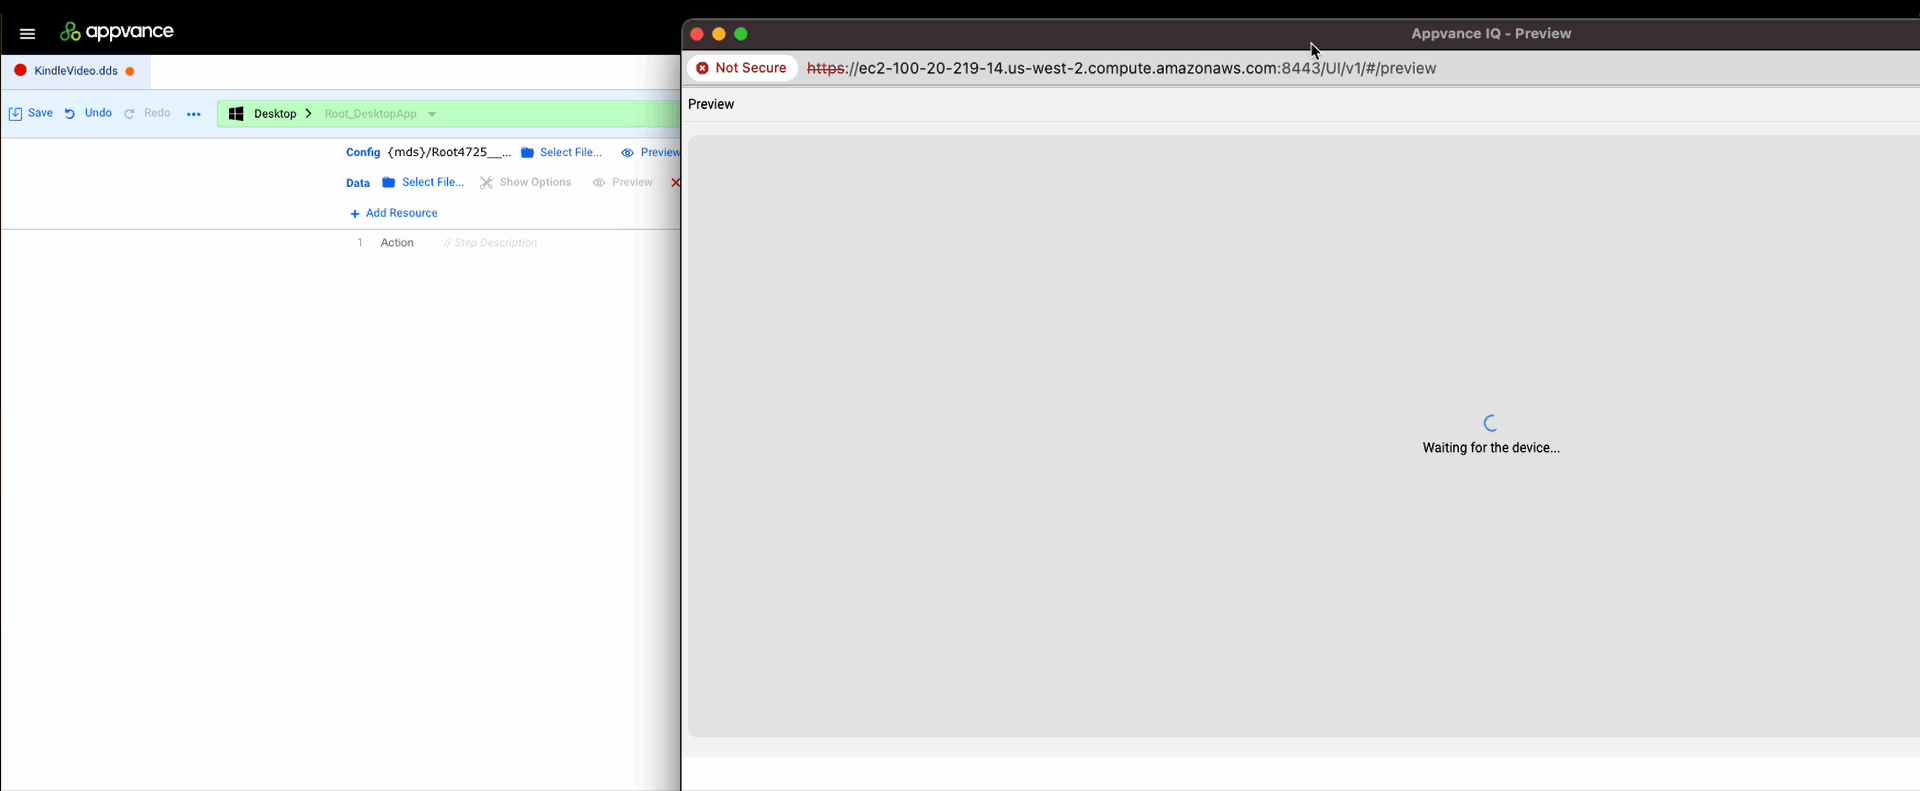
Click Preview to see your Desktop Configuration file.
-
Click Record to begin recording your test script.

-
Wait for the device to load.
-
Right click the desktop icon for the Kindle app and select Double Click.
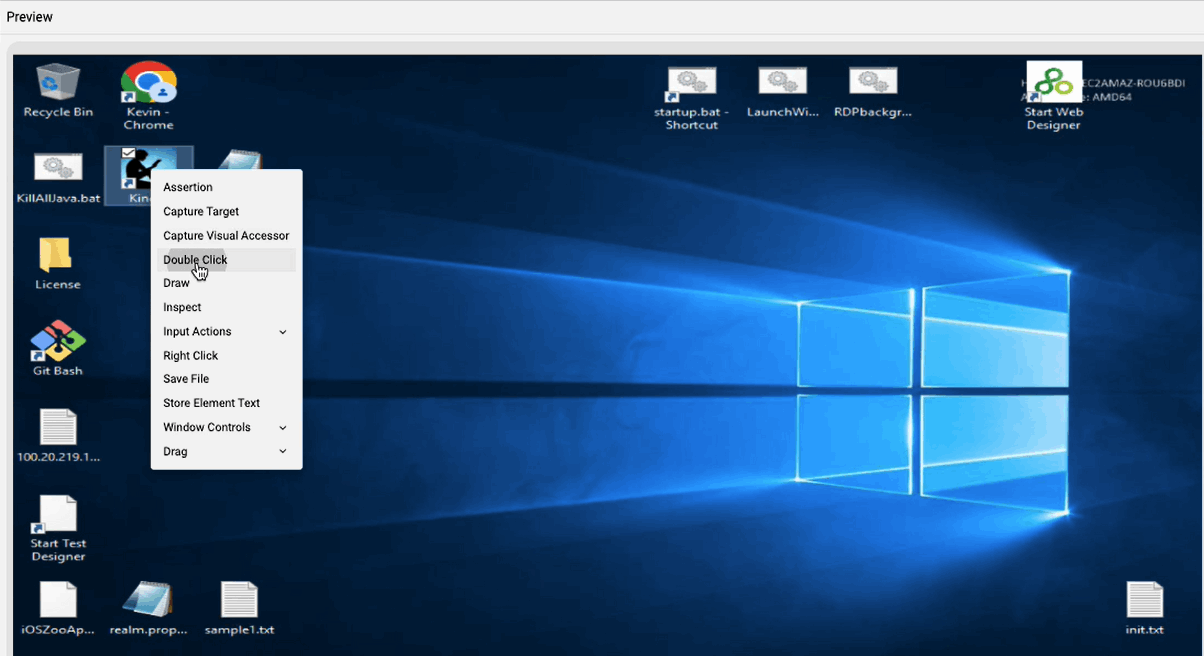
-
The Kindle desktop app starts.
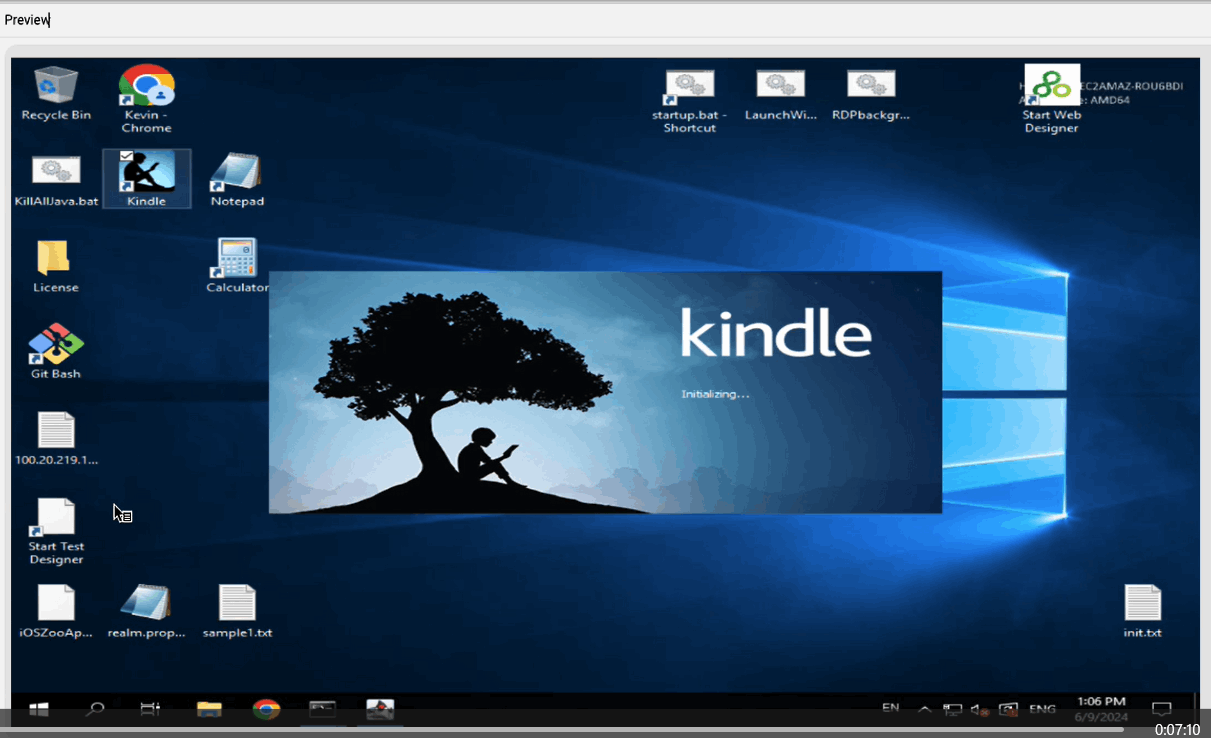
-
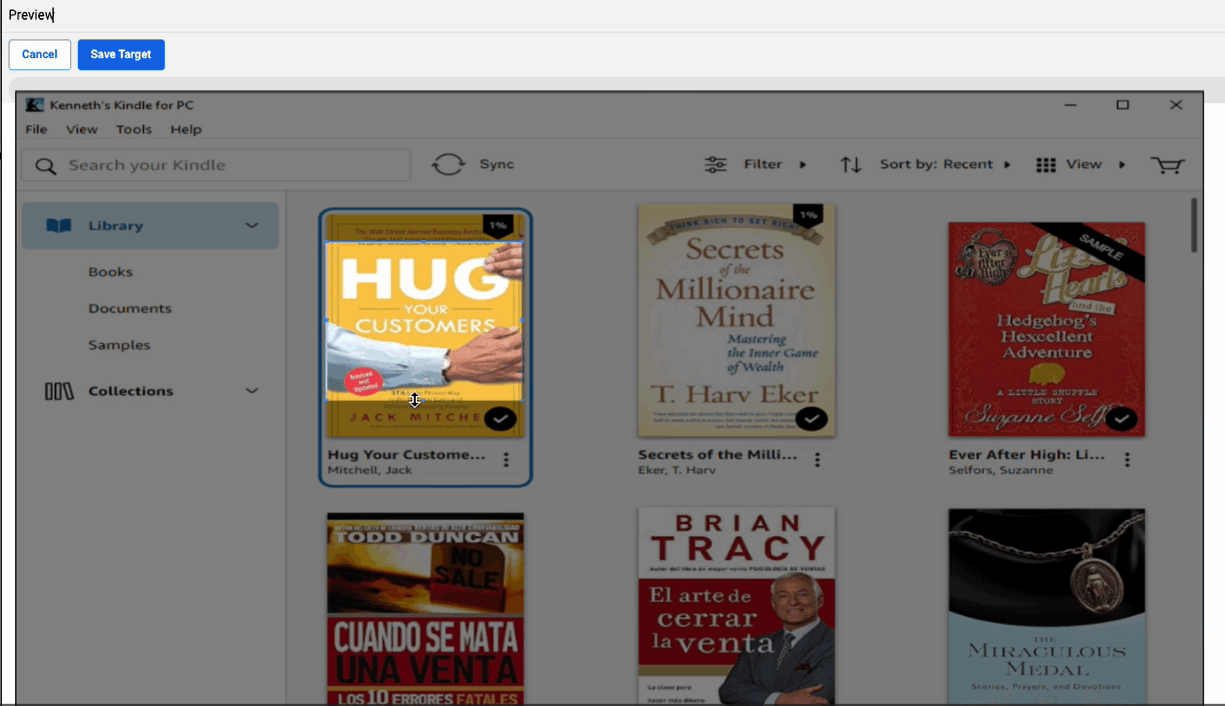
Hover over one of the book covers. Right click and select Capture Visual Accessor.

-
Select the boundaries of the Visual Accessor.
-
Click Save Target.
-
Click on the Visual Accessor.
-
Add Step with Double Click.
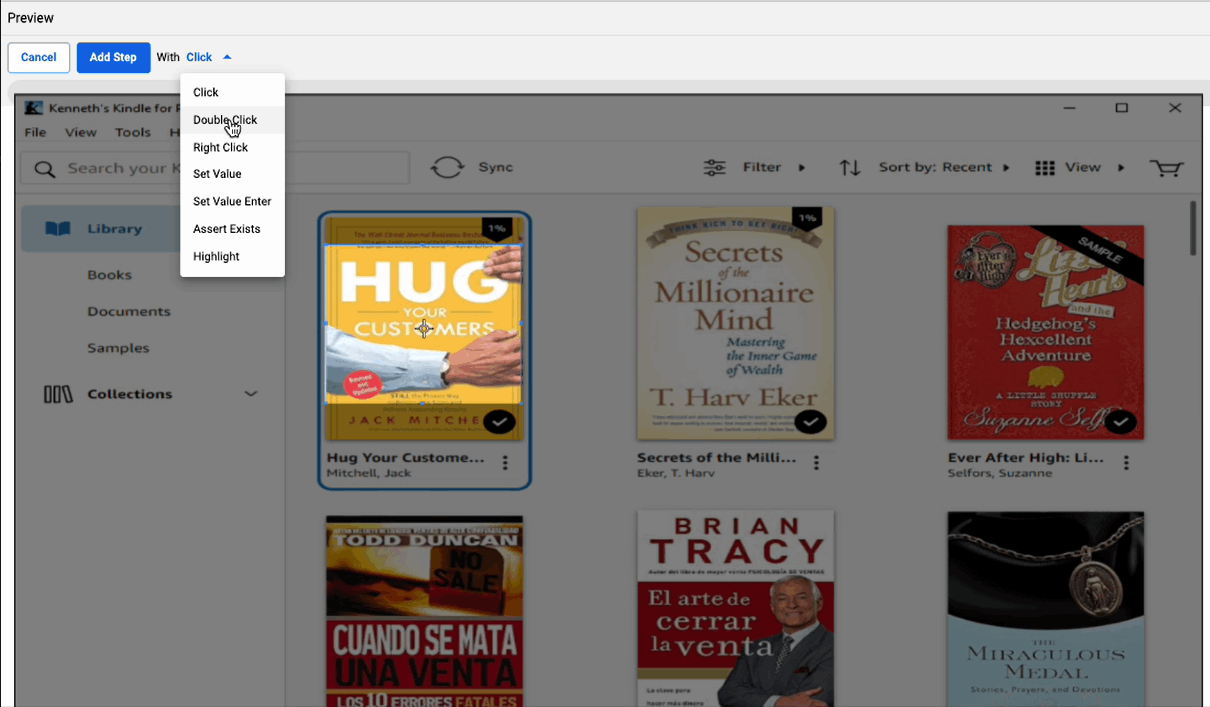
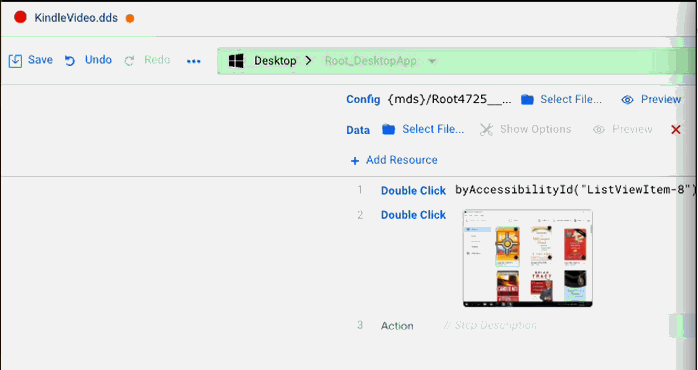
-
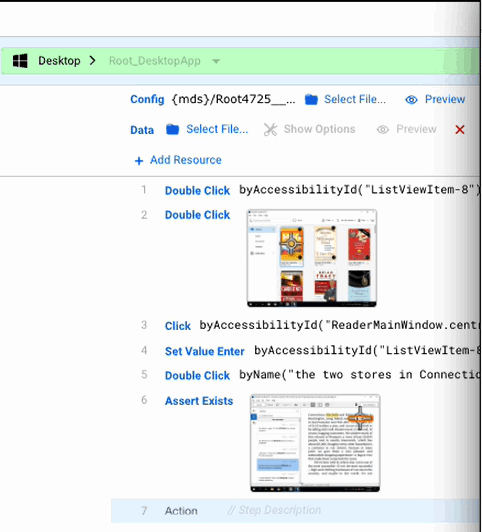
In the Desktop Designer window you can see that the step has been added to your test script.
-
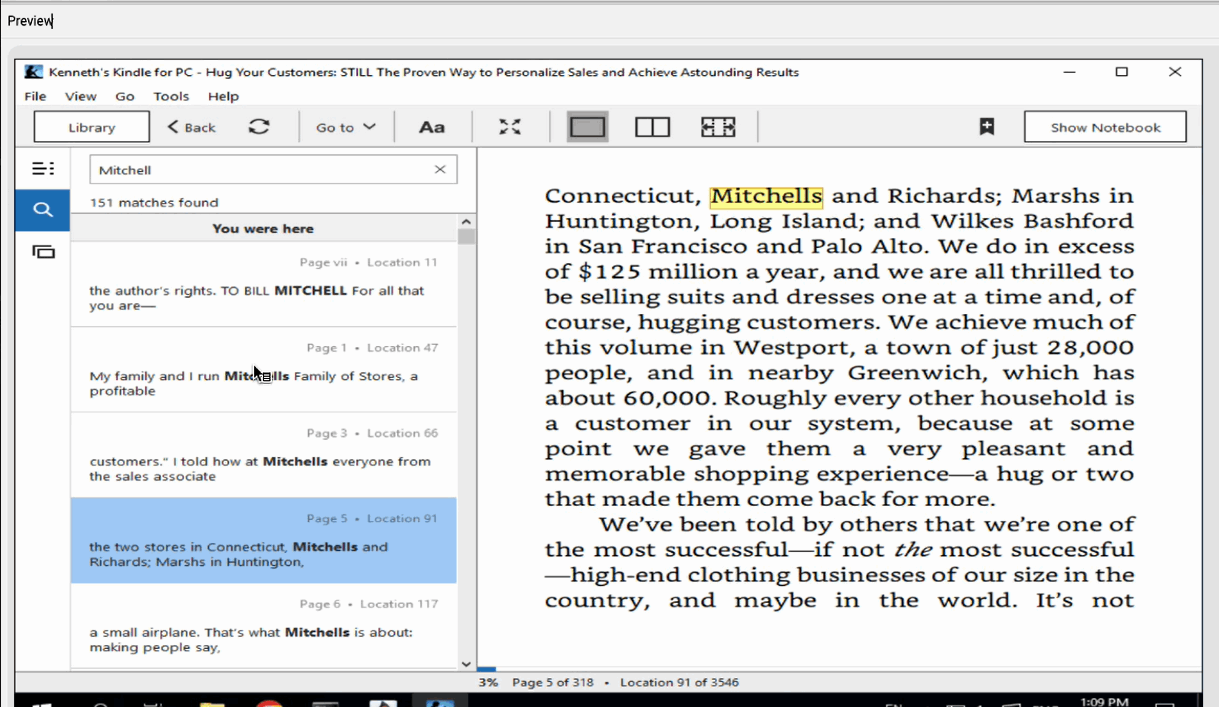
Click in the Search bar and then right click.
-
Select Input Actions > Set Enter Value.

-
Enter a search string. In this example the search string will be "Mitchell".
-
Click Apply.
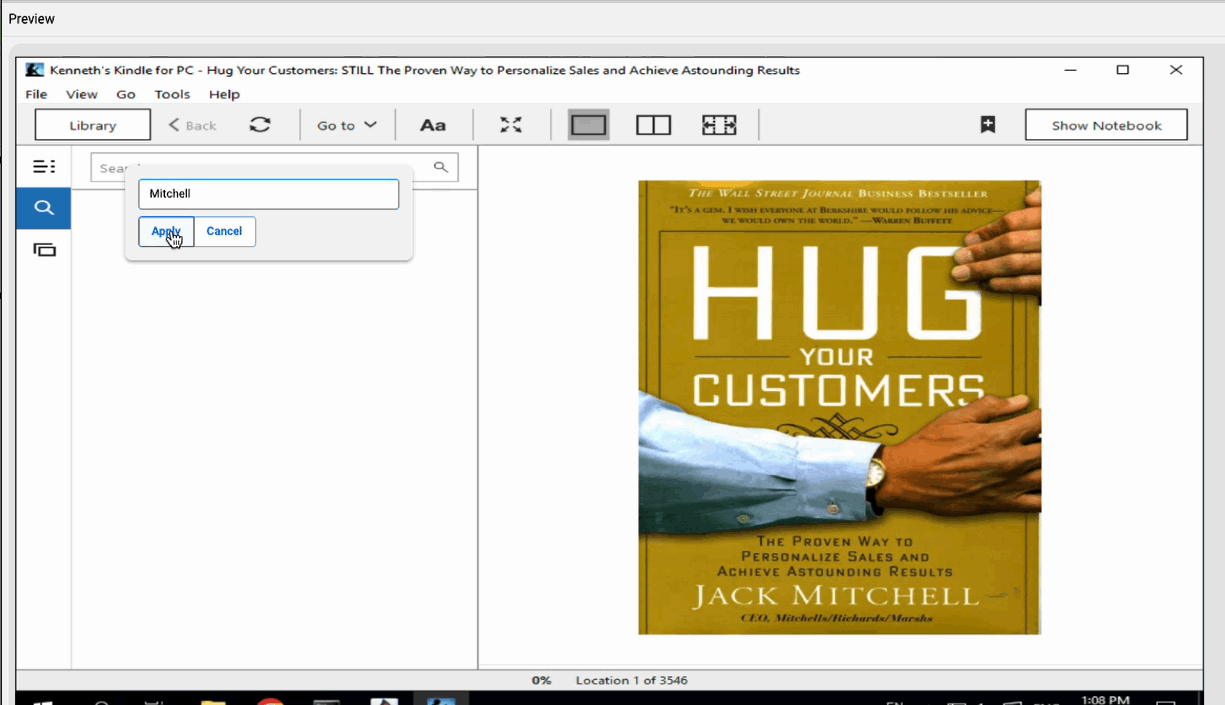
-
The search results load.
-
Select one of the search results and right click. Select the Double Click action.
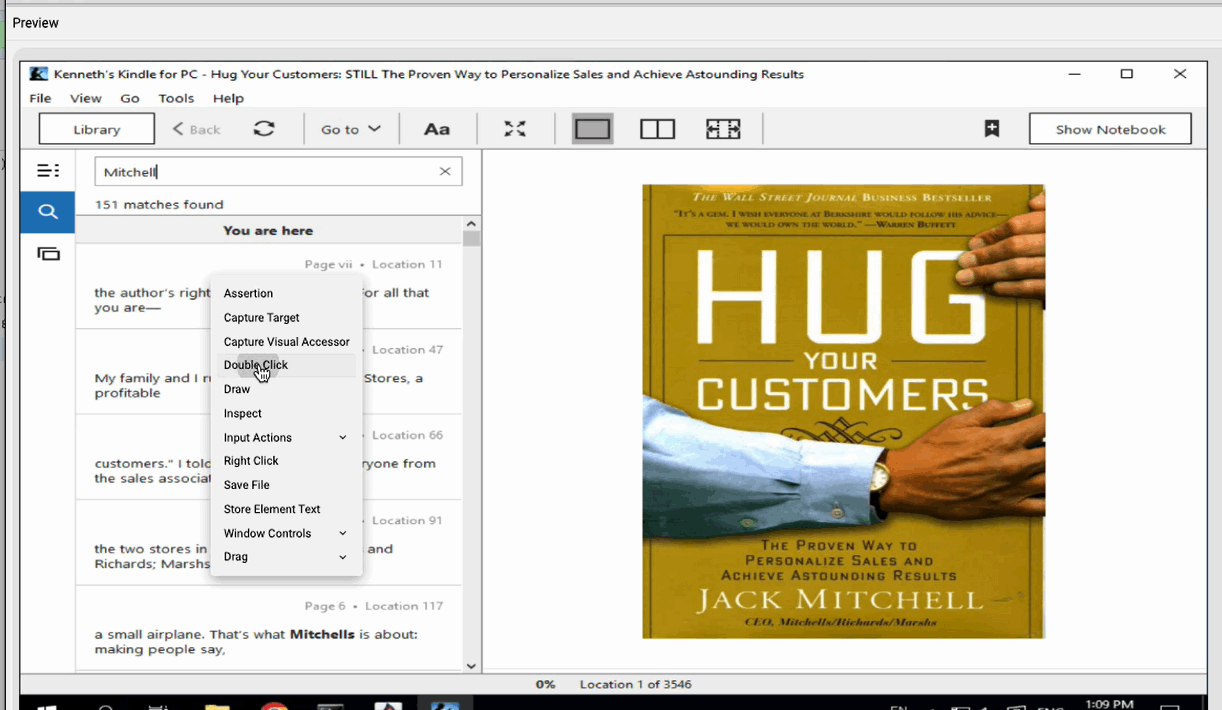
-
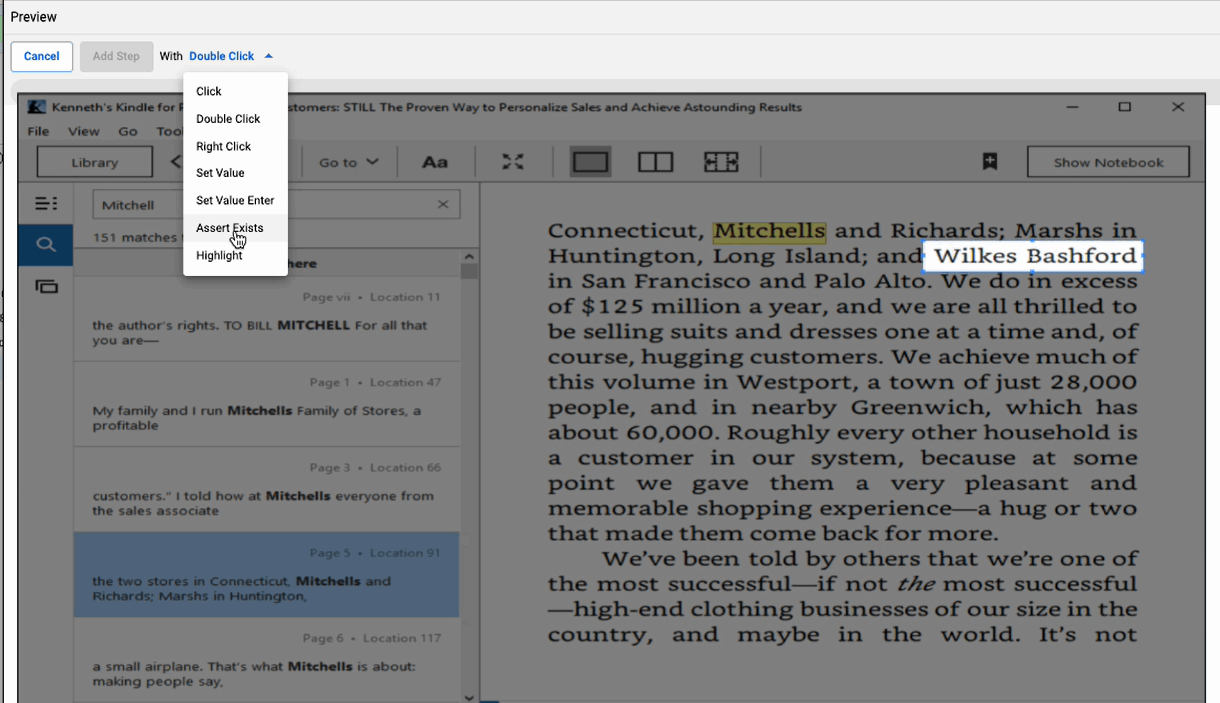
The page associated with the search result loads on the Kindle screen.
-
Hover over the page and right click. Select Capture Visual Accessor.

-
Adjust the Visual Accessor target. In this example it is the text "Wilkes Bashford" that is selected.
-
Click Save Target.
-
Add Step with Assert Exists.
-
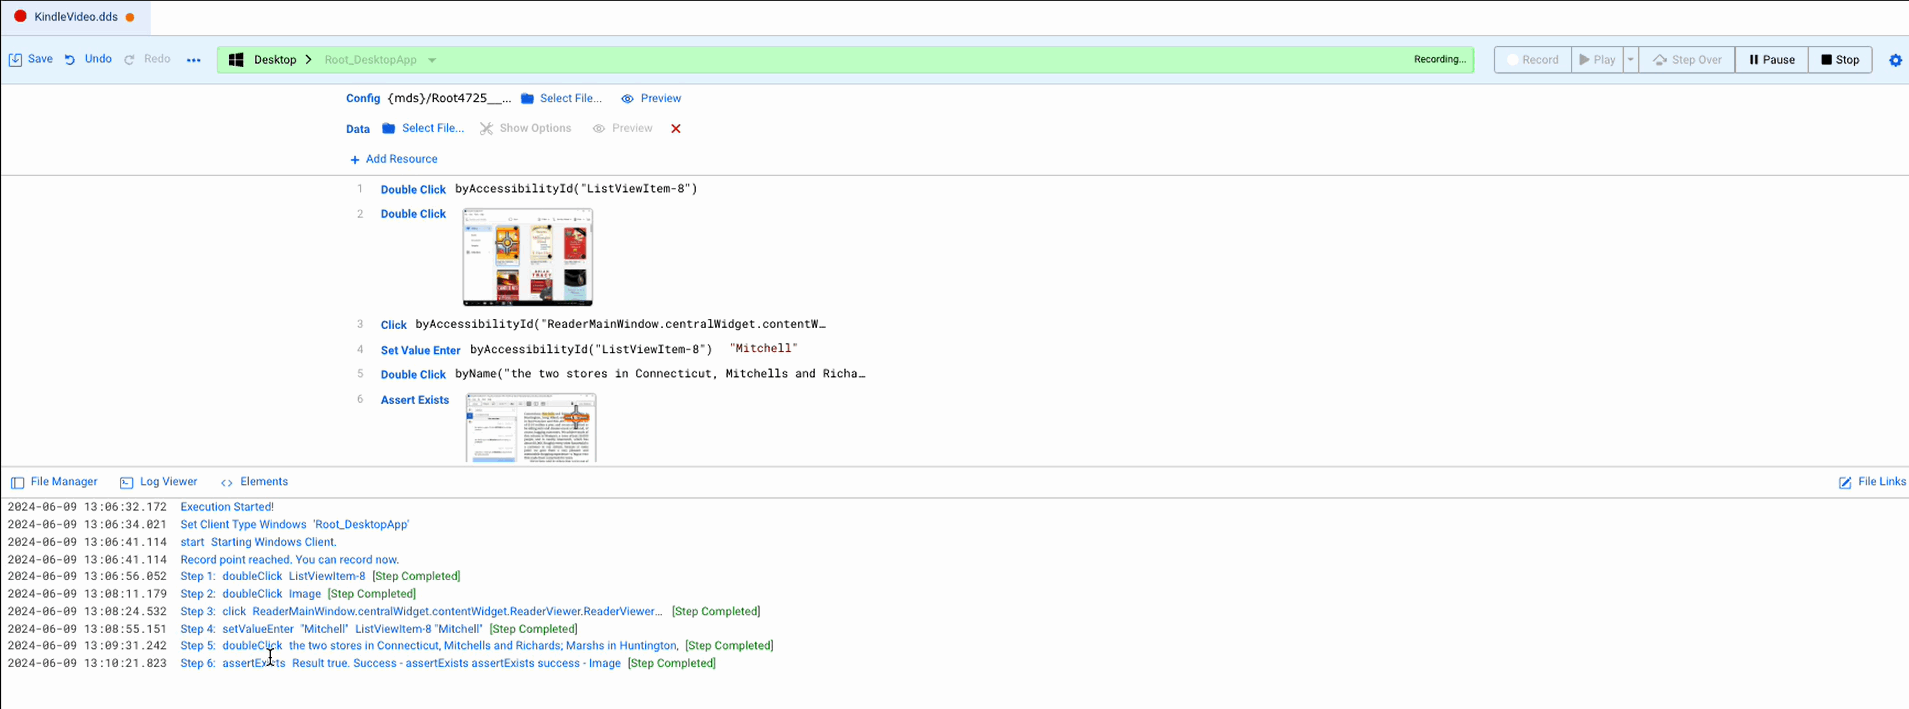
The test script updates in the Desktop Designer window.
-
You can see more information in the Log Viewer tab.
-
Click in the TOC and select Title Page.
-
The title page loads.

-
From the File menu select Exit.

-
The Kindle desktop app closes.

-
Click Stop to stop the recording.

-
If needed you can edit your test script. For example, reordering an accessor.
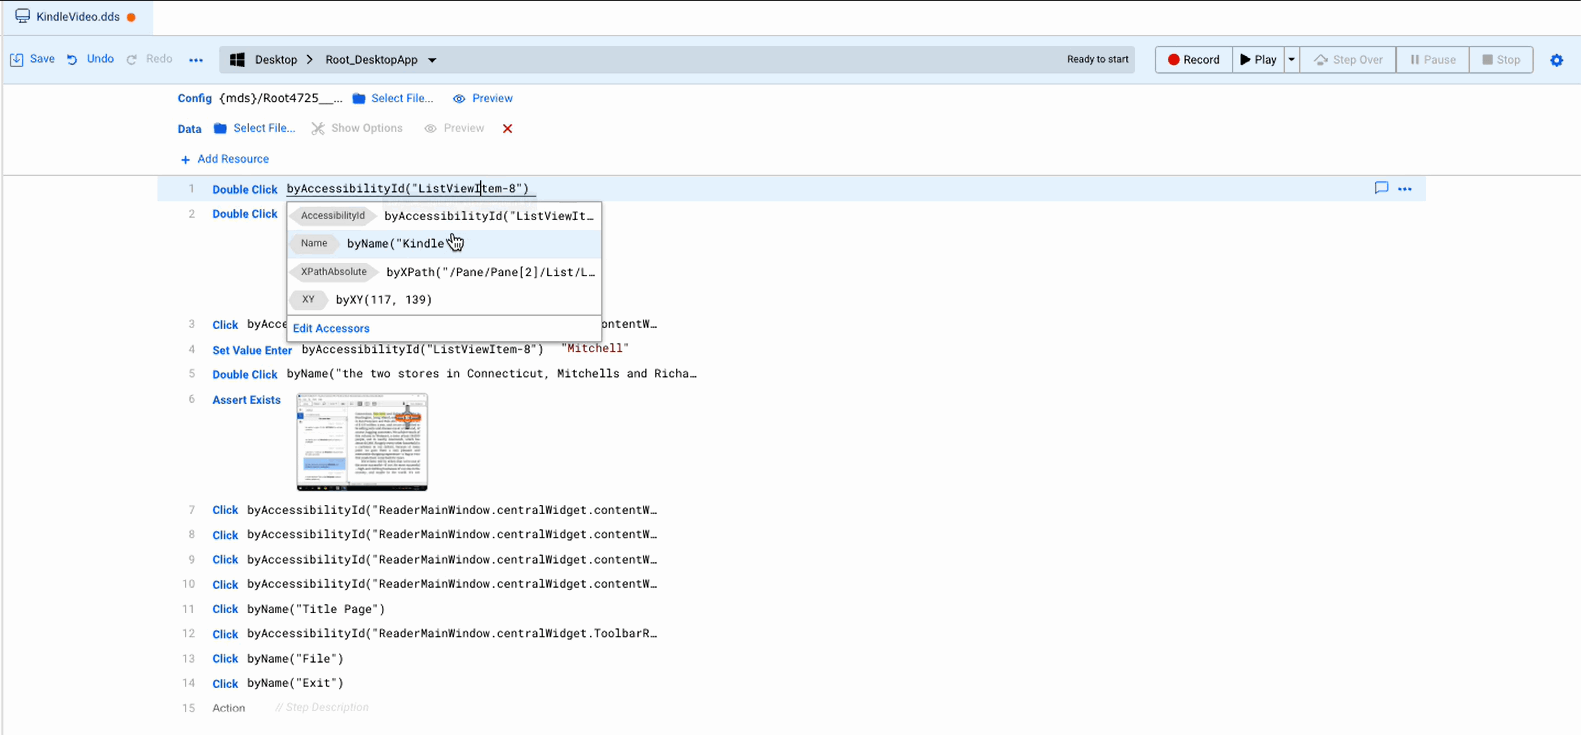
-
Click Play to play your test script.
-
The Preview window displays the playback while the corresponding steps are highlighted in the Desktop Designer window.
