Installing and Configuring Desktop Designer
This is the installation and configuration process to setup Desktop Designer in order to test Windows applications.
System Requirements
Hardware
- Intel iCore 5 or above
- Memory 16 GB
- 1 TB Hardrive (SSD prefered)
Amazon EC2
- For Windows Server t3.xlarge
OS and Software
-
Windows 10 / Windows Server 2016
- Windows Professional only. Window Home not supported.
- Windows 11 PRO is not certified at this time.
- Windows Server 2022 Datacenter not certified at this time.
-
Windows Application Driver (WinAppDriver) (Version 1.2.1 or greater)
-
Developer Mode must be set to On.
-
Windows SDK (Optional)
-
Install Chocolatey. Chocolatey is software management automation for Windows that wraps installers, executables, zips, and scripts into compiled packages.
Installation Process
-
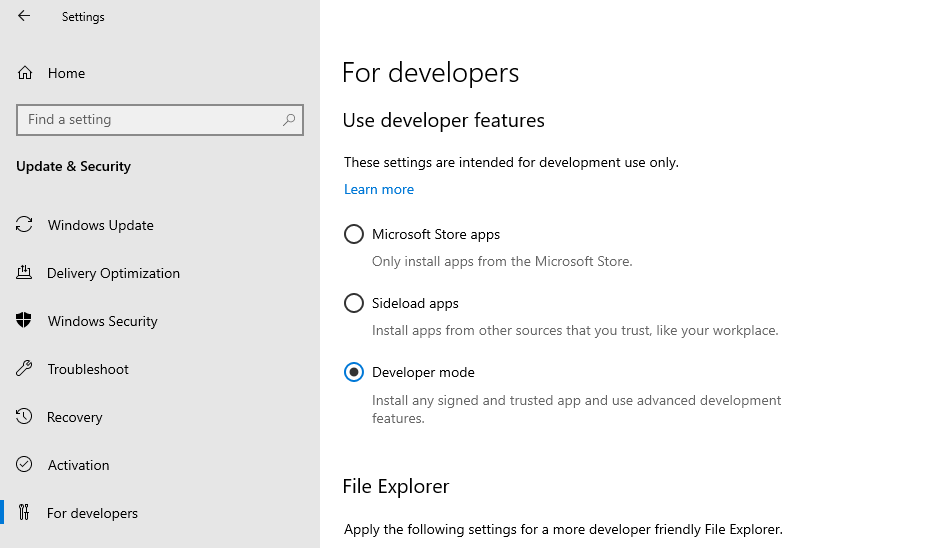
Enable Developer Mode.
-
Press WinKey+ I
-
In Privacy and Security, Select For Developers
-
Enable Developer Mode.
-
-
Download Windows Application Driver. Follow the installation process.
-
Open a Command Console in Administrator mode and navigate to the path where the Windows Application Driver was installed.
cd C://Program Files/Windows Application Driver/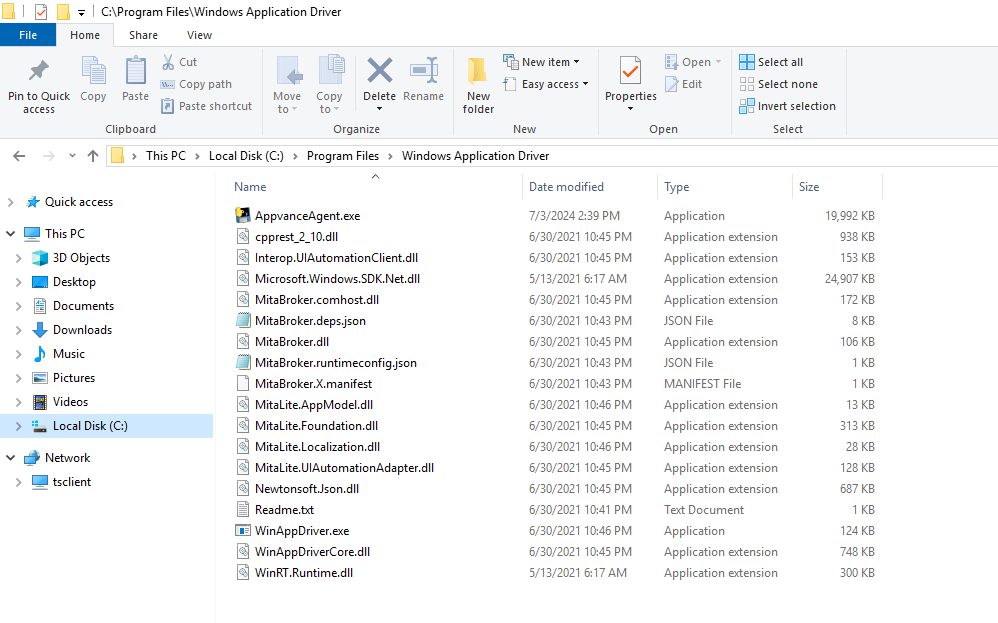
An Enviroment Variable can be set using the cmd prompt:
setx APPIUM_WAD_PATH "C:/Program Files x86/Windows Application Driver"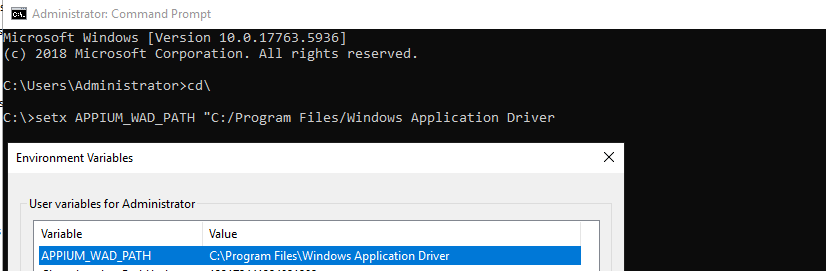
-
Download Video Recording Tool for Windows (
AppvanceAgent.exe) and copy to the path "C:/Program Files x86/Windows Application Driver Tool:
The Windows Appvance Agent can be downloaded from the Desktop Designer Installation Downloads page. Access to this page is restricted and must be requested.
-
Install Chocolatey. This is needed to install the ffmpeg plugin.
-
Install Chocolatey.
Full instructions can be found here: Installing Chocolatey.
-
Run PowerShell as Administrator with the following command:
Set-ExecutionPolicy Bypass -Scope Process -Force; [System.Net.ServicePointManager]::SecurityProtocol = [System.Net.ServicePointManager]::SecurityProtocol -bor 3072; iex ((New-Object System.Net.WebClient).DownloadString('https://community.chocolatey.org/install.ps1'))
-
-
Restart PowerShell and run it as Administrator again.
-
Run this command:
choco install ffmpeg -
Navigate to
C:/Program Files x86/Windows Application Driverin PowerShell and run the following command:AppvanceAgent.exe --port 4726 --executable WinAppDriver.exe --base_path /wd/hub --win_app_driver_port 4725The first port is for video recording and the second is for WinAppDriver.
Port 4726 would be the value videoPort in the config file. Port 4725 would be the port you use in the serverURL. The videoPort field is mandatory.
See the Configuration File Example below. -
To access WinAppDriver Remotely there are two options:
Use a bridge like NGrok:
-
Start ngrok with: ngrok http http://localhost:4725
-
Copy the forwarding URL and use it in your script capabilities.
Open a port on the test machine.
Open up Windows Firewall with Advanced Security.
- Select Inbound Rules -> New Rule...
- Rule Type -> Port.
- Select TCP.
- Choose a specific local port (472x)
- Action -> Allow the connection
- Profile -> Select all
- Name -> optional, choose a name for the rule.
You can also run the following command when run in an admin command prompt:
netsh advfirewall firewall add rule name="WinAppDriver remote" dir=in action=allow protocol=TCP localport=4723 -
-
Run
ipconfig.exeto determine your machine's local IP address.Setting * as the IP address command line option will cause it to bind to all bound IP addresses on the machine.
-
Run
AppvanceAgent.exe --port 4725 --executable WinAppDriver.exe --base_path /wd/hub --win_app_driver_port 4729as an administrator with command line arguments as seen above specifying the local IP and port.
Configuration File Example
[
  {
    "app": "",
    "appActivity": "TEST",
    "appPackage": "Root",
    "bundleId": "",
    "validDomains": "",
    "service": "On-Premises",
    "configName": "Root_DesktopApp",
    "deviceMode": "Desktop",
    "proxyURL": "",
    "videoPort": "4726",
    "serverURL": "http://192.168.3.14:4725/wd/hub",
    "source": "package",
    "platformName": "Windows",
    "capabilities": {
      "deviceName": "WindowsPC",
      "platformVersion": "",
      "automationName": "Windows",
      "app": "",
      "noReset": "true"
    }
  }
]
Appium Capabilities
Appium is an open source automation tool for running scripts and testing native applications, mobile-web applications and hybrid applications on Android or iOS using a webdriver.
Appium has the ability to automate Windows PC Desktop apps. This driver relies on a project from Microsoft called WinAppDriver, which is an Appium-compatible WebDriver server for Windows Desktop apps (and more in the future). WinAppDriver is often abbreviated "WAD". WAD is bundled with Appium and does not need to be installed separately.
https://appium.readthedocs.io/en/latest/en/drivers/windows/
Define the Application Under Test
The application under test can be defined with the following:
appCapabilities.SetCapability("app", "C:\Windows\System32\notepad.exe");
or
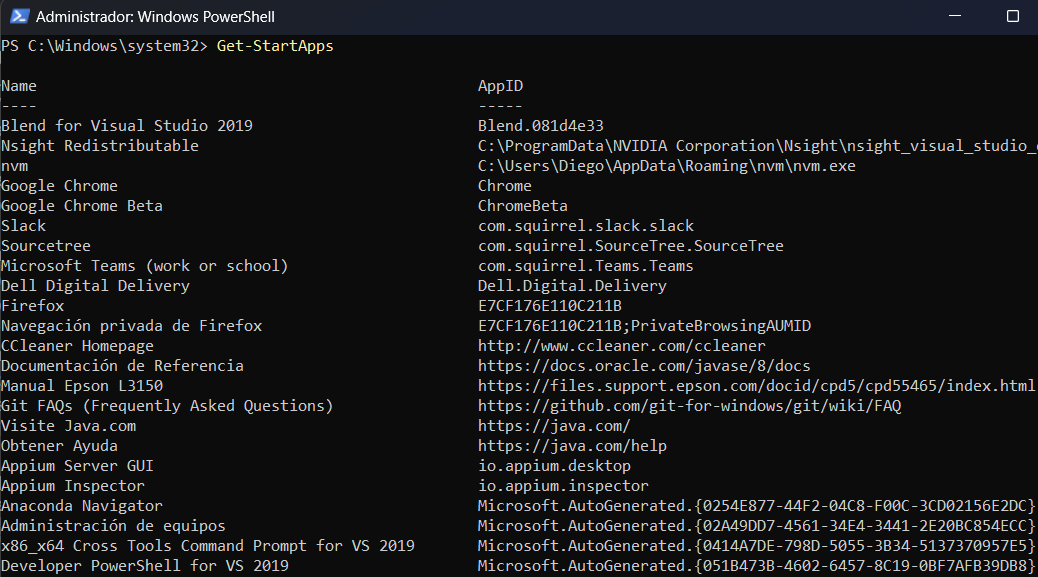
appCapabilities.SetCapability("app", "Microsoft.WindowsCalculator_8wekyb3d8bbwe!App");
Both the path to the application and the application ID are valid. The application ID can be found running in PowerShell with admin permissions : Get-StartApps
Platform and Device
The Platform and device are required:
appCapabilities.SetCapability("platformName", "platformName");
appCapabilities.SetCapability("deviceName", "WindowsPC");
Those capabilities are used to start the driver:
driver = new WindowsDriver(new URL("http://127.0.0.1:4723"), appCapabilities);
Enabling GUI even when RDP is Disconected
GUI can be still running if an automated RDP’s disconnection file is created using a batch file.
On the remote computer, do the following:
-
Create a batch file :
for /f "skip=1 tokens=3" %%s in ('query user %USERNAME%') do (
  %windir%\System32\tscon.exe %%s /dest:console
) -
In the File properties, click Advanced and select Run as administrator.
Connectivity Details
If the Windows machine or Virtual Desktop Infrastructure (VDI) is in the same network than the machine running AIQ, then the local internal address can be use for connecting to the WinAppDriver.
Otherwise the machine hosting Windows must have assigned a Public IP and ports for RDP 3389 and 4725, 4726, 4727 forwarding the machine where the driver is running.