Appvance IQ Manual Test Designer Install (GraalVM 11 Based)
Setting up Appvance IQ
As is often the case with the best things in life, your computer requires a little bit of preparation to run Appvance IQ.
Appvance Installation Instructions
Download installer from Appvance IQ
Go to the following path in your Appvance IQ URL, for example http://12-123-123-123:8080/UI/TestDesigner-installer.exe (or .dmg for Mac)
Couldn’t Download Installer?
-
Go to your Appvance IQ URL, for example http://12-123-123-123:8080,and login using the credentials provided by Appvance.
-
Expand Test Designer and click IDE
A prompt appears with an option to download the installer.
-
Run TestDesigner-installer.exe (or .dmg)
-
Upon completion:
-
A message appears stating the Designer Proxy is running, or to start Designer Proxy using the shortcut on your Desktop.
-
A shortcut was created on your Desktop.
-
Should you restart your system or manually stop the Test Designer proxy, use the shortcut on your Desktop to the restart Test Designer proxy.
Excluding files/folders from antivirus scans
The Test Designer* folder should be excluded from live, daily, or weekly or monthly scheduled scans, which will take up some time scanning them. Also if these folders are not excluded, you may see some unexpected behavior.
Following are some of the top Anti-virus from which the files / folders of Appvance IQ should be excluded:
-
AVG Anti-virus
-
Avast Anti-virus
-
Kasperskey Anti-virus
-
McAfee Virus Scan
-
Norton Anti-virus
-
Symantec Endpoint protection
-
Windows Defender
*Test Designer folder
Windows default path: C:\TestDesigner
Mac default path: $HOME/TestDesigner
How did the install go?
Manual Install
If you are unable to use the Client Installer due to permission restrictions, manually configure as follows:
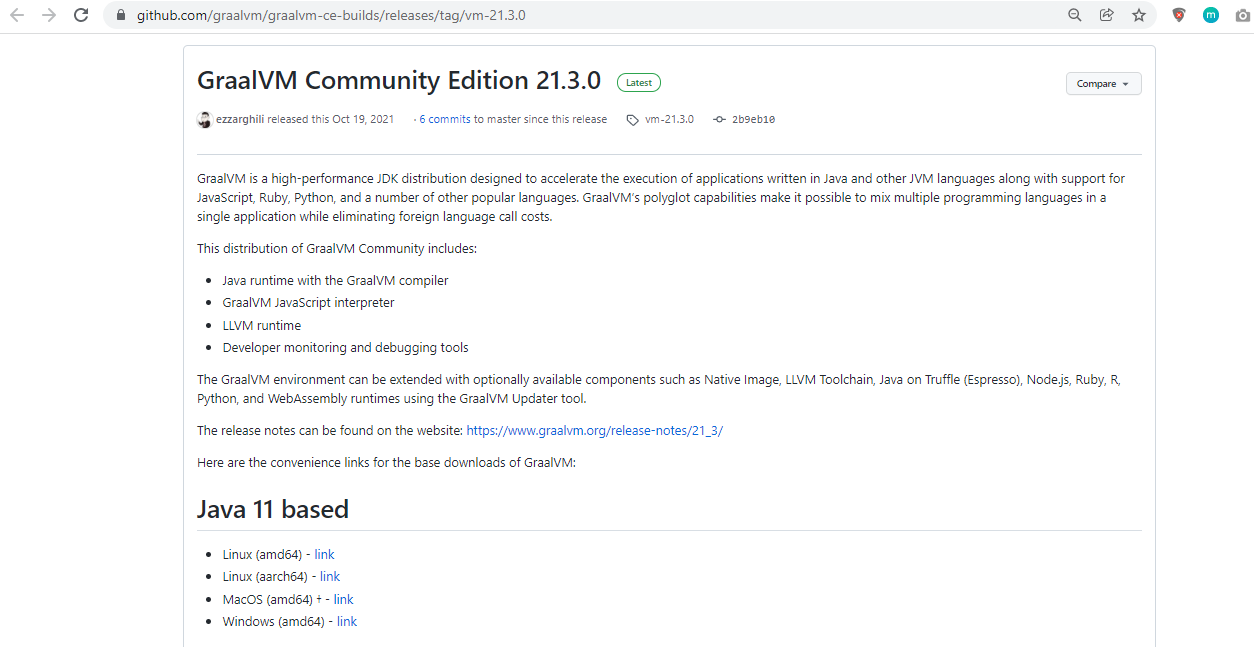
Download and install GraalVM version 11
-
For help installing, go to https://github.com/graalvm/graalvm-ce-builds/releases/tag/vm-21.3.0 and select Java 11 Based windows link
-
Once downloaded, extract the files.
-
Place the extracted folder in C:/Program Files.
Set Environment Variables
-
Locate the folder where graalvm 11 is copied over (in the C:/Program Files from the step above)
-
For example C:\Program Files\graalvm-ce-java11-windows-amd64-21.3.0\graalvm-ce-java11-21.3.0
-
-
Click Start, enter Environment Variables, and select Edit System Environment Variables
The System Properties window appears -
Select the Advanced tab and click Environment Variables
-
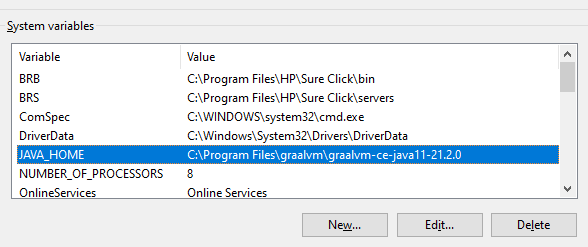
In the System Variables section, click New
The New System Variable window appears -
Enter JAVA_HOME in the Variable name box
-
Enter your Java install path, noted above, in the Variable value box
-
For example C:\Program Files\graalvm-ce-java11-windows-amd64-21.3.0\graalvm-ce-java11-21.3.0
-
-
In the System Variables list, select the Path variable and click Edit
-
Enter your Java path, appended by \bin; at the beginning of the Variable value box.
For example: C:\Program Files\graalvm-ce-java11-windows-amd64-21.3.0\graalvm-ce-java11-21.3.0\bin; -
To confirm Java installed properly
-
Select Start, enter cmd and select Command Prompt
-
When the Command Prompt window appears, enter java -version and press Enter
The Java install details display
GraalVm 11 should be successfully installed to continue
-
Update Java Settings
In order to avoid or minimize Java warning messages, please follow these steps:
-
Click Start, enter Java, and select Configure Java
-
Select the Advanced tab and update the settings as follows:
-
Scroll to Execution Environment Security Settings
-
Uncheck Show sandbox warning banner
-
Uncheck Warn if site certificate does not match hostname
-
-
Scroll to Mixed code (sandboxed vs. trusted) security verification and select Disable verification
-
Scroll to Perform signed code certificates revocation check on and select Do not check
-
Scroll to Perform TLS certificates revocation check on and select Do not check
-
-
Click OK
Adding a Trusted Site
Windows
-
Click Start, enter Internet Op and select Internet Options
-
Select Security
-
Click Trusted Sites
-
Click Sites
-
Enter the URL for the application under test (i.e. The application you wish to test)
-
Click Add
-
Click Close
-
Click OK
Installing Appvance Certificate
Edge and Chrome
-
Retrieve the certificate from the Appvance IQ controller
-
If hosted by Appvance, you may need to request the certificate from your Appvance contact
-
If hosting your own install, request the certificate used when setting up the Appvance Controller
-
-
Close all browsers
-
Double click the certificate file appvance.cer
-
Click Install Certificate
The Certificate Import Wizard window appears -
Click Next
-
In the Store Location box select Local Machine, select Place all certificates in the following store and click Browse
-
The Select Certificate Store window appears
-
-
Select Trusted Root Certification Authorities and click OK
-
Click Next
-
With Certificate Store Selected by User selected, click Finish
Firefox
Firefox does not use OS-level certificates, but instead maintains its own
-
Open Firefox
-
Go to Menu > Options > Advanced > Certificates
-
Click View Certificates
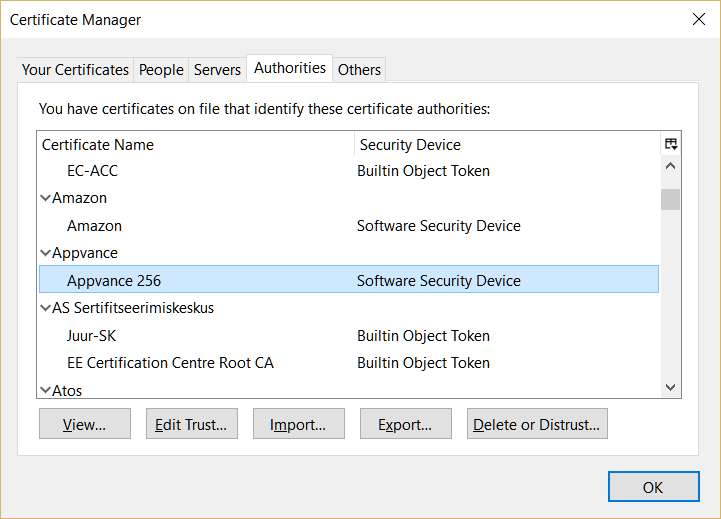
The Certificate Manager window appears -
Select the Authorities tab and click Import
-
Browse to and select the appvance.cer file
-
If hosted by Appvance, you may need to request the certificate from your Appvance contact
-
If hosting your own install, request the certificate used when setting up the Appvance Controller
-
-
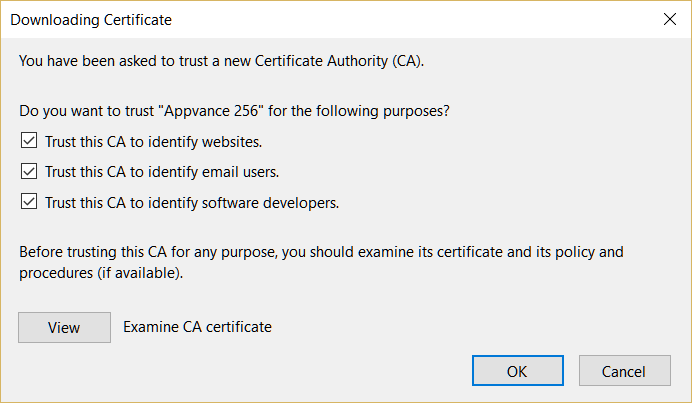
Check all options and click OK
-
The Appvance 2020 should be visible in certificates list
-
Click OK
-
Restart Firefox