Oauth2 support has been added for email clients such as Outlook that have deprecated basic authentication for IMAP email and moved to Oauth.
Support for this was added in the AIQ 4.8.8 and 4.9.0 releases.
Setting up Azure
-
Go to Azure (https://portal.azure.com/) and sign in with your credentials.
-
Expand the left side menu and select Azure Active Directory.

-
In the left side menu, select App registrations.
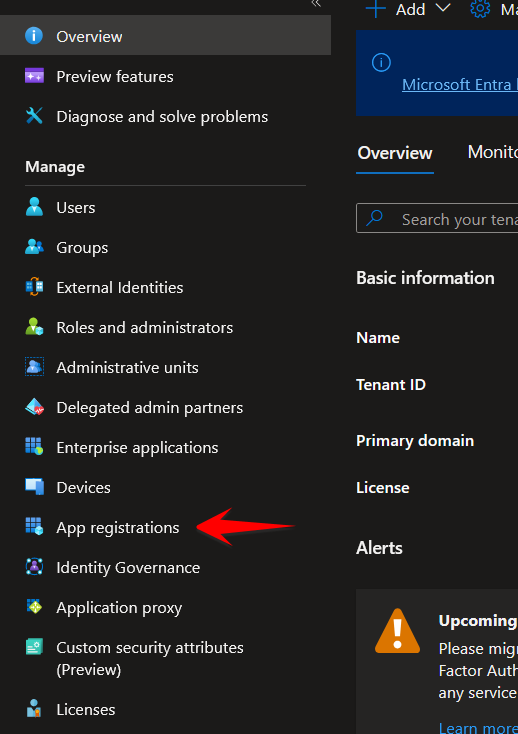
-
Click New Registration.
-
Enter a name to identify your application.
-
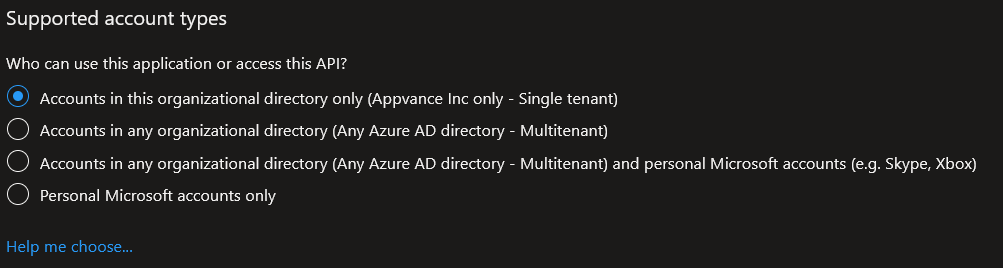
In Supported account types, select Accounts in this organizational directory only (Single tenant).
-
Click Register.
-
In the left side menu, click API Permissions.
-
Delete any existing permissions.
-
Click Add a permission.
-
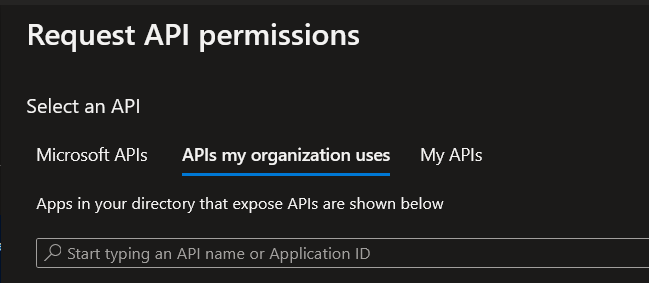
Select the APIs my organization uses tab.
-
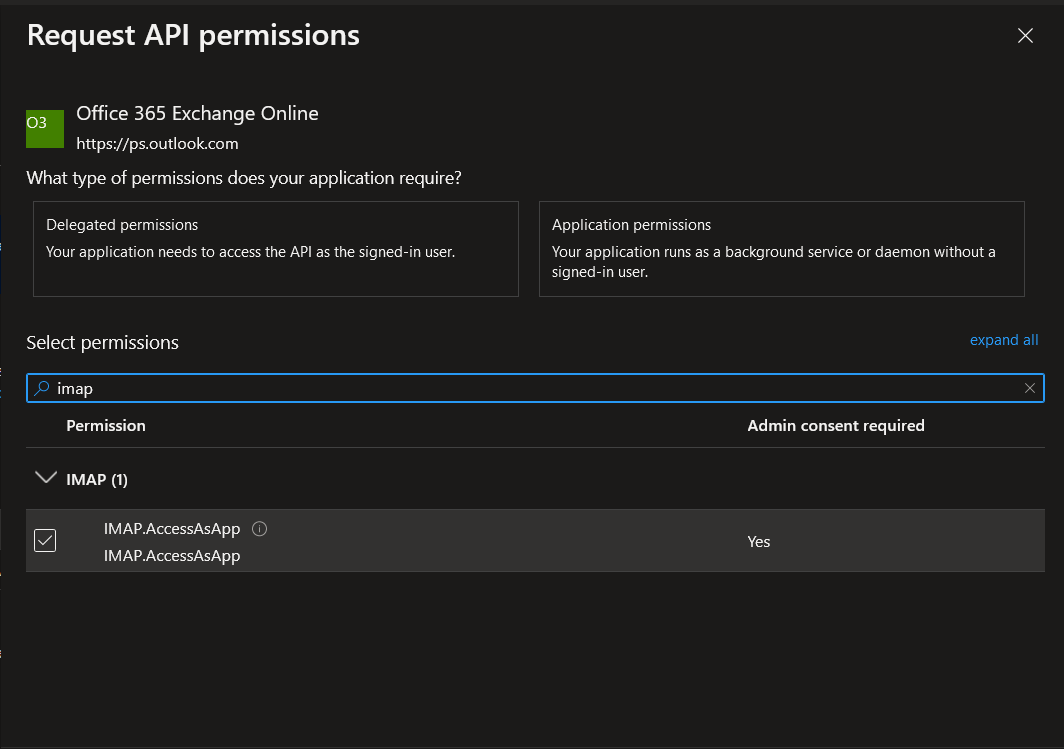
Search for “Office 365 Exchange Online“. In the select permissions search box type “IMAP“ and select the results.
-
Click Update permissions.
-
This permission needs to be authorized by an administrator of your organization. If your are the administrator, click Grant admin consent for {Organization}. If you’re not an administrator, please contact an administrator to authorize this permission.

-
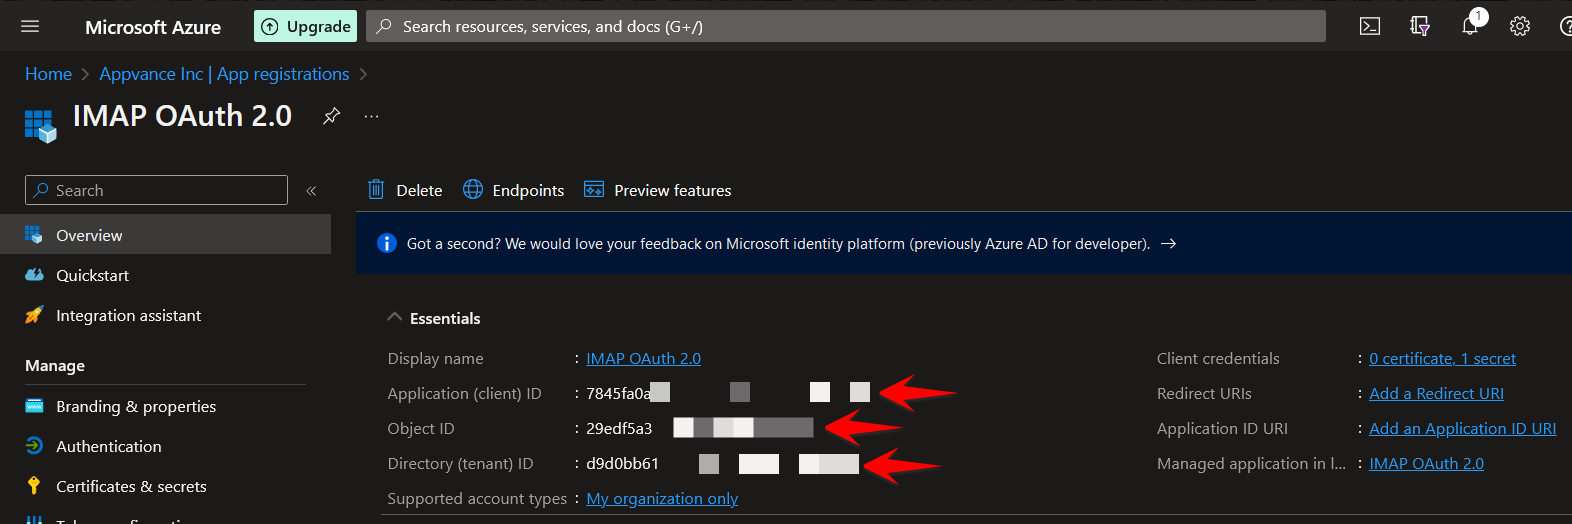
Save the values in the Overview page. You will need them in the command line configuration steps.
Command Line Configurations
-
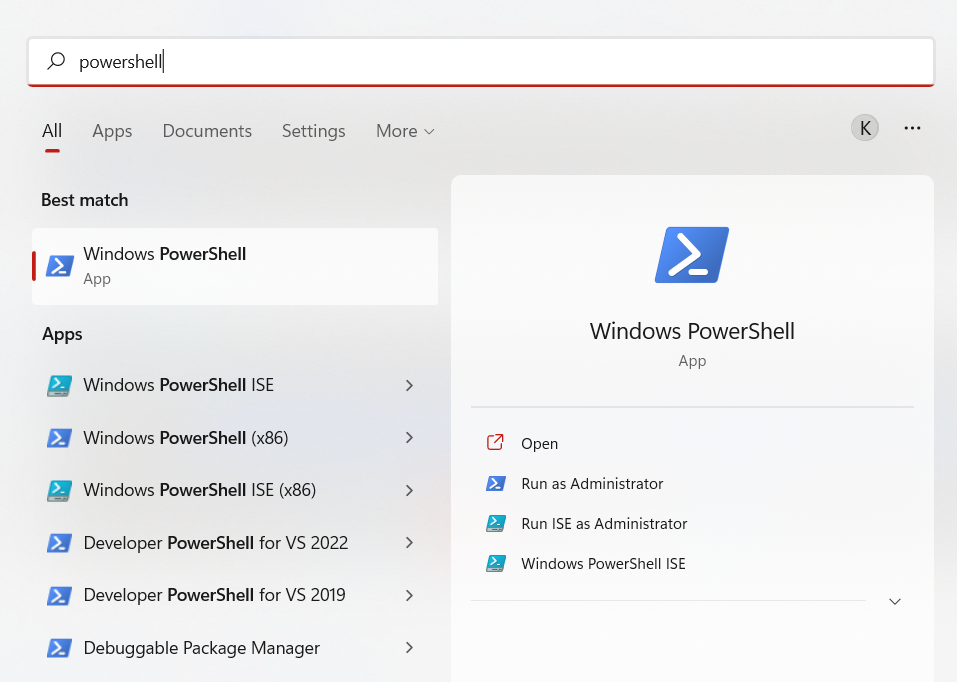
Run Windows PowerShell as an Administrator.
-
Run the command:
Install-Module AzureAD
If it requests a confirmation, press Y and then Enter. -
Run the command:
Install-Module ExchangeOnlineManagement
If it requests a confirmation, press Y and then Enter. -
Run the command:
set-executionpolicy unrestricted
If it requests a confirmation, press Y and then Enter. -
Run the command:
Connect-ExchangeOnline --Credential $Credential
The output should be something similar to this:
-
Run the command:
$app = Get-AzureADServicePrincipal -SearchString "{Application Name}".
Use the application name from Step 15 of the Setting up Azure section. -
Run the command:
New-ServicePrincipal -AppId $app.AppId -ServiceId $app.ObjectId -DisplayName "{Application Name} Service Principal"The output should be something similar to this:

-
Run the command:
Add-MailboxPermission -Identity "<USER ID>" -User $app.ObjectId -AccessRights FullAccess
The output should be something similar to this:
-
Run the command:
$startDate = Get-Date -
Run the command:
$endDate = $startDate.AddYears(99) -
Run the command:
New-AzureADApplicationPasswordCredential -ObjectId {Object ID of Application} -CustomKeyIdentifier "Application Secret" -StartDate $startDate -EndDate $endDate
Use the Object ID from Step 15 of the Setting up Azure section.
Example Test Script
You can use the following example as a test Service Suite script. You must perform the above configuration steps first, so you can collect the required parameters: secret key, application id and tenant id.
var mailClient = createOAuthMailClient( "mail@outlook.com", "secretKey", "applicationID", "tenantid");
mailClient.loginOAuth();
var Mails = mailClient.getOAuthEmails();
log(" " + Mails.toString());
mailClient.logoutOAuth();
See List of Services Workbench Calls for more details.