Configuring Jira Global Options
Multiple configurations can be created and stored by an Administrator. These configurations can be used by individual users while running scenarios. Multiple configurations allow you to use different Jira accounts, projects, issue type and other settings for each configuration. You can create as many configurations as you need, depending on the number of projects and type of selections.
-
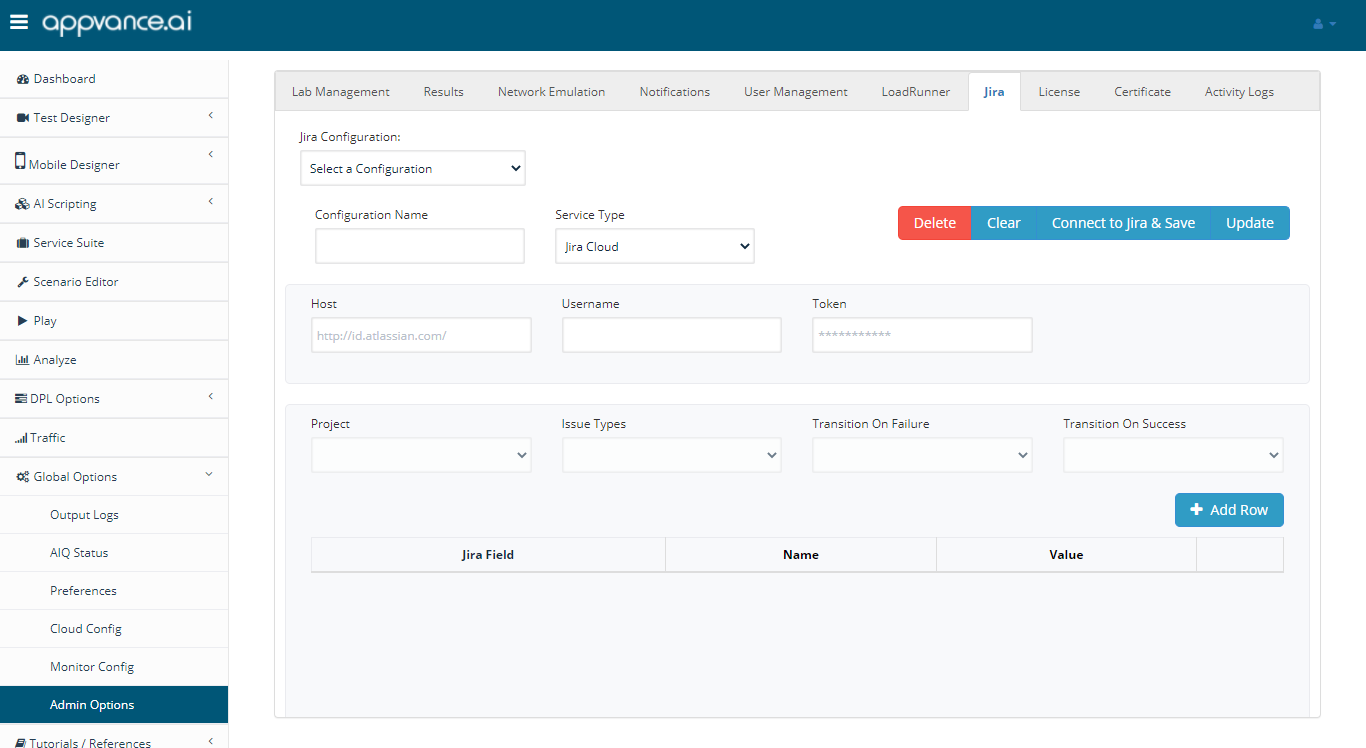
Navigate to Global Options > Admin Options > Jira.
-
If you have an existing configuration that you want to modify, select it from the Jira Configuration dropdown.
-
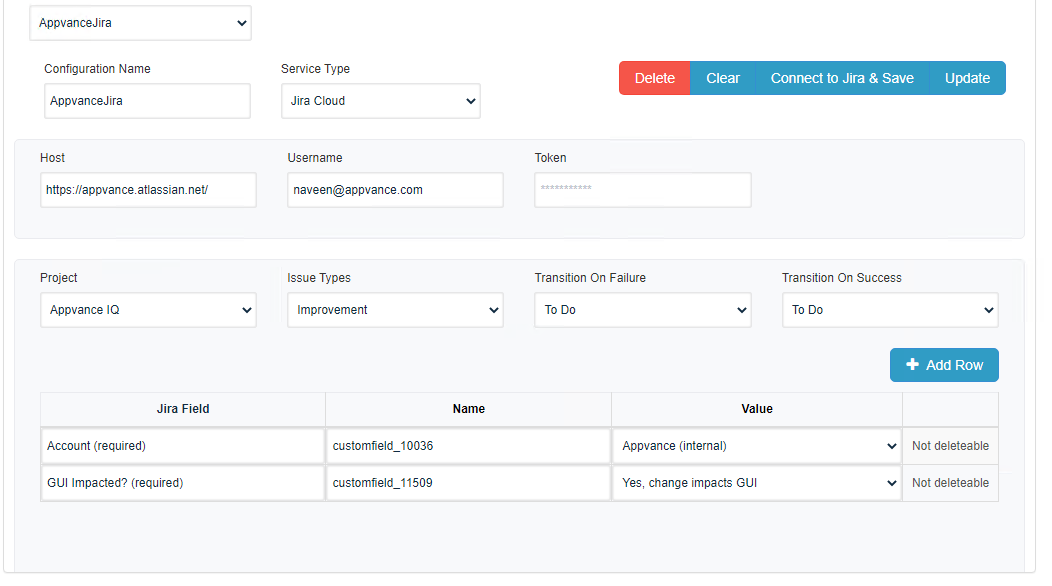
To define a new Jira configuration, define the following information:
Configuration Name: Enter a unique name for your configurations
Host: Specify the URL of Atlassian account. The format is:https://[identifier].atlassian.net/
Username: Specify the full user name. The format is:user@domain.com
Token: The Jira integration requires an API token. It will not accept the password for the specified user account. From your Atlassian account, navigate to the API Tokens section of your Atlassian account to create an API Token. Once that is complete, enter it here. -
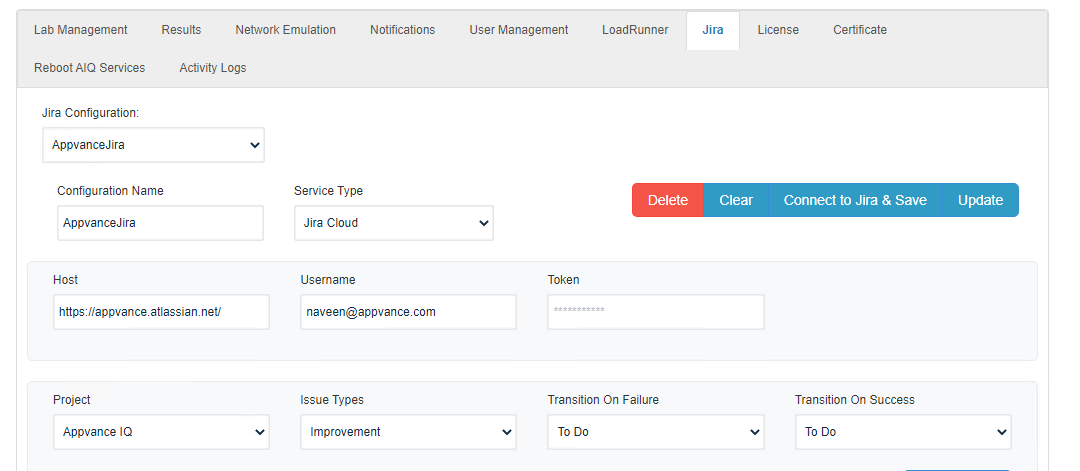
After providing the above details, click Connect to Jira and Save to connect with Jira.
-
Select the Project that you want to associate with the Jira configuration. All the valid projects in your Jira account are available from the dropdown list.
-
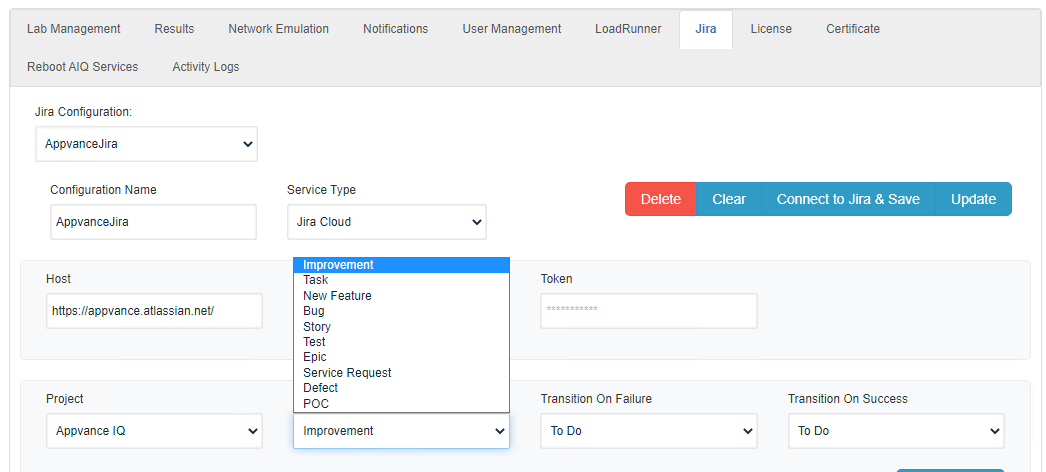
Select from the available Issue Types to associate a specific issue type to be created for this Jira configuration. The selected issue type will determine what kind of Jira ticket is created during testing when using the Jira configuration.
-
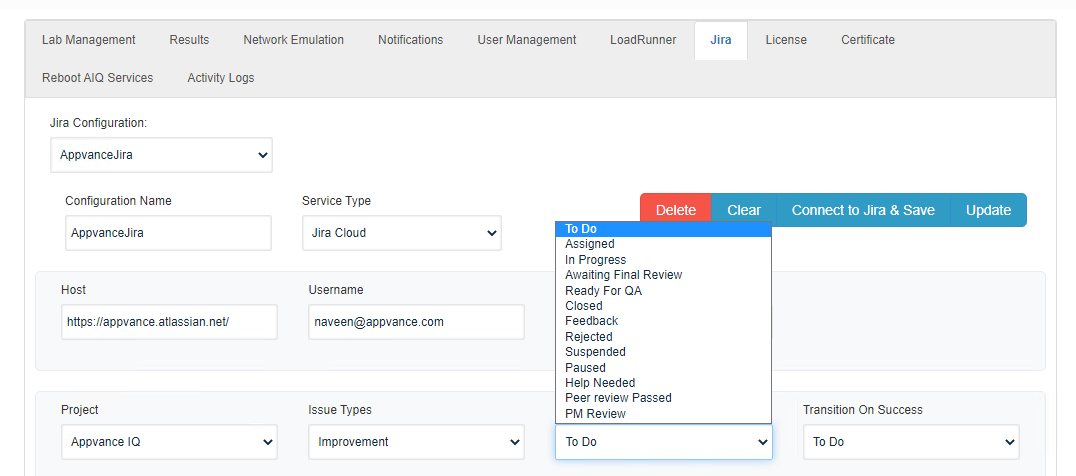
In the Transition On Failure dropdown, select the transition of a Jira ticket depending when a scenario fails.
-
In the Transition on Success dropdown, select the transition of a Jira ticket when a scenario succeeds.
-
Click Add Row to add customer fields to your configuration. These custom fields will be required fields when creating a ticket in your project. These custom fields would be auto-populated based on the selected project and issue type. You can choose what values that need to be provided as part of this automatic detection of custom fields
-
Click Update to save your changes.