One of the pre-requisite is to have Tomcat/Jetty or a similar service to be installed and below are the instructions:
-
Download the Tomcat server from the below URL https://tomcat.apache.org/download-80.cgi
-
Once downloaded, set the Environment variable under User variables before installing the tomcat server

-
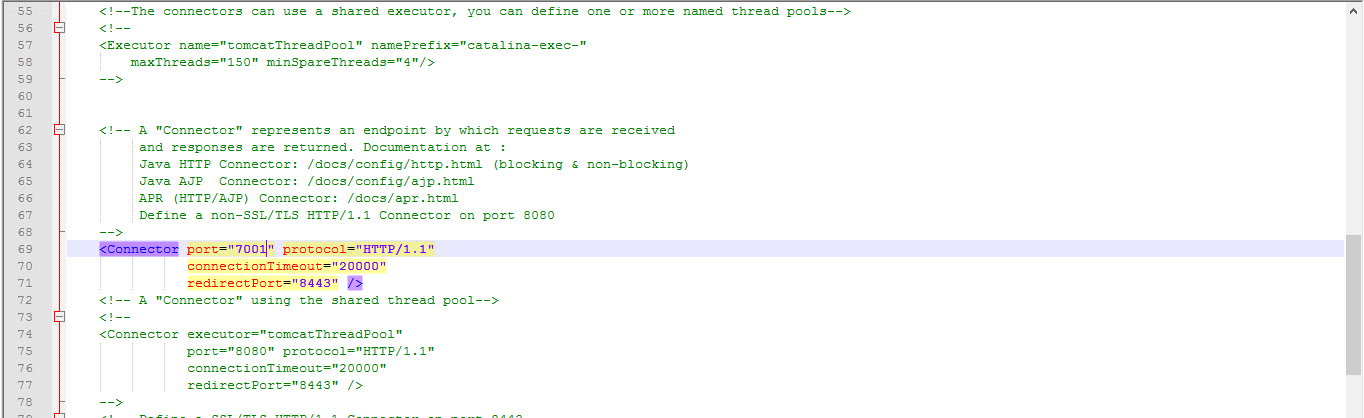
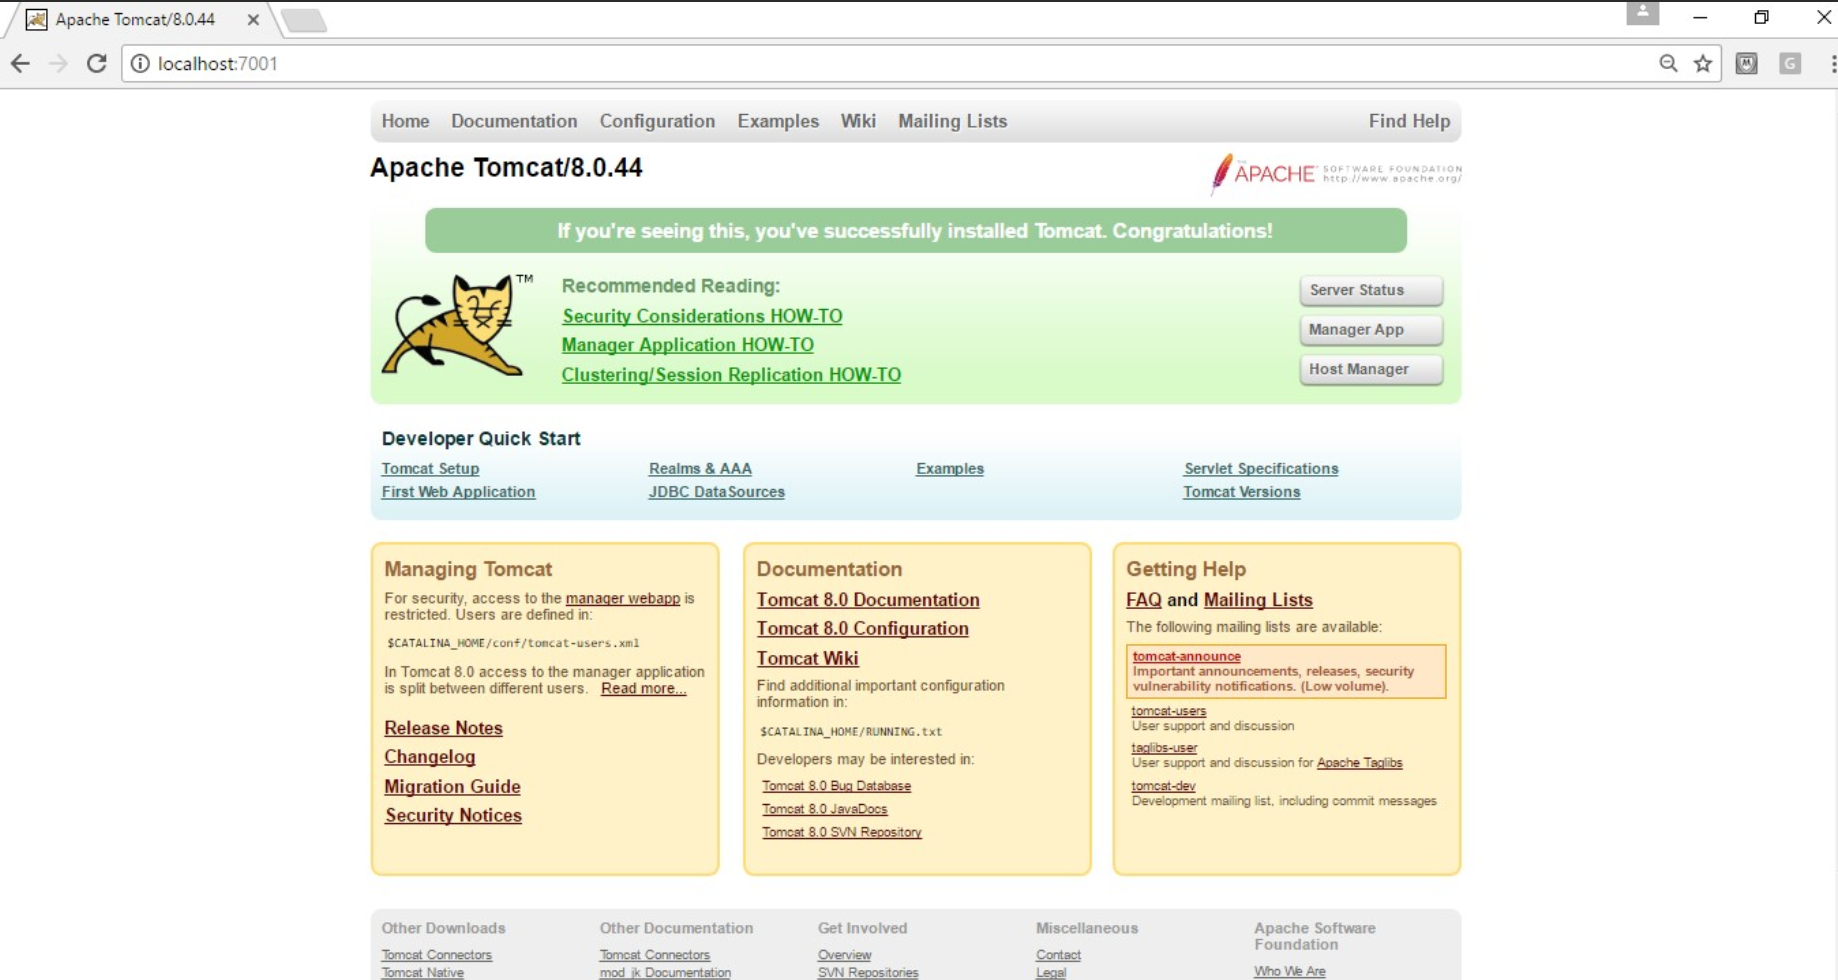
If you want to change the port of the server (By default, the tomcat server starts with port 8080 and it is sometimes required to change the default port as other programs might be using that port - by default Appvance HTTP uses port 8080), navigate to the conf folder, edit the server file and change the port at line 69 as seen below (Ex: 7001)

-
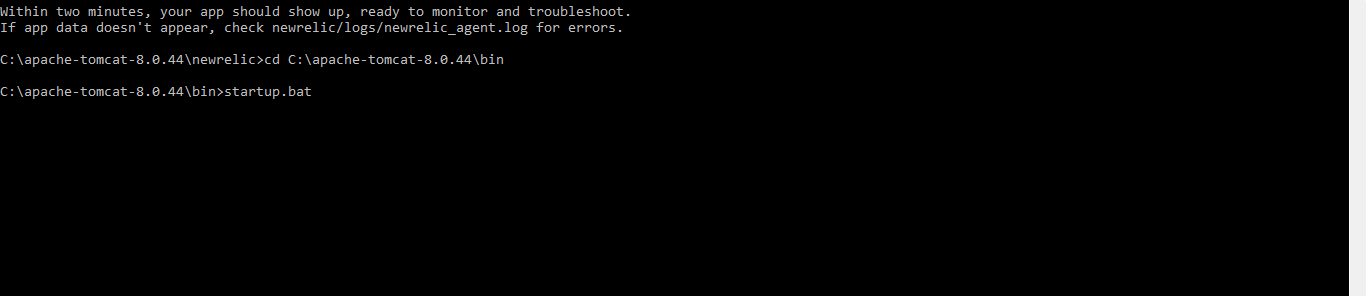
Open the command prompt, run the below command to start the server

-
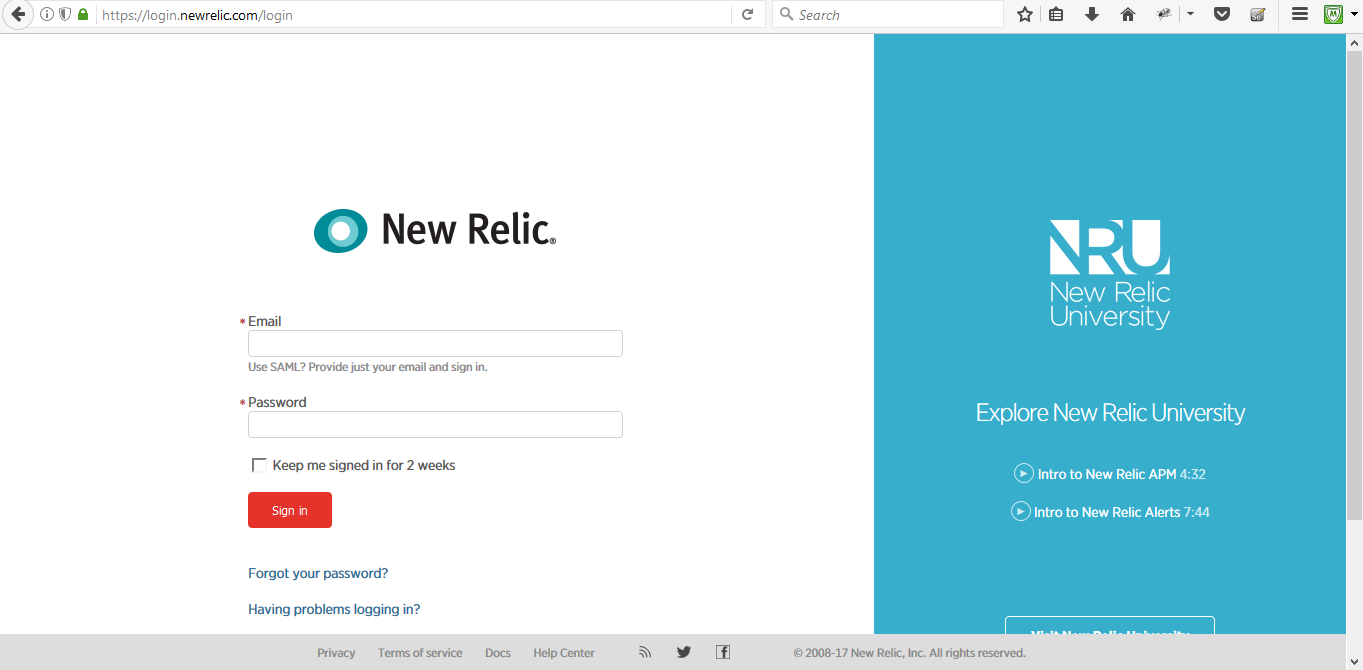
Login to the New Relic website with your valid credentials.
https://login.newrelic.com/login
-
Click APM in the Leftmost Corner if you are going to use it for the first time, if not click the Add more button

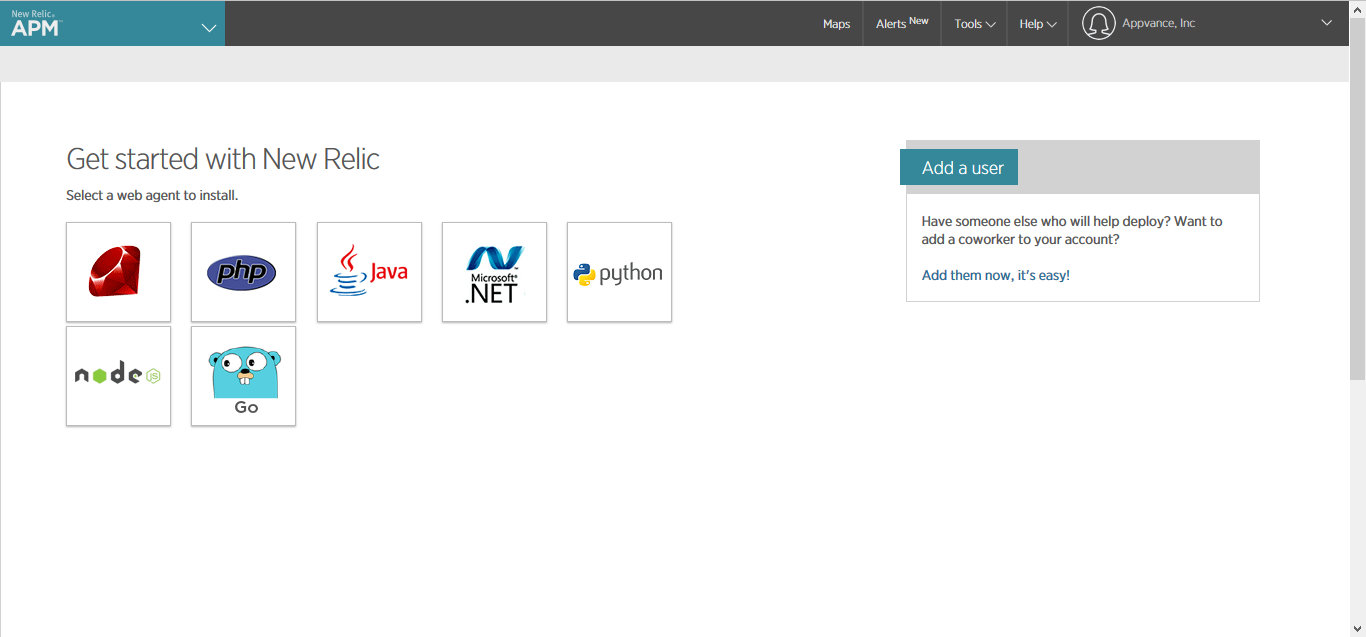
-
Click Java

-
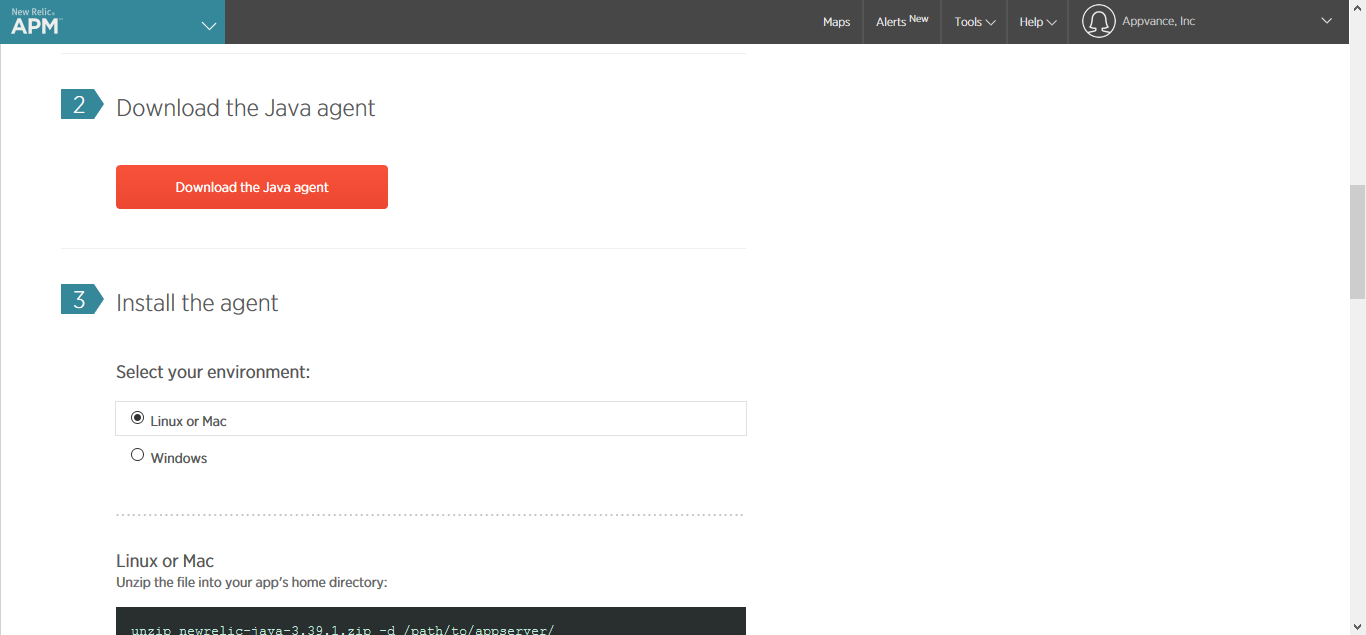
If your OS is windows, Click the Windows button and click download the Java agent.
The new relic-java-3.39.1.zip file will get downloaded.
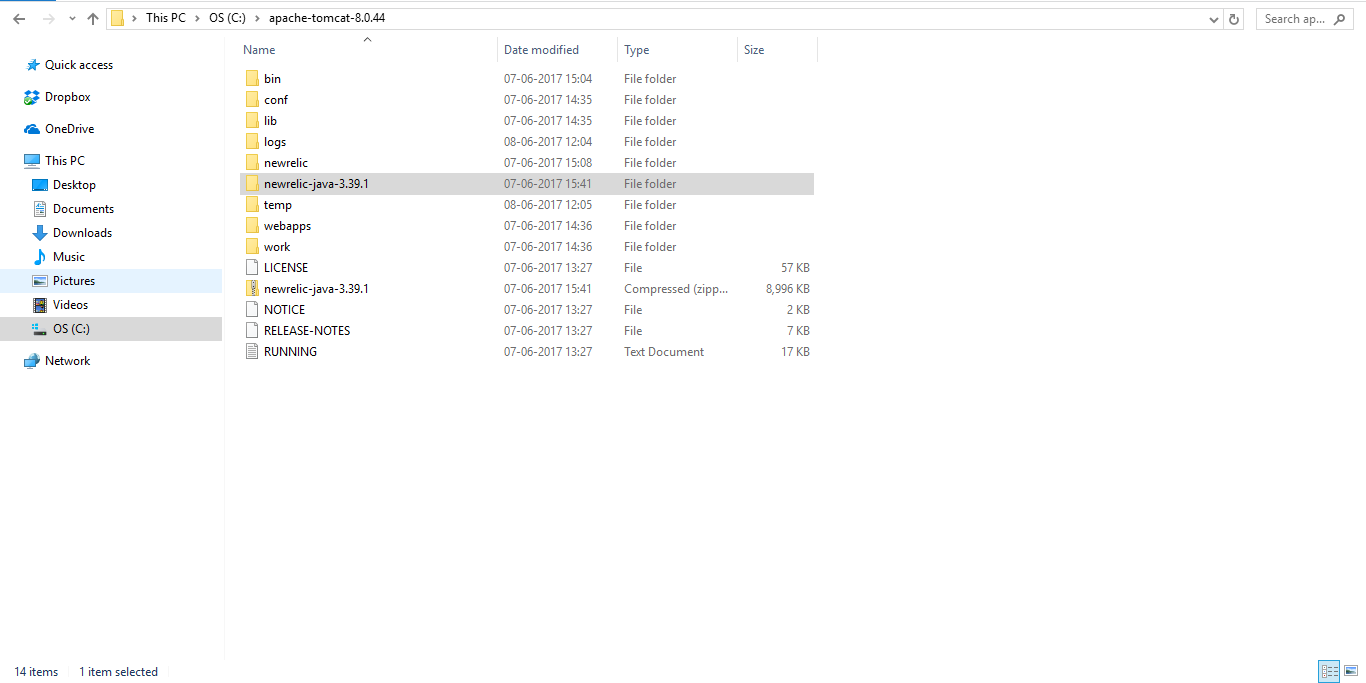
Extract the newrelic-java-3.39.1.zip and copy the new relic folder and paste it inside the Java Server (Tomcat, Jetty, JBoss, etc.)
Ex:
-
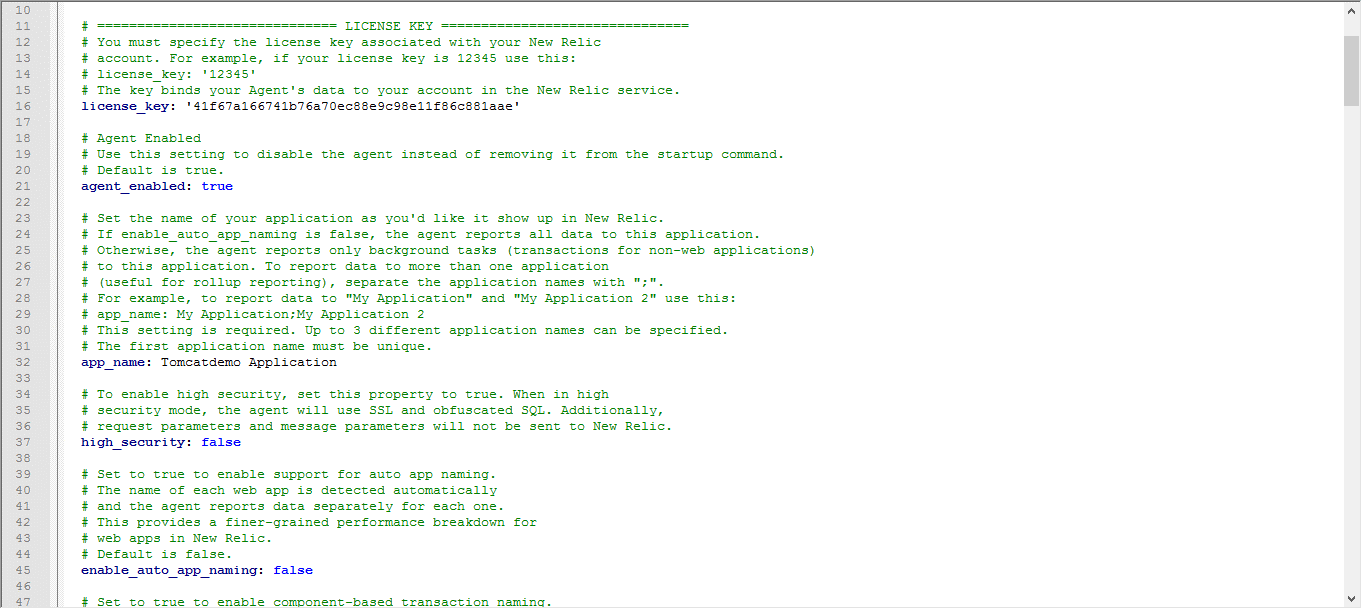
If you want to change Display Name, Navigate to the New relic folder, Edit the app name in 'newrelic.yml' file
-
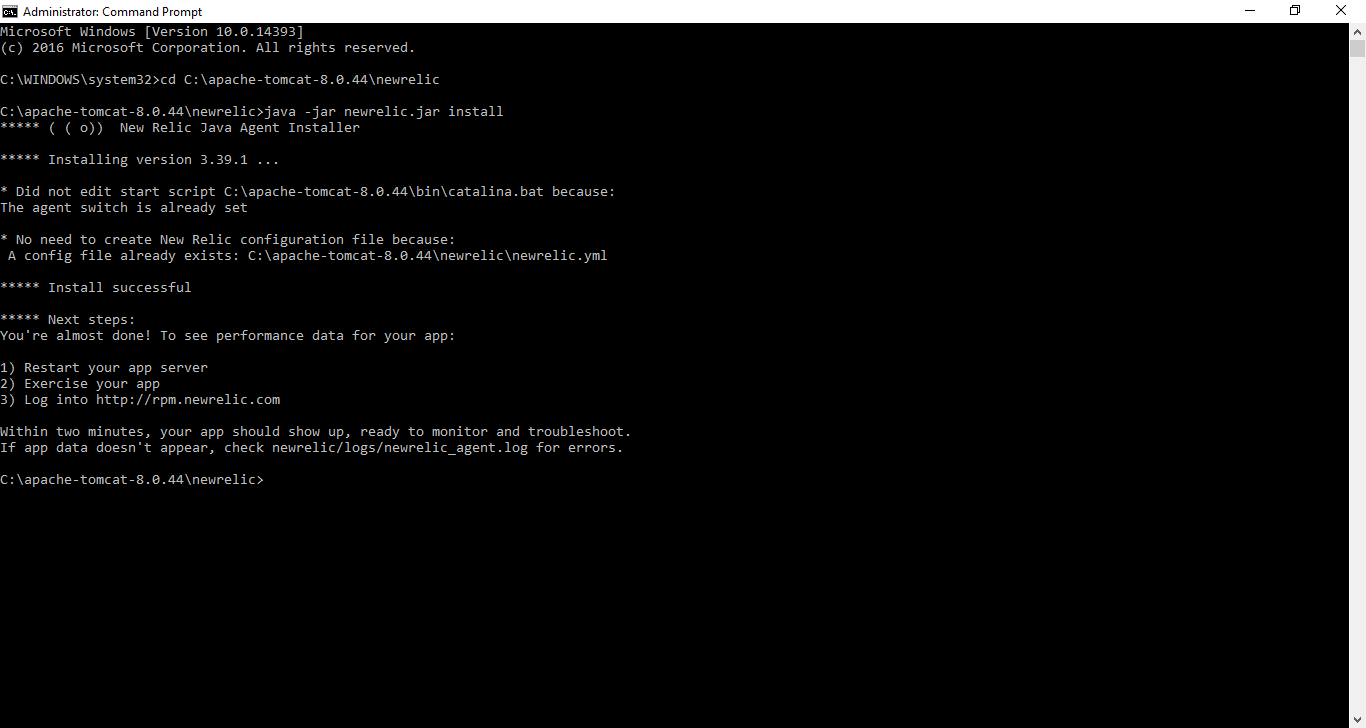
Open the Command Prompt with Administrator access
-
Navigate to the New relic folder and type the below command
java -jar newrelic.jar install

-
Start the Java Server (In our case it is Tomcat Server)
-
Perform the actions in the Application that uses the above one as a server
-
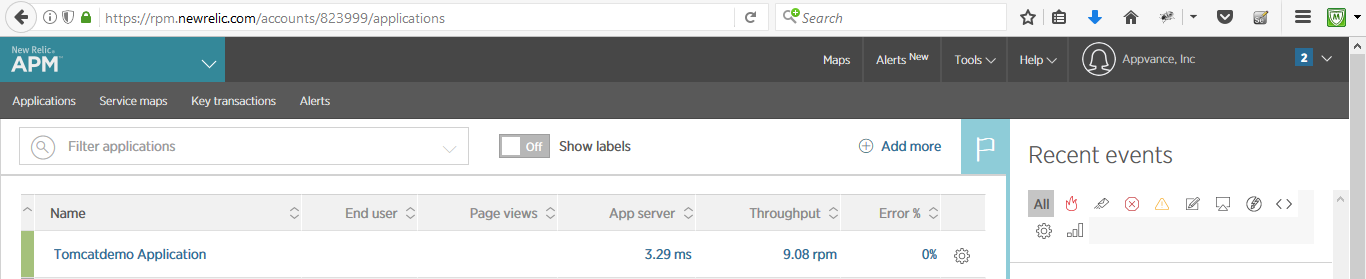
Navigate to the New Relic Website and the name provided in the .yml file will get listed under the Application and clicking the application server, all the monitoring and dashboard graphs shall be displayed