Load Balancer SSL Certificate Redirect
This contains information for the following platforms:
Windows IIS URL Rewrite
-
Install IIS module on the Windows VM.
Follow the process documented here: Install IIS and ASP.NET Modules
-
Install URL Rewrite.
Follow the process documented here: URL Rewrite
-
Install Request Router.
Follow the process documented here: Application Requet Routing
-
After the installations are complete, you must enable the Application Request Routing Cache.
-
Open Application Request Routing Cache.

-
Select Server Proxy Settings.

-
In the Application Request Routing Screen, check Enable Proxy and click Apply. Accept all of the default settings.

-
-
Create a
web.configfile in theC:\inetpub\wwwrootdirectory with the following code:Copy<?xml version="1.0" encoding="UTF-8"?>
<configuration>
<system.web>
<httpRuntime requestPathInvalidCharacters="<,>,*,%,\" />
</system.web>
<system.webServer>
<rewrite>
<rules>
<rule name="Redirect to https" stopProcessing="true"> -->
<match url=".*" />
<conditions>
<add input="{HTTPS}" pattern="off" ignoreCase="true" />
</conditions>
<action type="Redirect" url="https://{HTTP_HOST}{REQUEST_URI}" redirectType="Permanent" appendQueryString="false" />
</rule>
<rule name="ReverseProxyInboundRule1" stopProcessing="true">
<match url="(.*)" />
<action type="Rewrite" url="http://localhost:8080/{R:1}" />
</rule>
</rules>
</rewrite>
<handlers>
<remove name="StaticFile" />
</handlers>
<security>
<requestFiltering>
<requestLimits maxAllowedContentLength="300000000" maxQueryString="32768" />
</requestFiltering>
</security>
</system.webServer>
</configuration> -
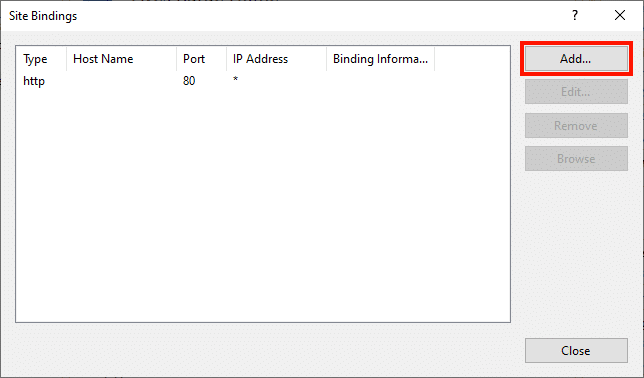
In IIS Management update Site Bindings for the default website.
-
Add new Bindings.
-
Add HTTPS with All Unassigned.
-
Provide a host name (for example: aiq.appvance.com)
-
Select the SSL certificate
*.appvance.comthat is installed on the server.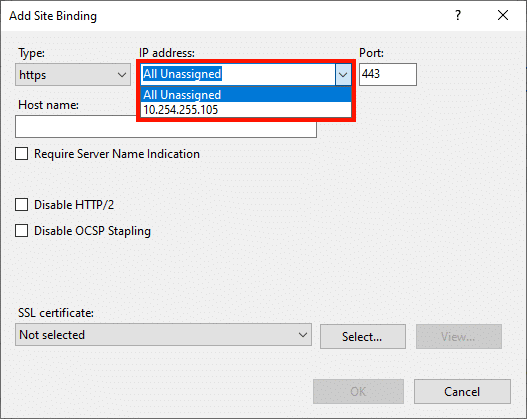
-
-
Restart the Default Web Site in IIS.
-
Update the DNS with the new record and the IP address of the server.
Linux HAProxy
-
Update Ubuntu server:
apt update -
Install HaProxy:
apt install haproxyThe command
haproxy -vwill tell you the current version that is installed. -
Use the following configuration to update backend IP address to AIQ server.
global
    log                       127.0.0.1 local2
    maxconn                   2048
    tune.ssl.default-dh-param 2048

defaults
    mode                    http
    log                     global
    option                  httplog
    option                  dontlognull
    option http-server-close
    option forwardfor       except 127.0.0.0/8
    option                  redispatch
    retries                 3
    timeout http-request    10s
    timeout queue           1m
    timeout connect         10s
    timeout client          1m
    timeout server          1m
    timeout http-keep-alive 10s
    timeout check           10s

frontend aiq
    bind *:443 ssl crt /usr/local/etc/haproxy/certificate.pem
    bind *:80
    http-request redirect scheme https code 301 if !{ ssl_fc }
    default_backend aiq-http

backend aiq-http
server static <ip-address>:8080 check-
Reload the HaProxy with the new configuration:
systemctl reload haproxy -
Update the DNS.