Appium Desktop Inspector
-
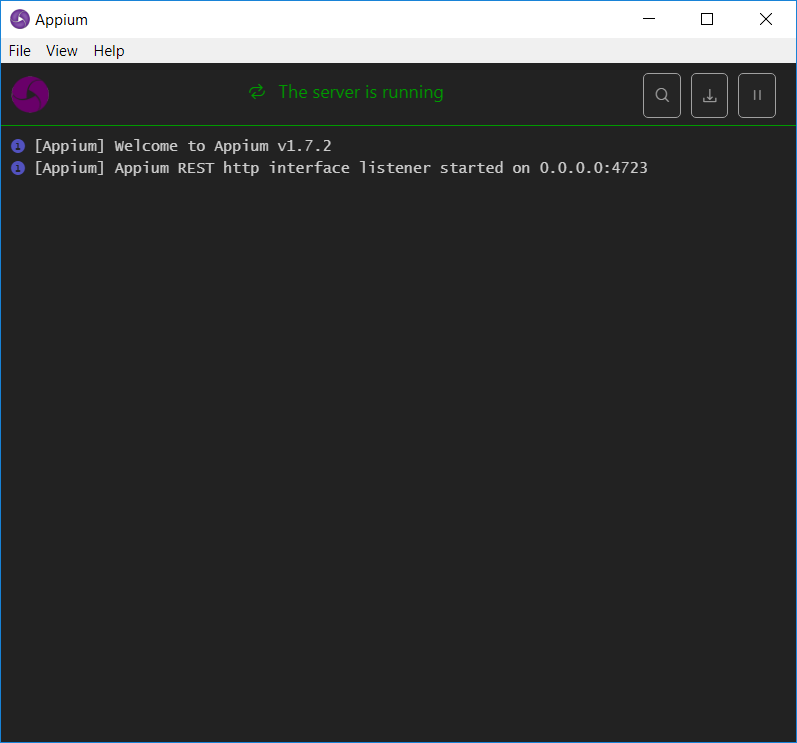
Open Appium from Start or from the desktop shortcut
-
Click Start Server for the server to begin running
-
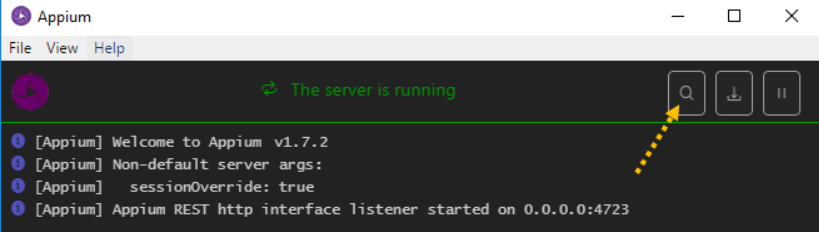
Click Start Inspector Session button (the first button with a search icon) from the Appium logs screen
-
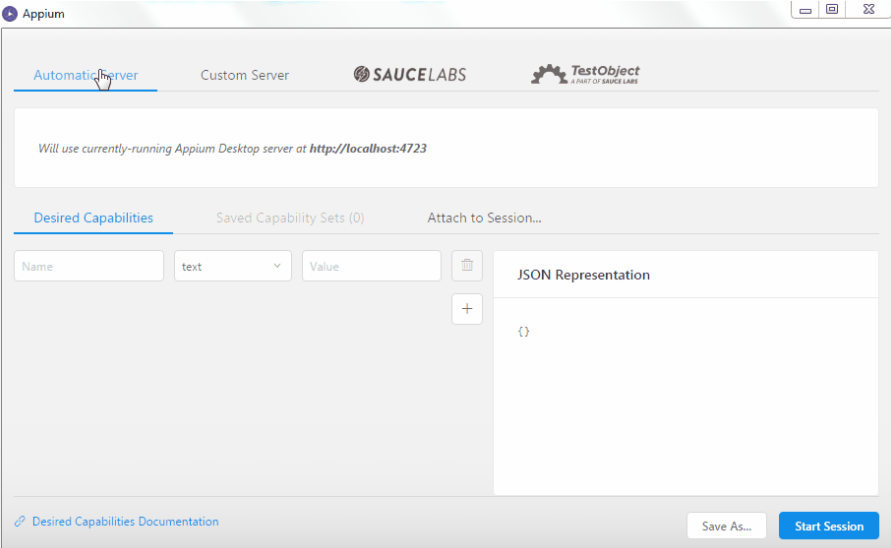
A new Appium window would be displayed
-
Automatic Server: When you use this tab, Appium Inspector would get started on the current instance of Appium Desktop. In simple terms, you have only 1 Appium Desktop instance open at this time. And on this instance of Appium Desktop, you have started the Appium server. So Automatic server would work with this very instance of the Appium server
-
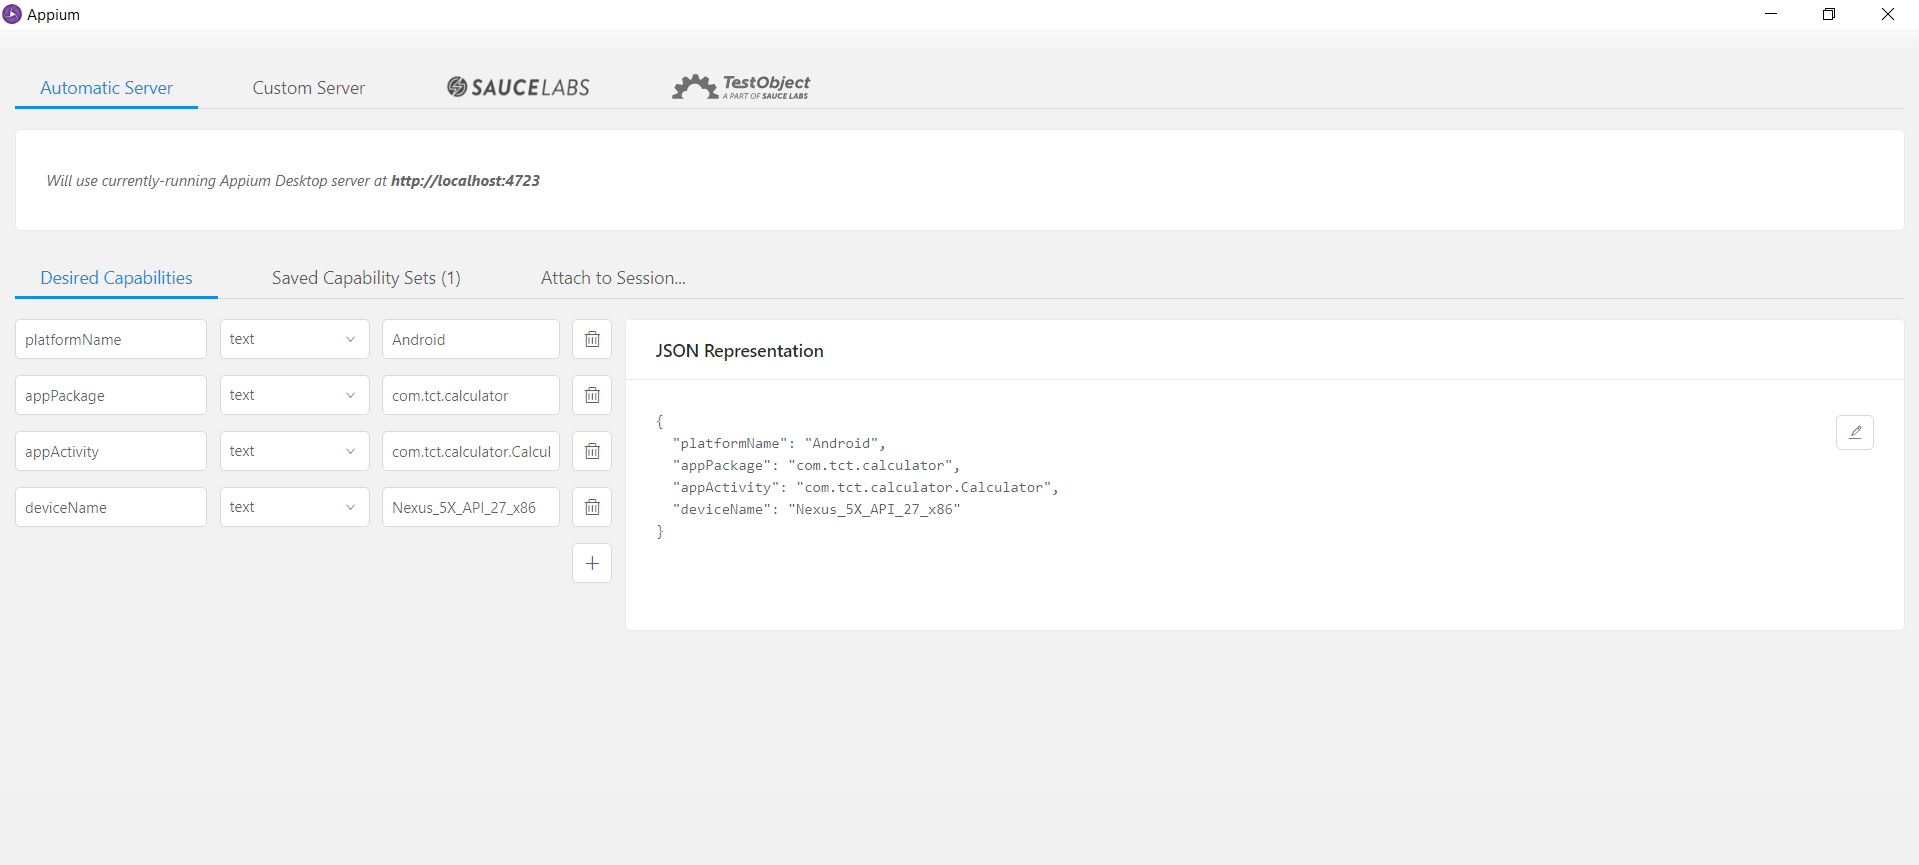
Provide Desired Capability details for Automatic Server: All the application details, like the device name, application package details, App activity details, device name and any other details to be mentioned here for the recording session to begin
-
Note that the JSON Representation block would show the capability that you have added just now
-
You have now successfully added all the Desired Capabilities. Let us now save this Capability Set and then start the Appium Desktop Inspector
-
First of all, make sure that your mobile device is connected to your machine. Also, see that it's unlocked. To start Appium Desktop Inspector, click the Start Session button. You can do this either from the Desired Capabilities tab or from the Saved Capability Sets tab
-
Once you click the button, you would see that the screen would start getting refreshed. Then after a few moments, the Appium window would display the screen-shot of the Calculator app together with its Object Hierarchy Dump.
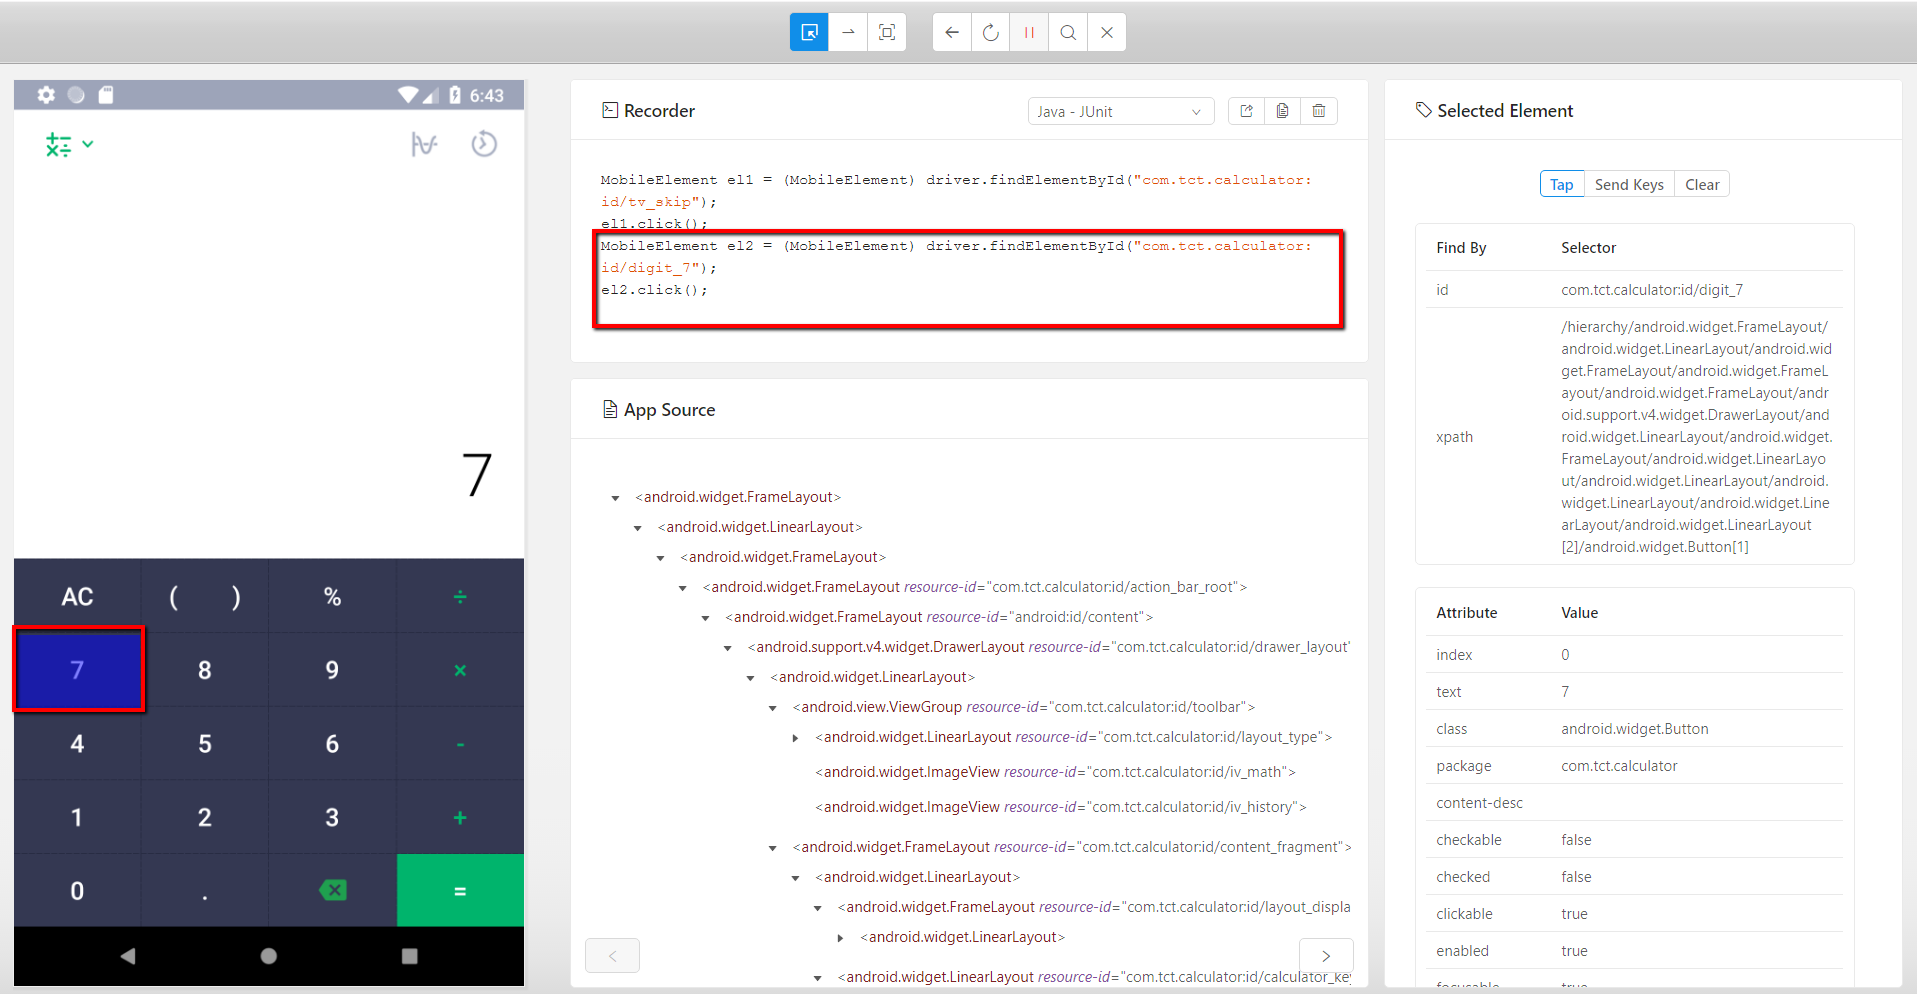
You have now successfully opened Appium Desktop Inspector with the desired application
-
Now you can inspect the target element from the left section and either uses the tap or Send keys action under the Select Element window which adds the desired step in the Recorder, similarly all other actions could be captured using this tool and then eventually add these steps to your project in Netbeans or Eclipse