WebDriverAgent is a WebDriver server implementation for iOS that can be used to remotely control iOS devices. It allows you to launch and kill applications, tap and scroll views or confirm view presence on a screen.
For more information see Appium's documentation on real device configuration at appium/appium-xcuitest-driver.
-
Open Terminal, and run the following command and copy the output path.
echo "$(dirname "$(find "$HOME/.appium" -name WebDriverAgent.xcodeproj)")"
An example of the command output:
/Users/USER/.appium/node_modules/appium-xcuitest-driver/node_modules/appium-webdriveragent -
Navigate to the output path. The easiest way is running the open command on Terminal adding the path as parameter.
For example:
open /Users/USER/.appium/node_modules/appium-xcuitest-driver/node_modules/appium-webdriveragent
- Open the WebDriverAgent.xcodeproj on Xcode.
-
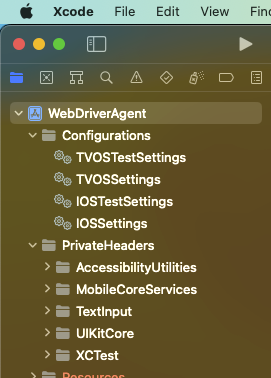
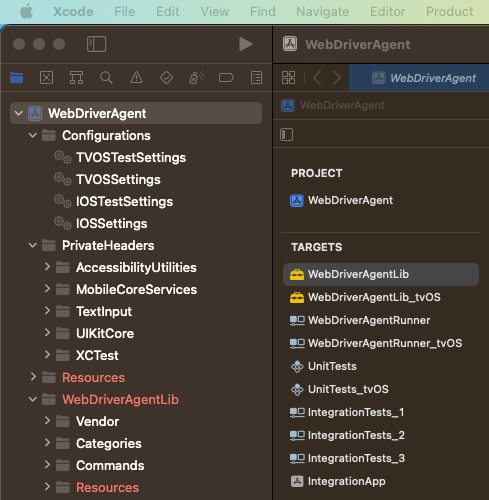
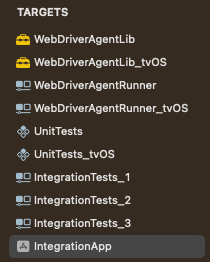
On the Navigator select WebDriverAgent.
-
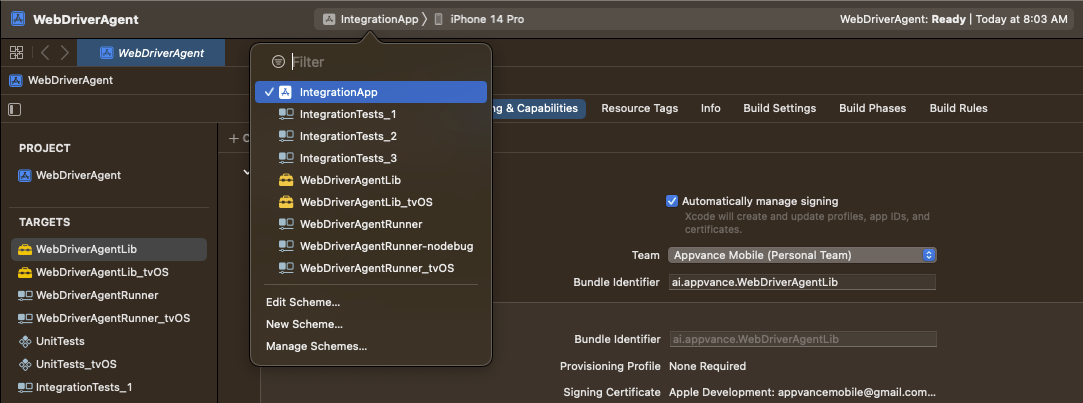
Select WebDriverAgentLib from the list of targets.
-
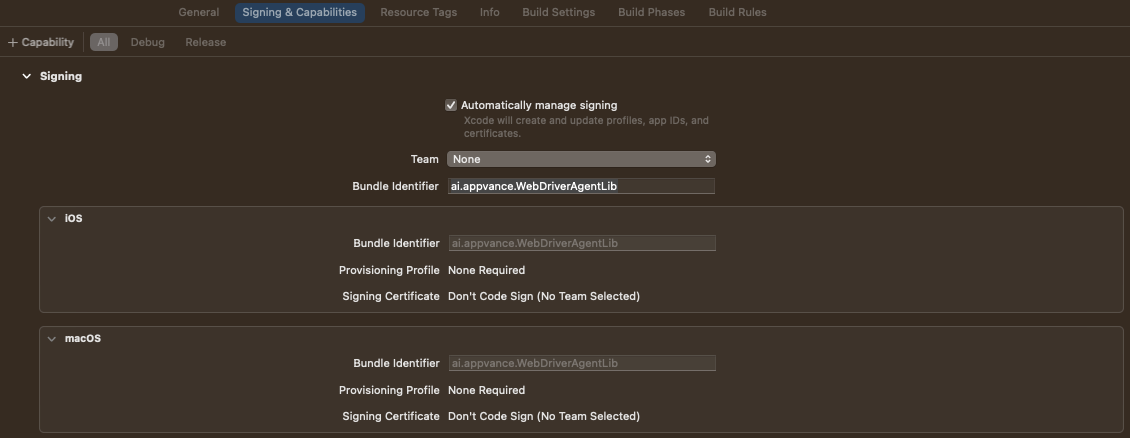
Select the Signing & Capabilities tab.

-
Edit the Bundle Identifier value to replace the com.facebook prefix. You can replace it for ai.appvance (you can use com.nike or so depending on the company).
-
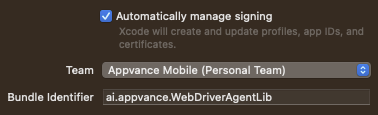
Make sure the Team field has the right value selected. This will depend on the owner of the app as well.
-
Update the Bundle Identifier and Team values for all Targets in the project. Repeat the process in steps 5 through 8 for each target in the list.
-
To finish, select WebDriverAgentLib as destination the target and press Command + B or go to Product / Build.
-
A successful build displays the following message.
