
Configuring a GIT Repository
If you are going to use Visual Accessors, you must use a SFTP, FTP, or S3 repository. This is because Images are resource-consuming elements, at the disk, memory, and CPU level, so using an S3 repository will yield the best performance. The images will be saved with the script in your S3 repository which simplifies image management.
Appvance does not recommend using Git to store your images if your are using the Visual Accessor functionality. This is due to Git not being designed to handle large amounts of binary files efficiently.
Creating a new GIT Repository
-
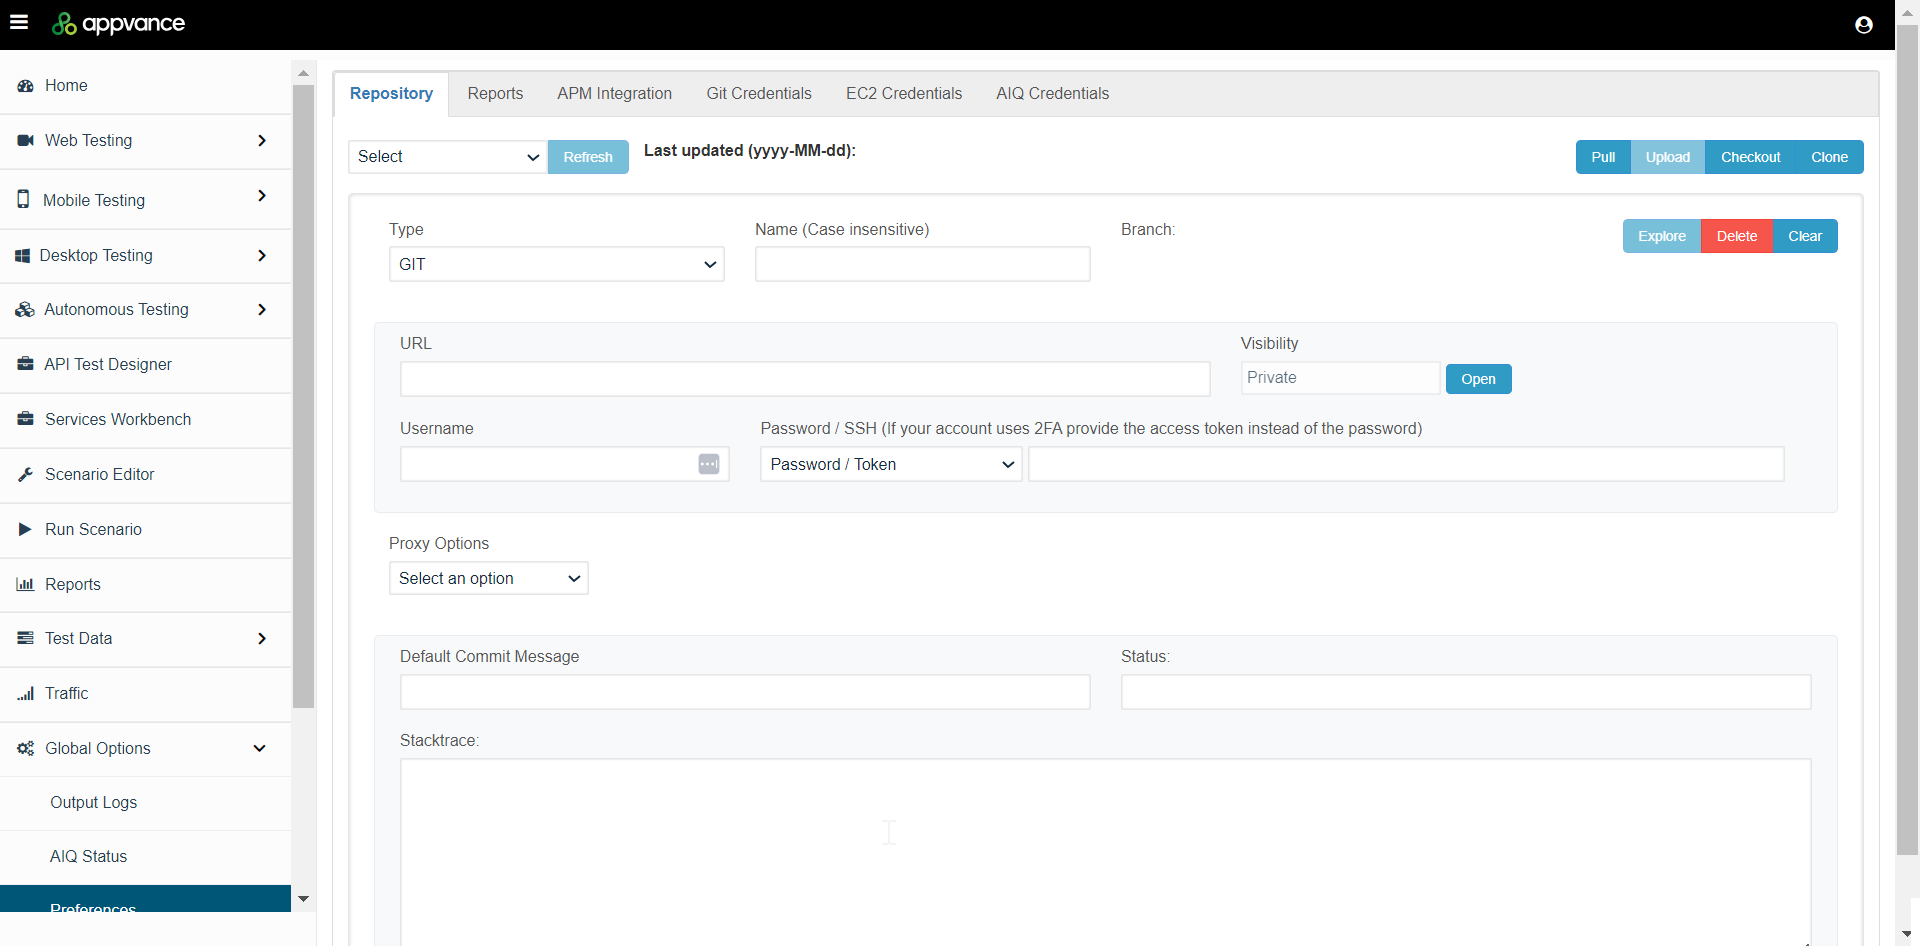
Enter a name for the repository in the Name box. This is a locally referenced name, and must not match the actual repository name.
-
Click the Type box and select Git or SVN.
-
Enter the URL to your repository, for example, https://gitlab.com/CompanyABC/myRepository.git
-
Enter your credentials in the Username and Password boxes
-
For Git SSH keys see https://gitlab.com/help/ssh/README
-
Click Clone Repository
-
-
The Status indicator displays a Cloning status until all assets are retrieved.
-
Optionally click Checkout Branch to select an alternate branch.
-
Note: As many users do not have write permissions to Master branches, selecting an alternate branch is recommended. Switching branches can take time to retrieve all files. The Status indicator displays a Cloning status until all assets are retrieved.
-
-
Any number of repository connections can be created, and appear in the Select box on the Repositories tab.
Repository Updates
Repositories are updated in real-time and are available throughout the entire Appvance IQ system, including, but not limited to, Scenario Builder and Test Designer and other script and test assets.
Files generated or updated using Appvance IQ are automatically added, committed, and (in the case of Git, pushed) to their respective repository servers.
Repositories are pulled at a 5-minute interval. To force a pull sooner (retrieving any changes to the repository not already present within AIQ), select a repository configuration and click Pull selected repository. For example, if another user updates or adds files, or you add or update files from another location, you may wish to retrieve the latest changes before the auto-update interval.
Click Clear to remove the currently selected repository configuration, providing an empty form to add additional repository connections.
Click Delete to remove the repository connection. Note: This will not delete a repository or any of its contents from the repository database. Deleting a repository will only remove its availability from AIQ.
Accessing Repositories in AIQ
Connected repositories appear in the QuickStart list within the REPOSITORIES folder. Expand the Quick Start list to view any connected repositories.
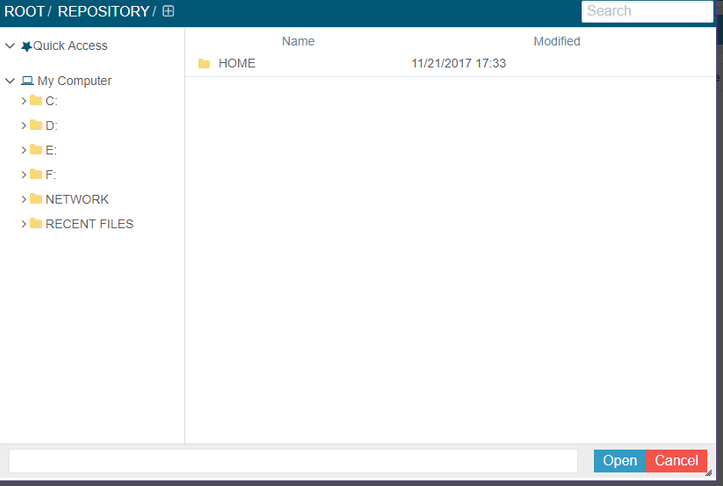
Should a repository not contain the expected files, return to Global Options > Preferences and select the Repositories tab to confirm the connection status.
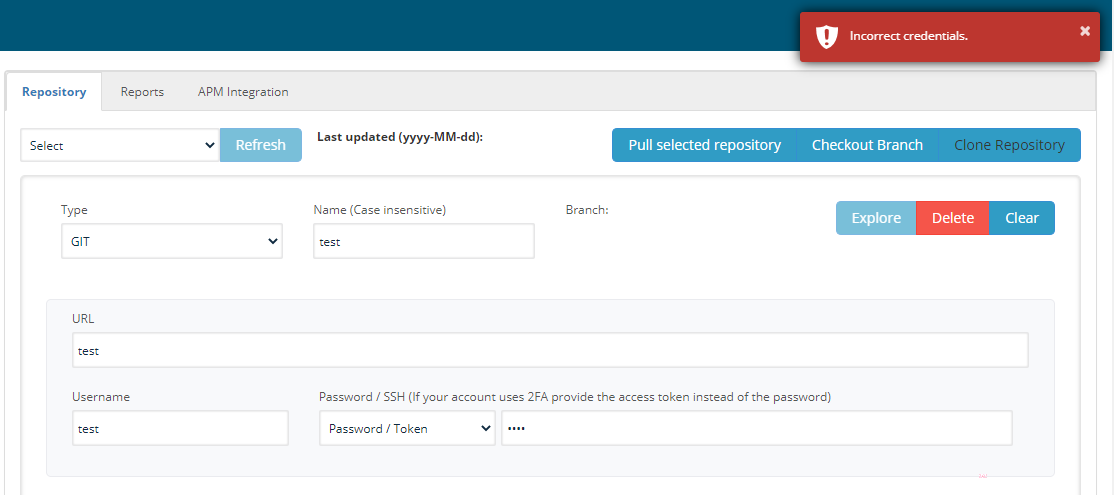
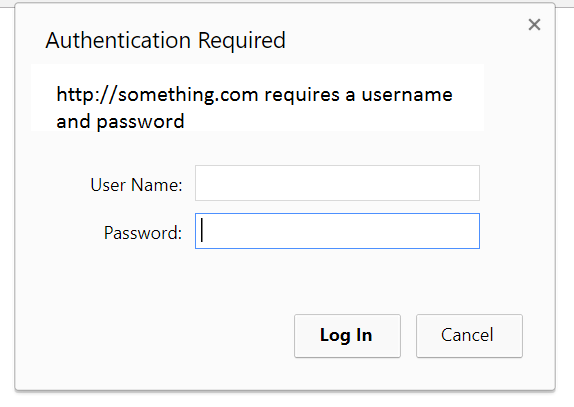
When a user provides invalid credentials, the user shall be notified before adding the repository to the list like below.
Saving to Repositories: When the same file is used by multiple users
The implementation of the GIT repository tries to avoid the possibility of a merge conflict. To achieve that, every time you SAVE a file, Appvance will FIRST PULL any changes from the remote branch, then save, then commit and finally push. This is every time someone saves a file.
This implies that, as a best practice, no one should be working on the same file at the same time (Just like how a windows file should not be shared among users for editing). If this happens, and both persons save their changes one after the other, the changes that will prevail are the changes of the person who saved last.
Implementing a merge conflict resolution method might bring more problems than fixes to this matter, as opens the possibility of, for example, breaking scripts or making a scenario XML file corrupt or at least invalid as the merge can produce not system congruent files. This kind of error caused by merged scenario files, for example, would be quite difficult to detect and fix, causing more problems.
How to add Git repository using SSH key
-
Generate SSH key:
Git Bash on Windows / GNU/Linux / macOS:
ssh-keygen -t RSA -C "your.email@example.com" -b 4096
For more details refer: Gitlab ReadMe
-
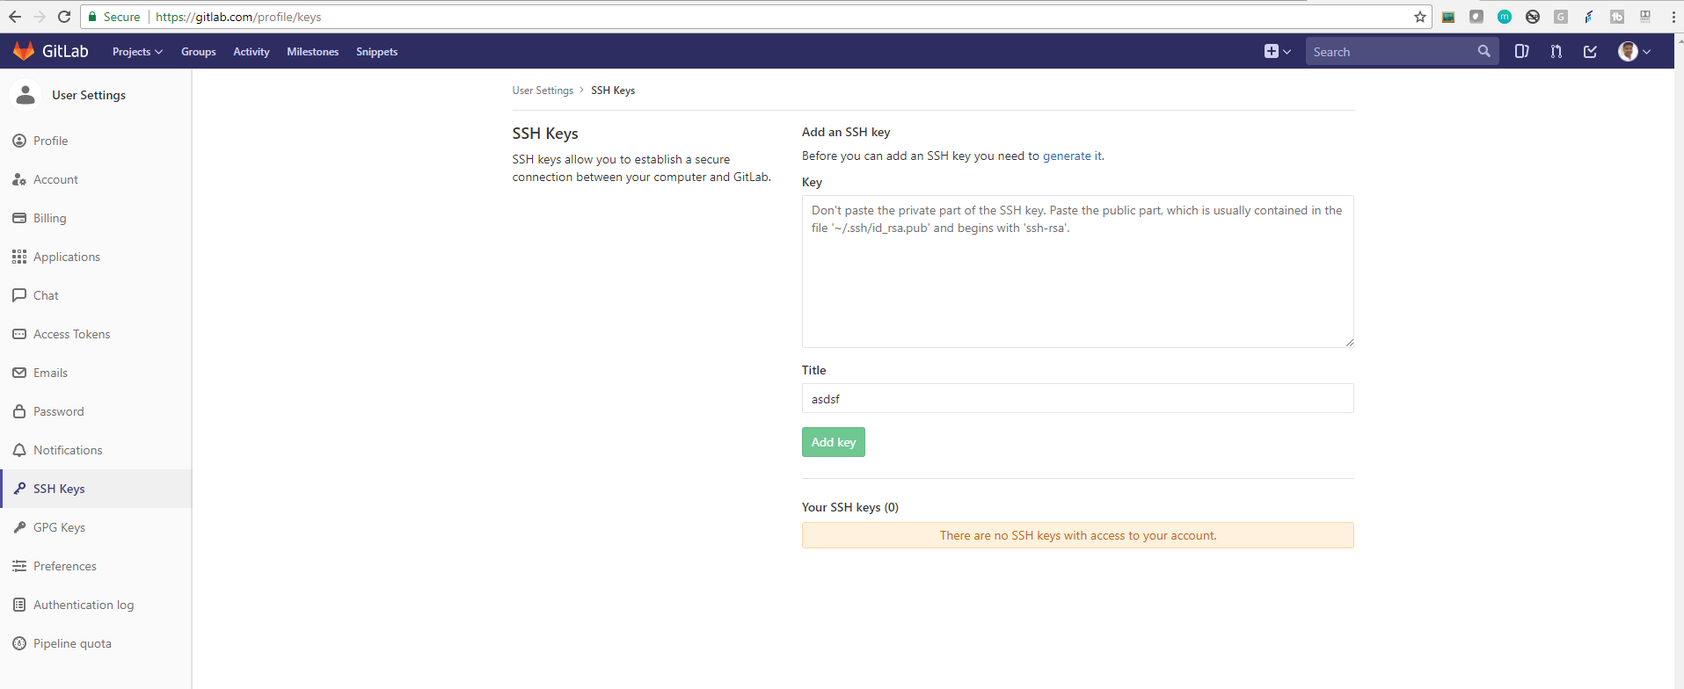
The next step is to add your public SSH key to GitLab. Navigate to the 'SSH Keys' tab in your 'Profile Settings'. Paste your key in the 'Key' section and give it a relevant 'Title'. If you manually copied your public SSH key make sure you copied the entire key starting with 'ssh-rsa' and ending with your email
-
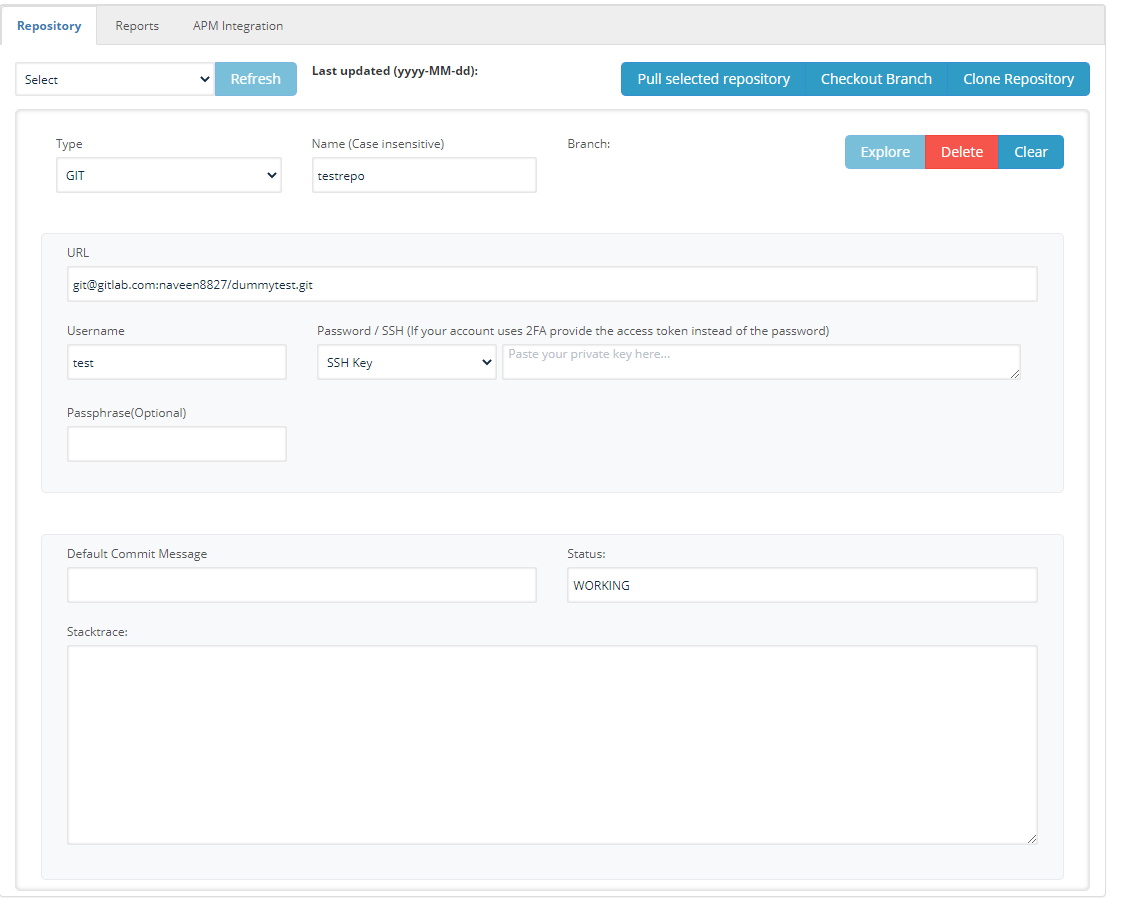
Navigate to Global Options > preferences > Repository page and select GIT from the Type drop-down
-
Enter a name in the Name field. Fill the URL and user name with your account information on git
-
Select SSH key
-
Open the file 'id_rsa' (public key) on any of your favorite editors like notepad++. Copy and paste the entire content
-
Click Accept button
-
Select the above-created repository name from the select drop-down
-
The status will be shown as "WORKING", after fetching data from the repository
How to specify a branch with the git repository
-
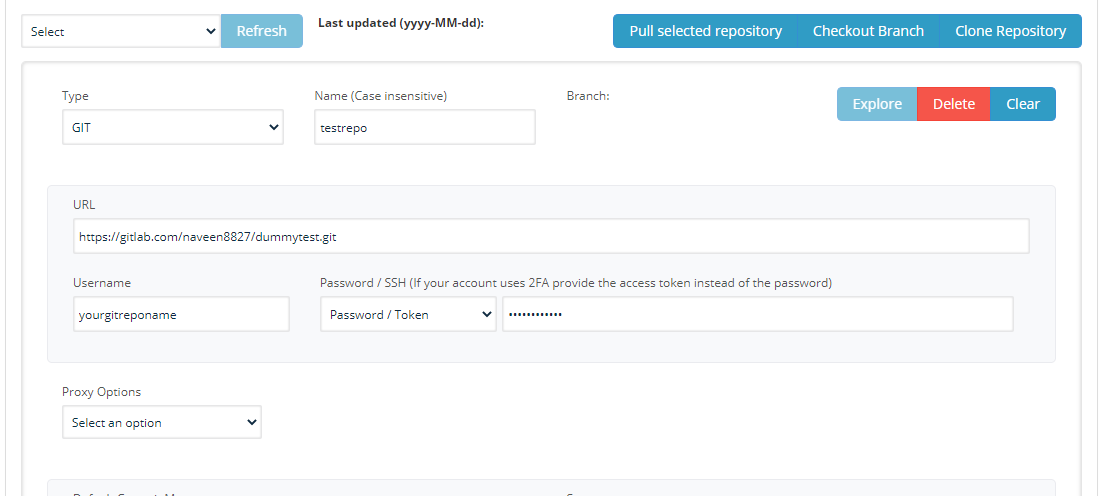
Provide all the required details as mentioned in earlier sections with the GIT Repo URL and click Clone Repository
-
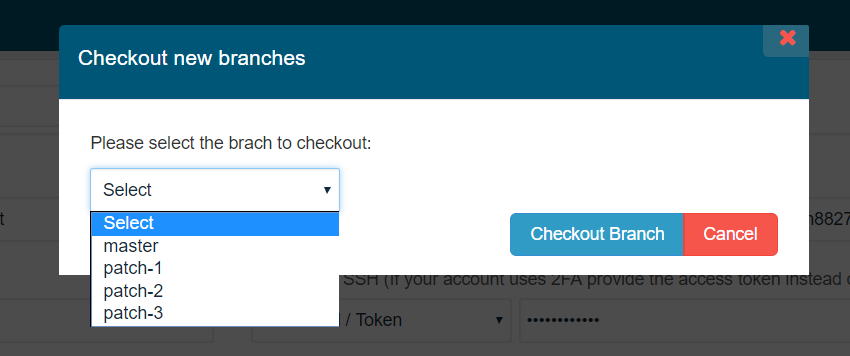
You will notice the current branch: MASTER below the status, now you can click Checkout Branch on top
-
You can select the branch from this list and click Checkout Branch.
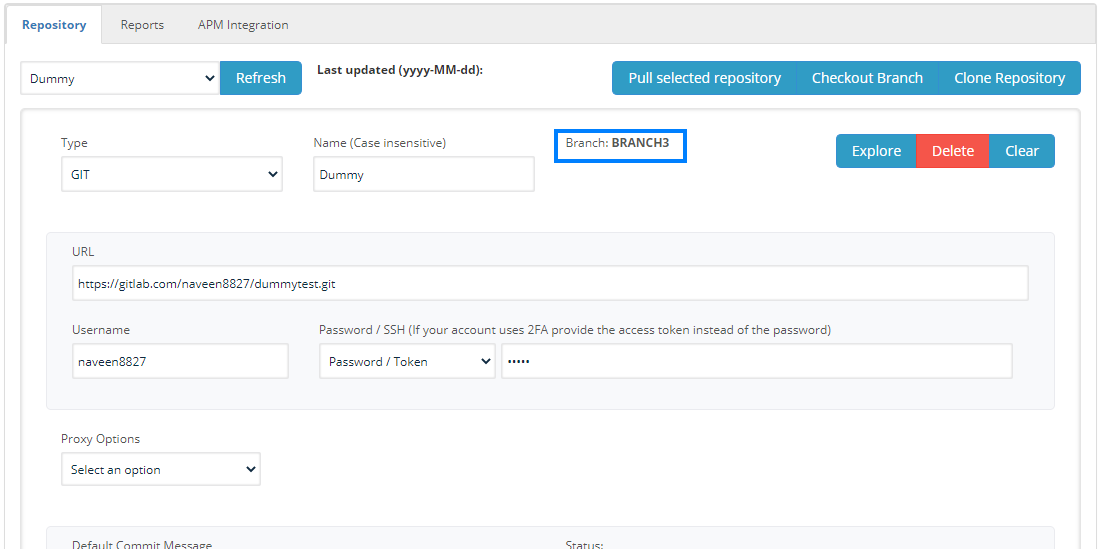
It will take a while to download and sync the files based on the new branch selected and you can notice that the branch would be changed
-
Now you can save all your files to the selected branch if you do not have enough permissions to save changes to the master branch (which usually is restricted to many users
Repository with multiple Authentication (Proxy Server)
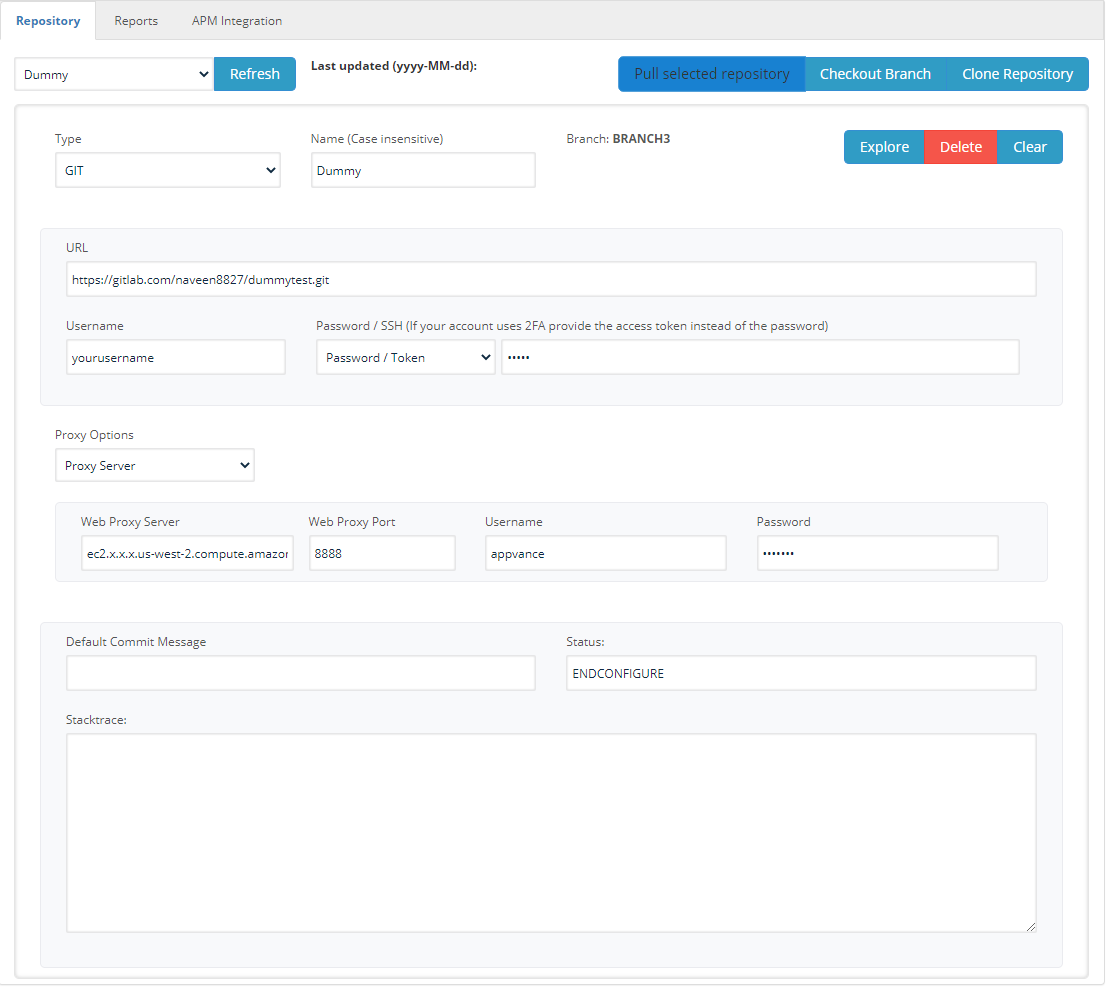
When the repository needs to be configured as a multilayer authentication that needs the proxy server details to be added, this option can be chosen.
Just like adding the Repository details above, with the URL and credentials, Choose Proxy Options from the drop-down, fill in the web-proxy Server, Port, and the credentials of the Proxy Server.
Click Clone Repository after providing all the valid details and credentials.
Note: Do not provide HTTP:// or HTTPS:// for the Web Proxy Server.
Committing with a GIT message
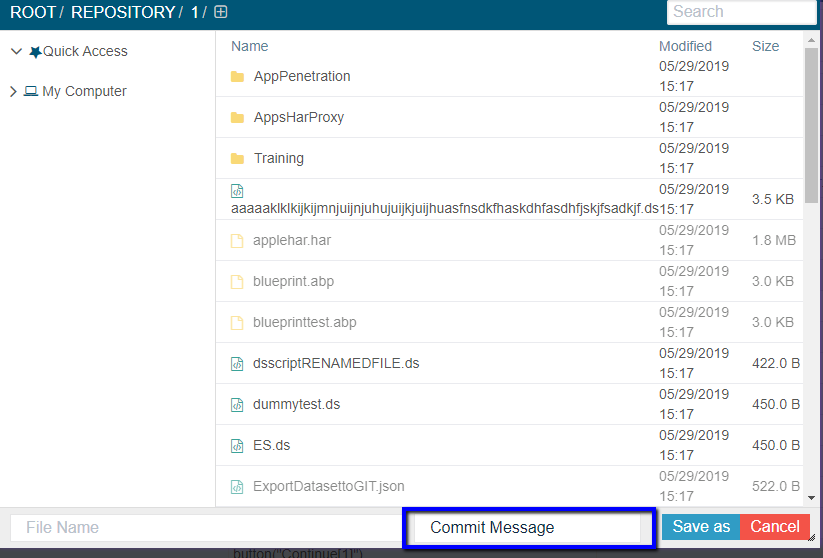
You can now commit files from AIQ with a commit message while saving files, Renaming, and/or deleting files.
When you configure a GIT Repo, You will have an option to provide the default Commit Message which defaults to "Appvance Commit" which can be changed and saved while cloning.
Once the repository is configured, In all the file explorers from IDE or from anywhere in AIQ when saving a file, you should be seeing a text field with the default message which can be changed as well.
This will be seen only for Repository configurations and not for local file saves.
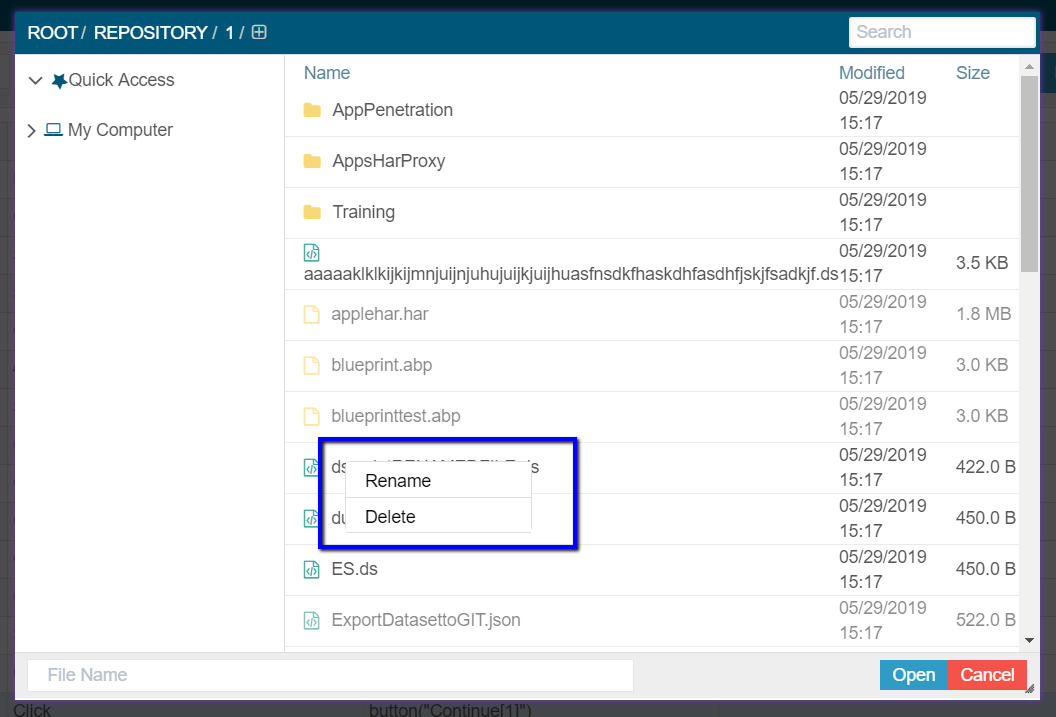
A commit message can also be provided when you rename or delete a file.
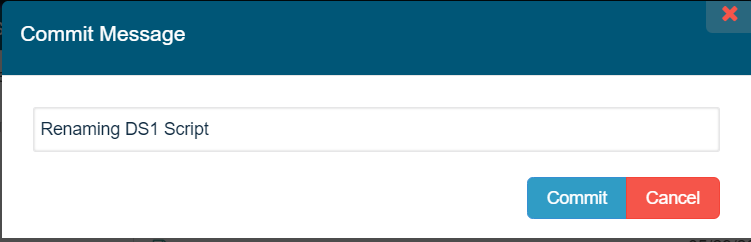
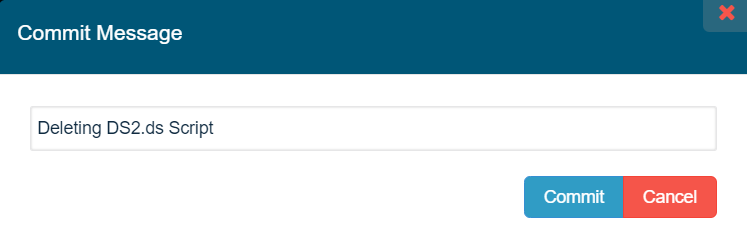
All the messages will be reflected in your GitLab for the configured repository.
Last updated: March 21, 2024
If you have any feedback on this topic, please contact us at documentation@appvance.ai