
Install the New Relic Java Agent for AIQ Monitoring
OneLast ofreviewed: theSeptember pre-requisite21, is2026
Use havethis Tomcat/Jettypage orwhen a similarJava serviceapplication tounder test must be installed and below are the instructions:
Download the Tomcat server from the below URL https://tomcat.apache.org/download-80.cgi
Once downloaded, set the Environment variable under User variables before installing the tomcat server

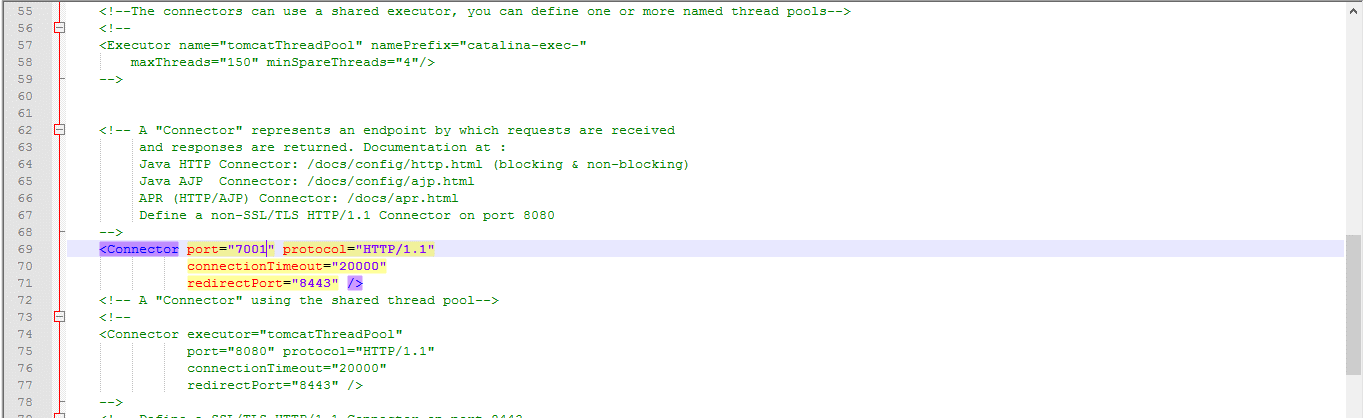
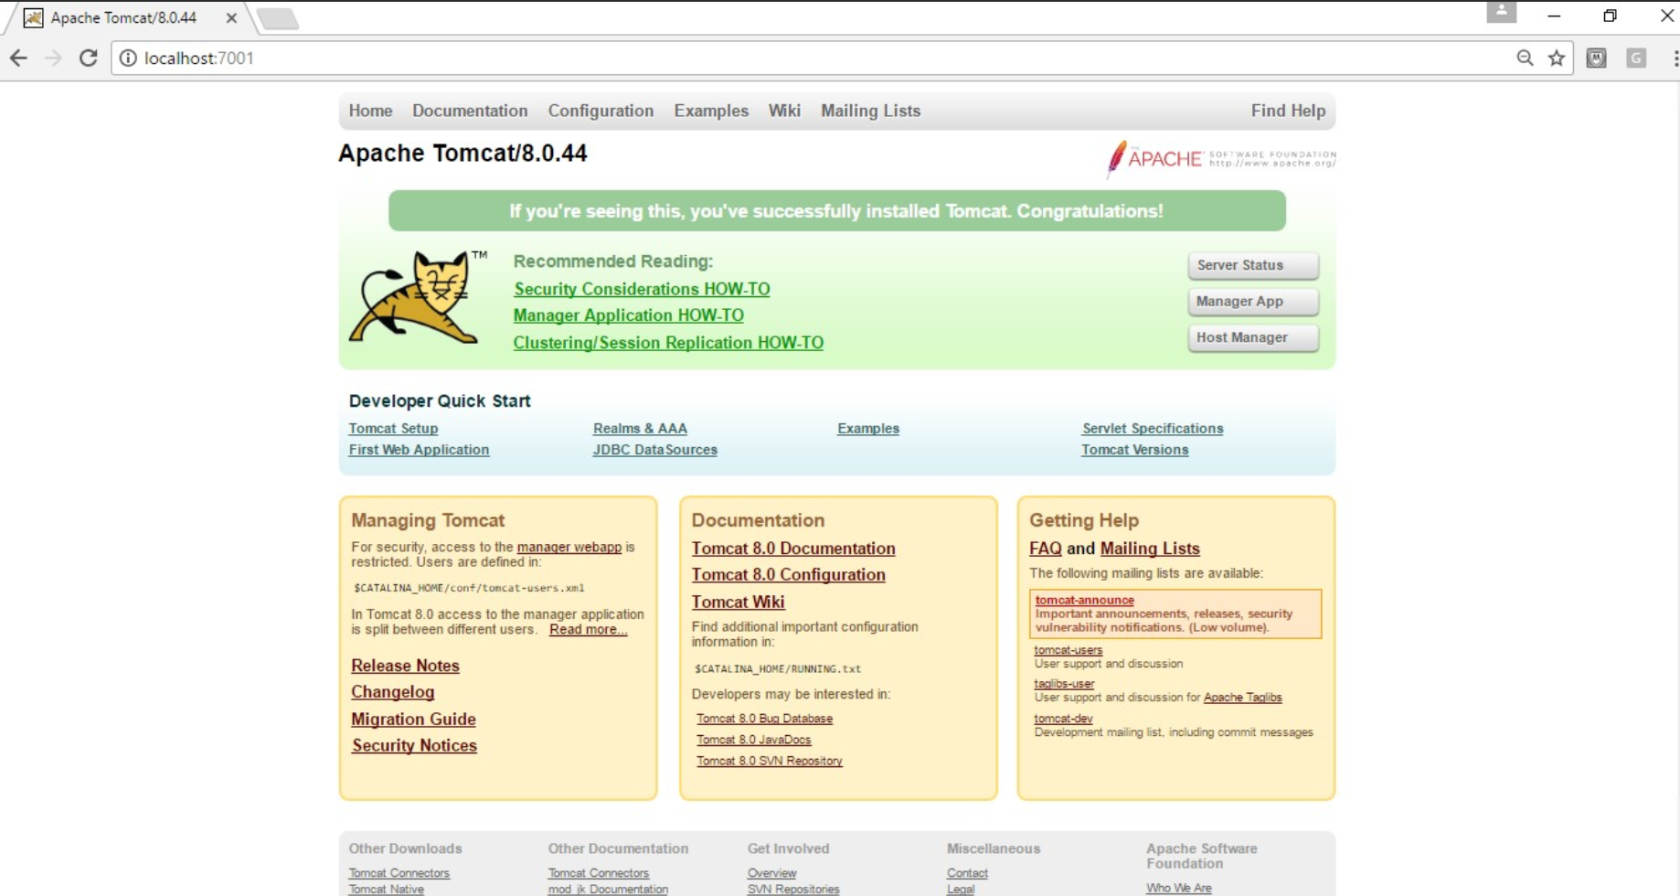
If you want to change the port of the server (By default, the tomcat server startsinstrumented with port 8080 and it is sometimes required to change the default port as other programs might be using that port - by default Appvance HTTP uses port 8080), navigate to the conf folder, edit the server file and change the port at line 69 as seen below (Ex: 7001)

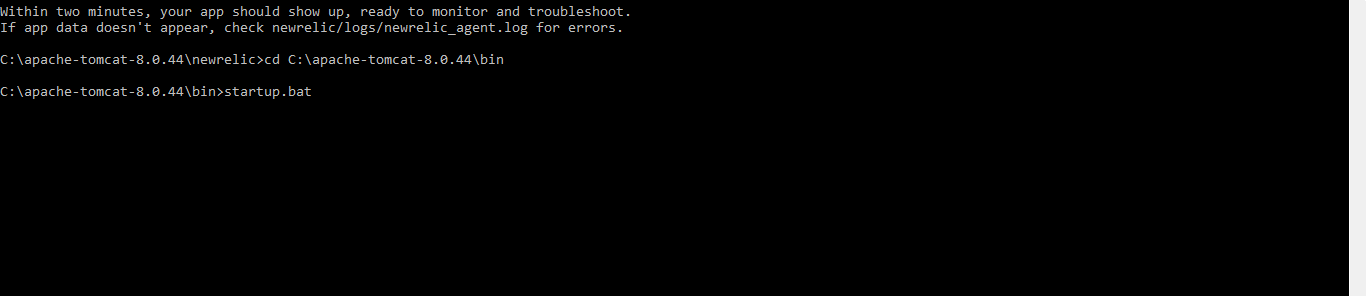
Open the command prompt, run the below command to start the server
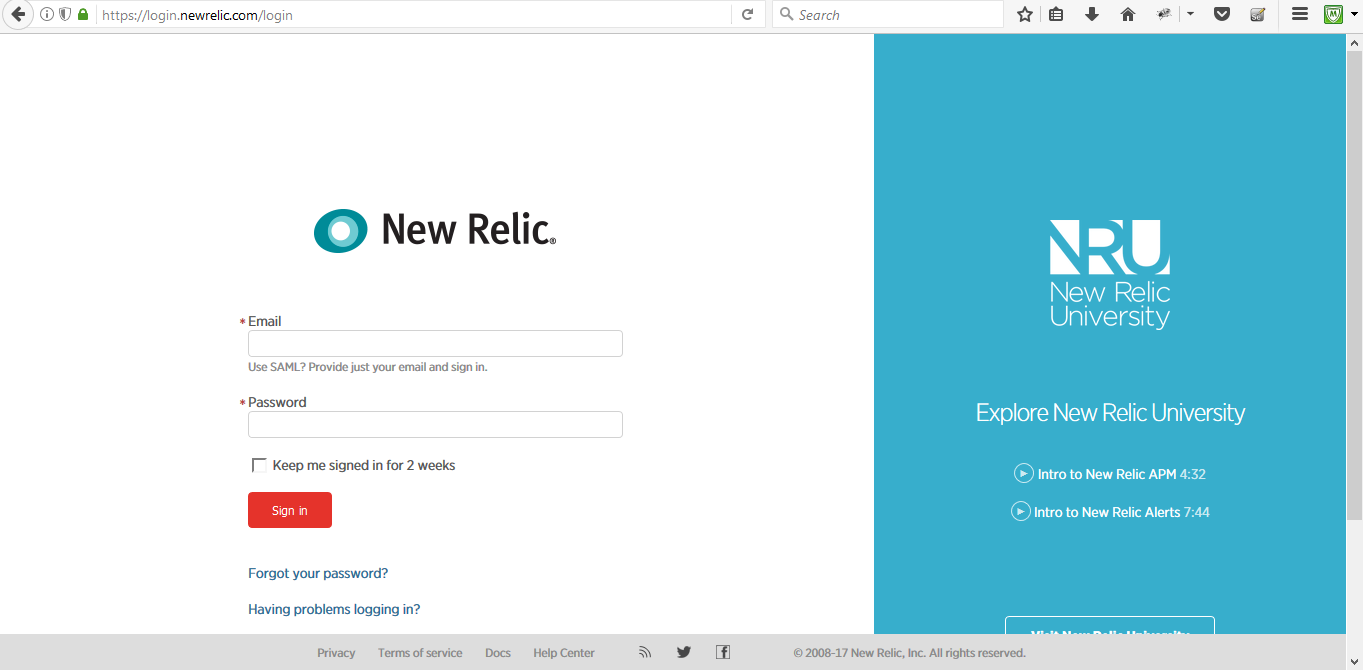
Login to the New Relic websiteJava agent so AIQ performance results can be correlated with yourAPM valid credentials.data.
https://login.newrelic.com/login
Recommended guidance
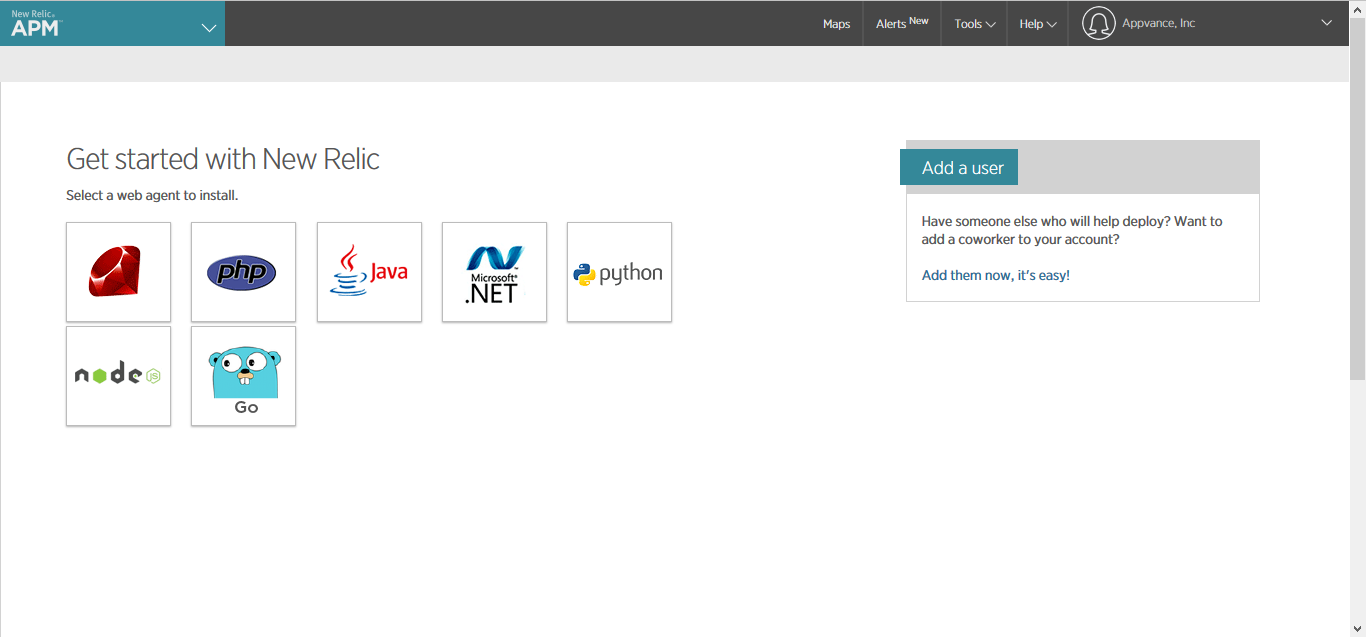
Click APM inUse theLeftmostcurrentCornerNewifRelicyouJavaareagentgoing to use itdocumentation for thefirstsupportedtime,agentifversion.- Coordinate
notinstallationclickwith theAddapplicationmoreownerbuttonbefore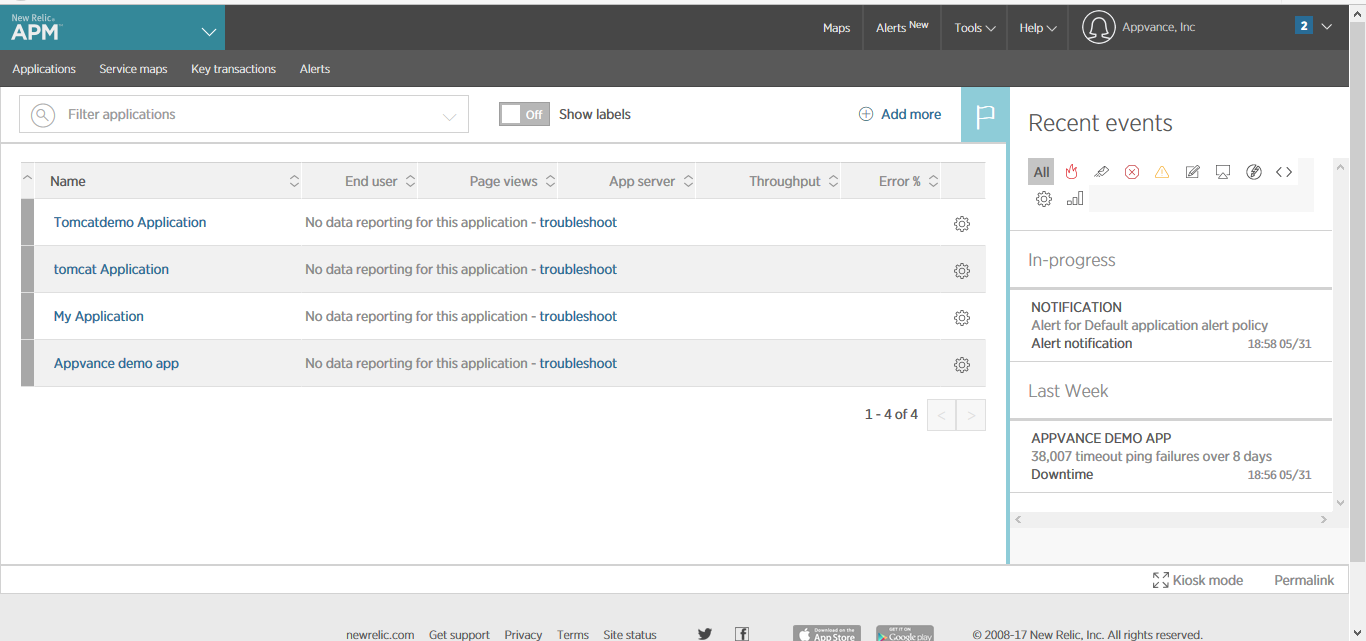
- Keep
- license
Click Java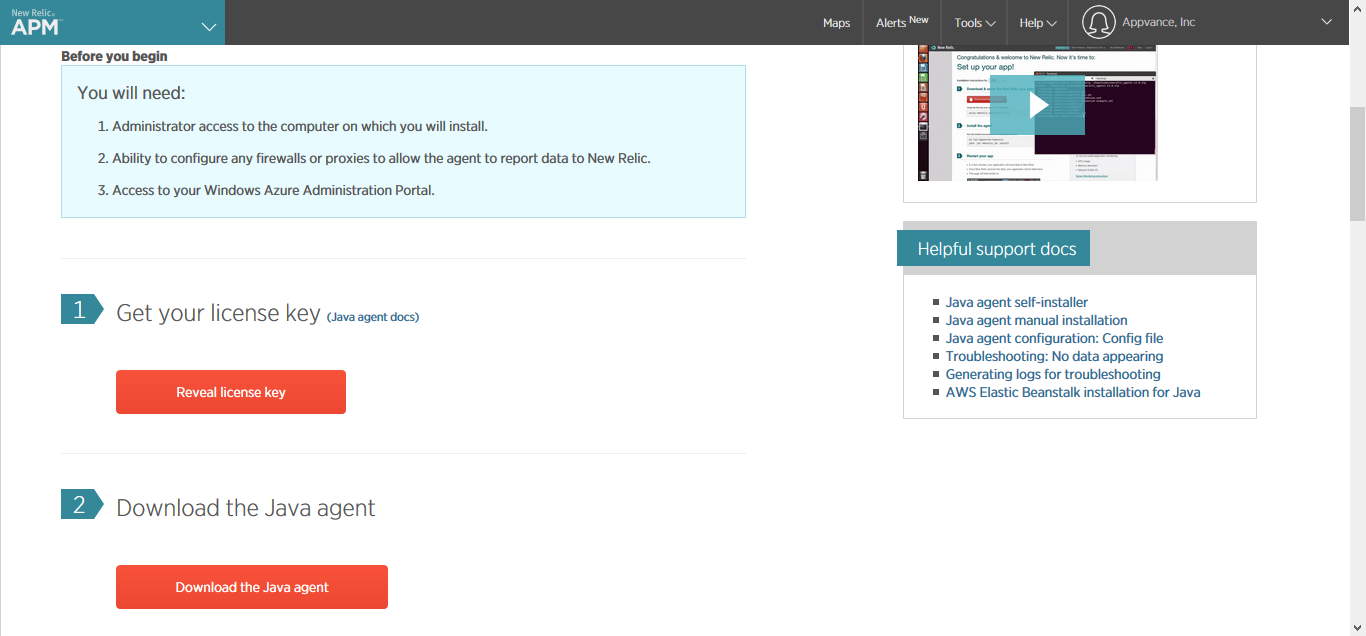
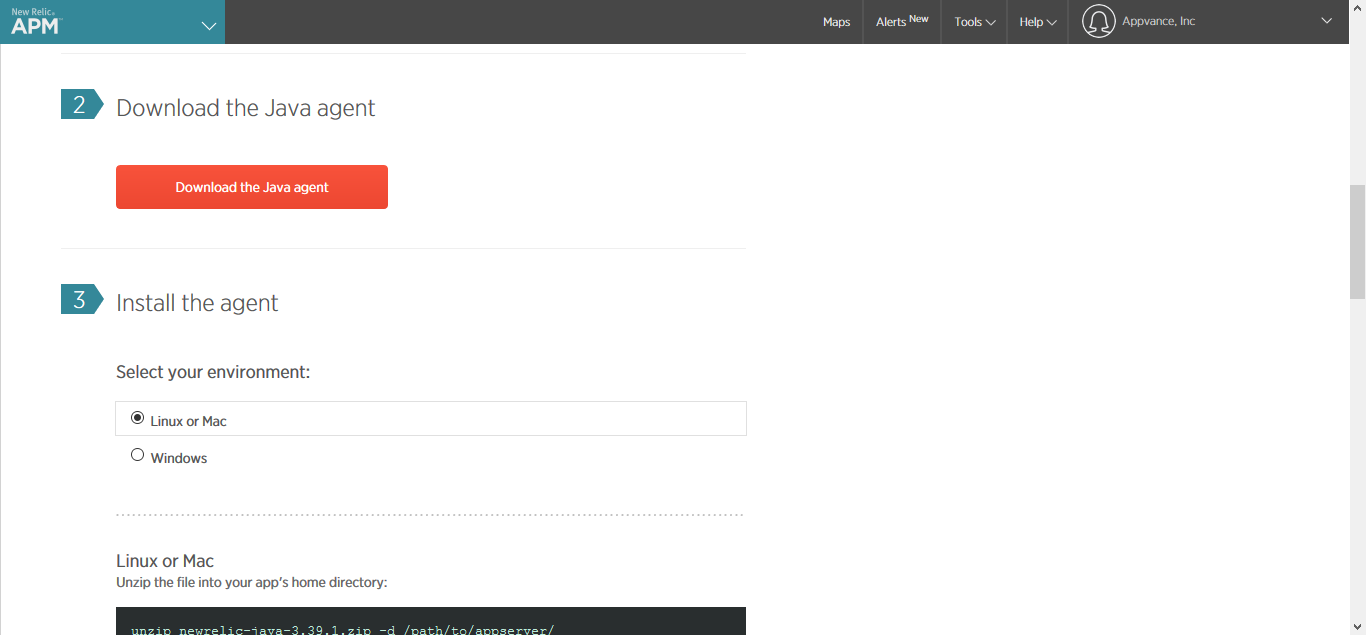
If your OS is windows, Click the Windows buttonkeys and clickaccount downloadcredentials theout Javaof agent.
The new relic-java-3.39.1.zip file will get downloaded.
Extract the newrelic-java-3.39.1.zipdocs and copyscreenshots.
Validation newworkflow
Ex:
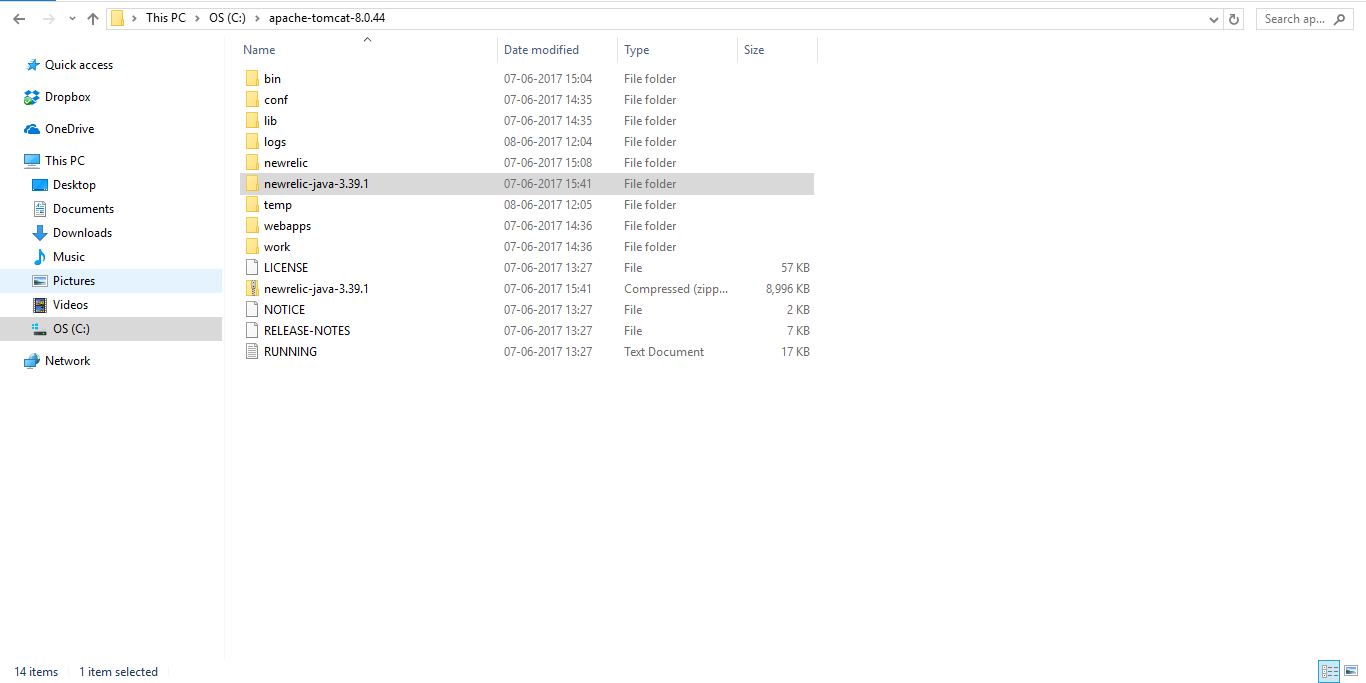
If you want to change Display Name, Navigate to the New relic folder, Edit the app name in 'newrelic.yml' file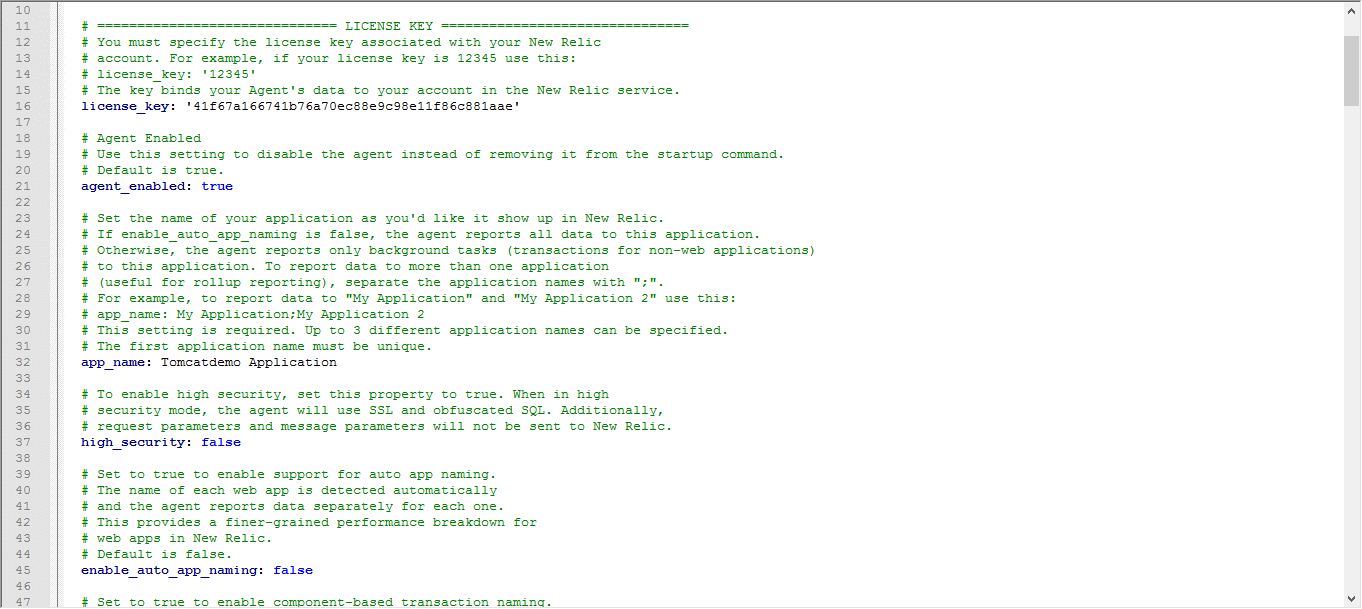
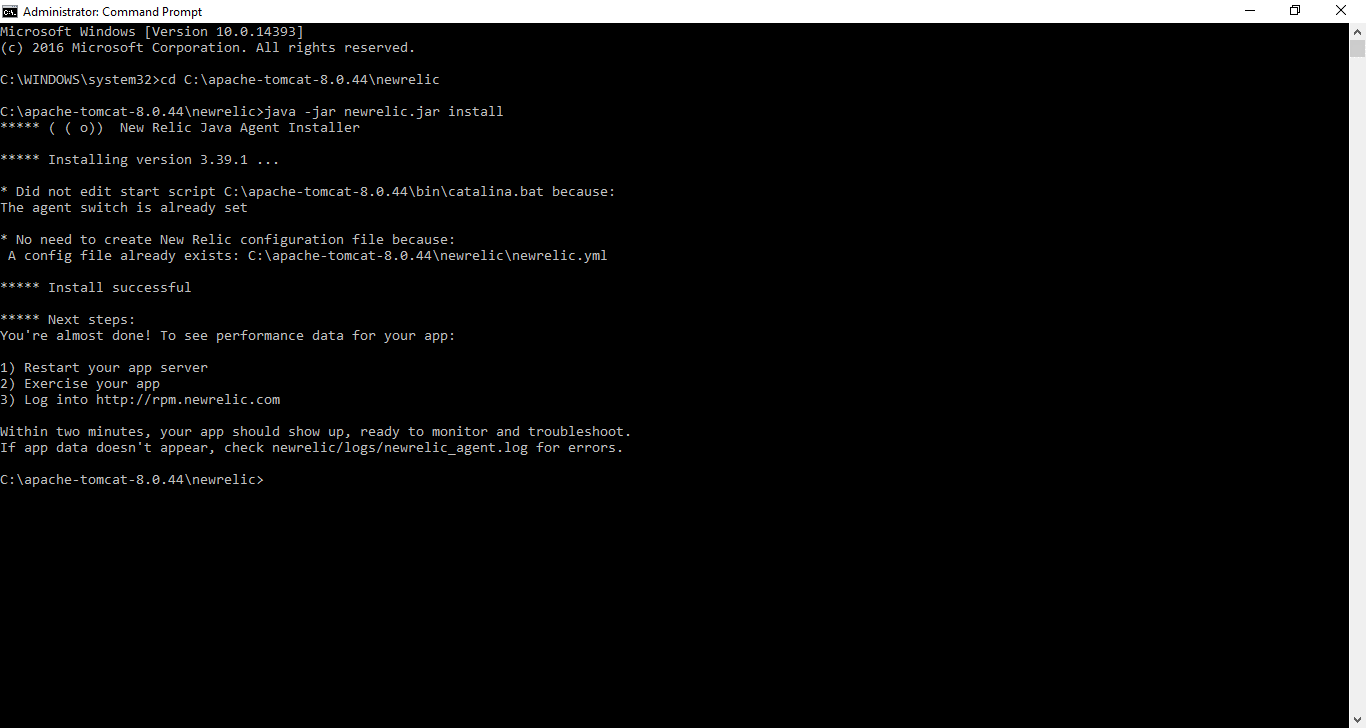
Open the Command Prompt with Administrator access
Navigate to the New relic folder and type the below command
java -jar newrelic.jar install

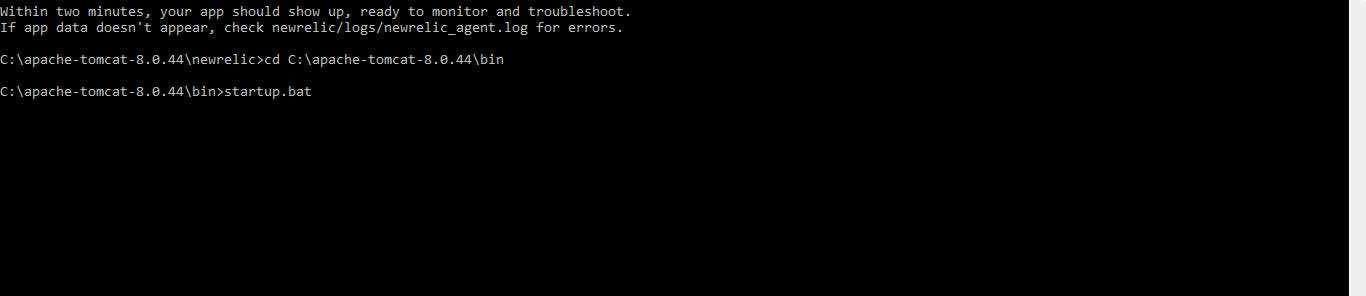
Start the Java Server (In our case it is Tomcat Server)
Perform the actions in the Application that uses the above one as a server
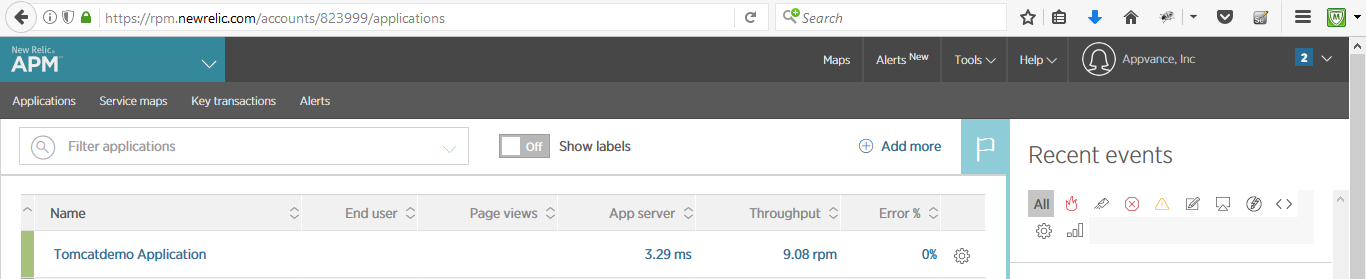
Navigate to the New Relic Website and the name provided in the .yml file will get listed under the Application and clickingConfirm the application server, allJava version, and target New Relic account.
Note:
Last updated: JulySeptember 03,21, 20232026
If you have any feedback on this topic, please contact us at documentation@appvance.ai.