
New Relic Java Server Installation
LastOne reviewed:of Septemberthe 21,pre-requisite 2026
Useto thishave pageTomcat/Jetty whenor a Javasimilar applicationservice to be installed and below are the instructions:
Download the Tomcat server from the below URL https://tomcat.apache.org/download-80.cgi
Once downloaded, set the Environment variable under testUser mustvariables before installing the tomcat server

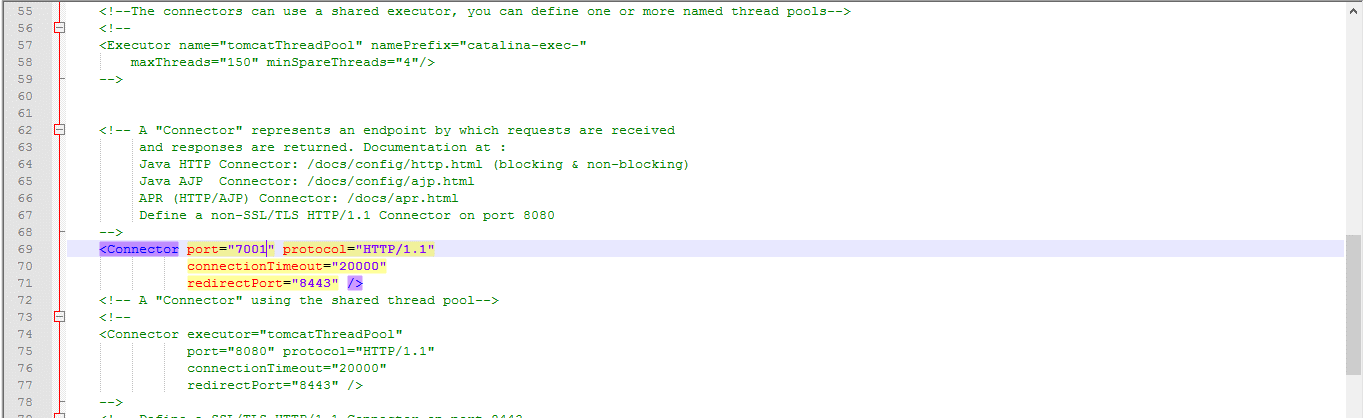
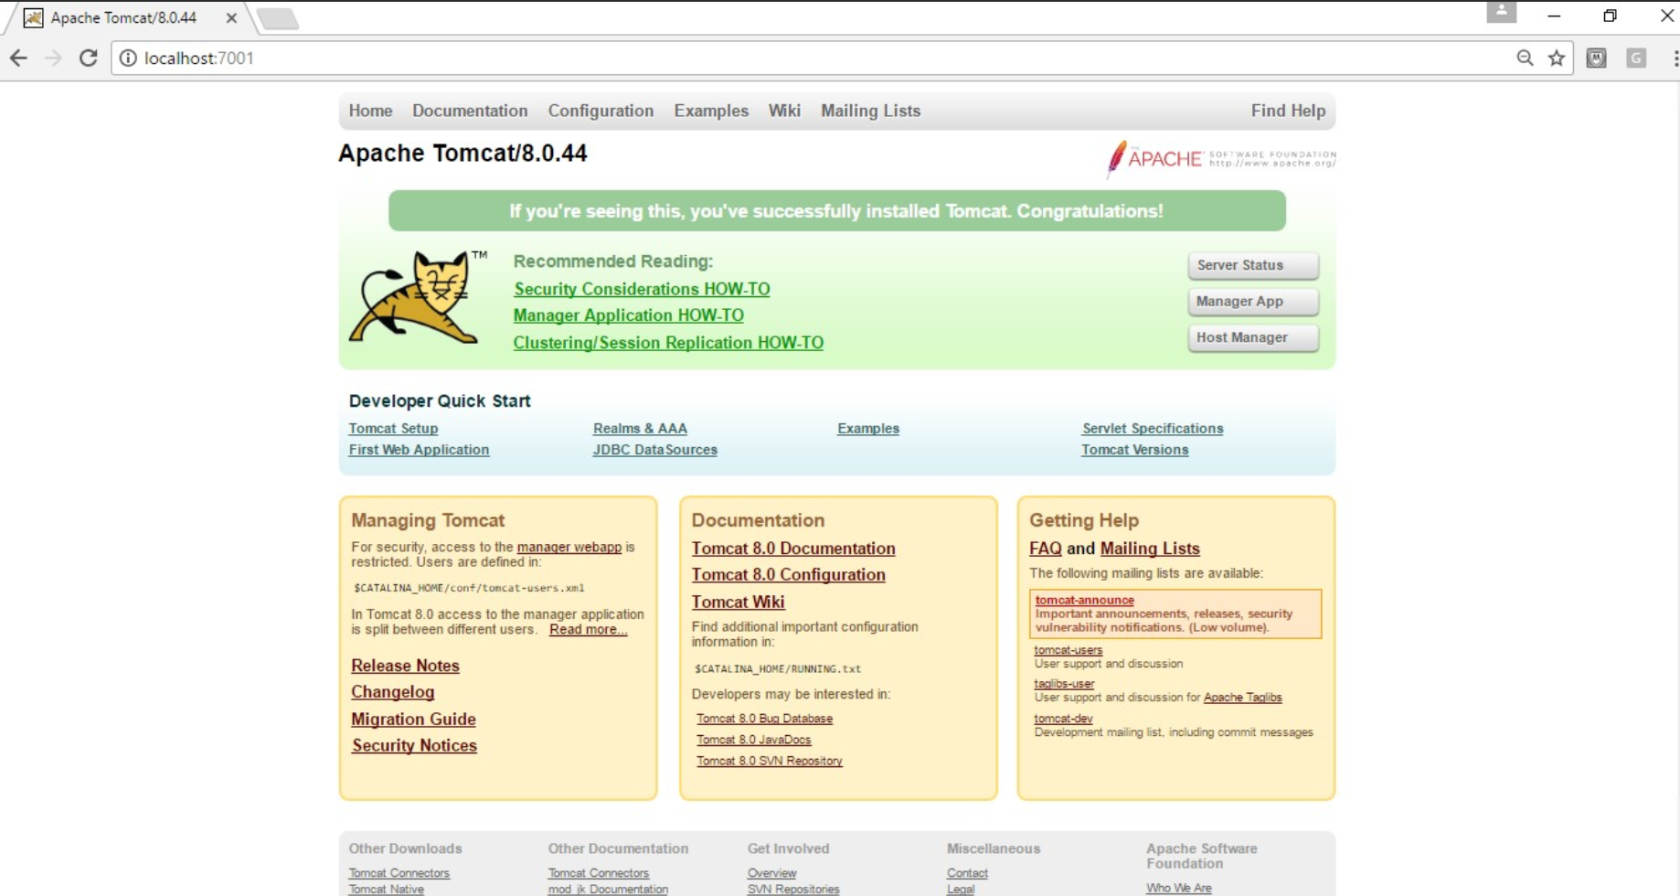
If you want to change the port of the server (By default, the tomcat server starts with port 8080 and it is sometimes required to change the default port as other programs might be instrumentedusing withthat port - by default Appvance HTTP uses port 8080), navigate to the conf folder, edit the server file and change the port at line 69 as seen below (Ex: 7001)

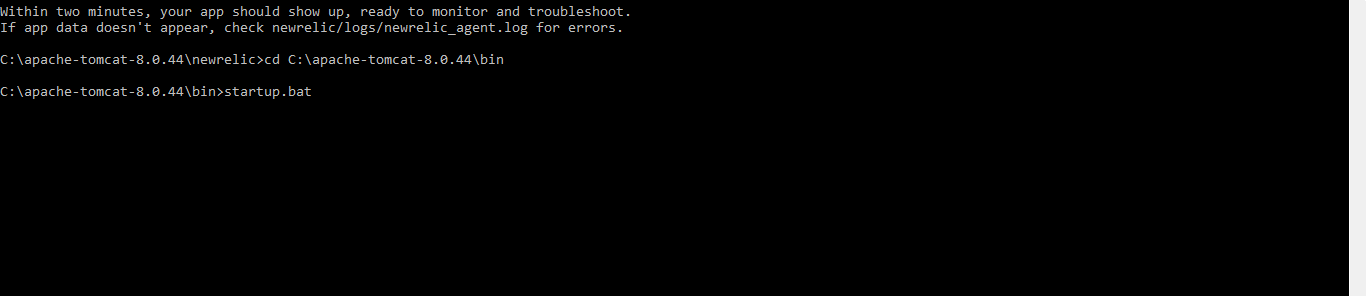
Open the command prompt, run the below command to start the server
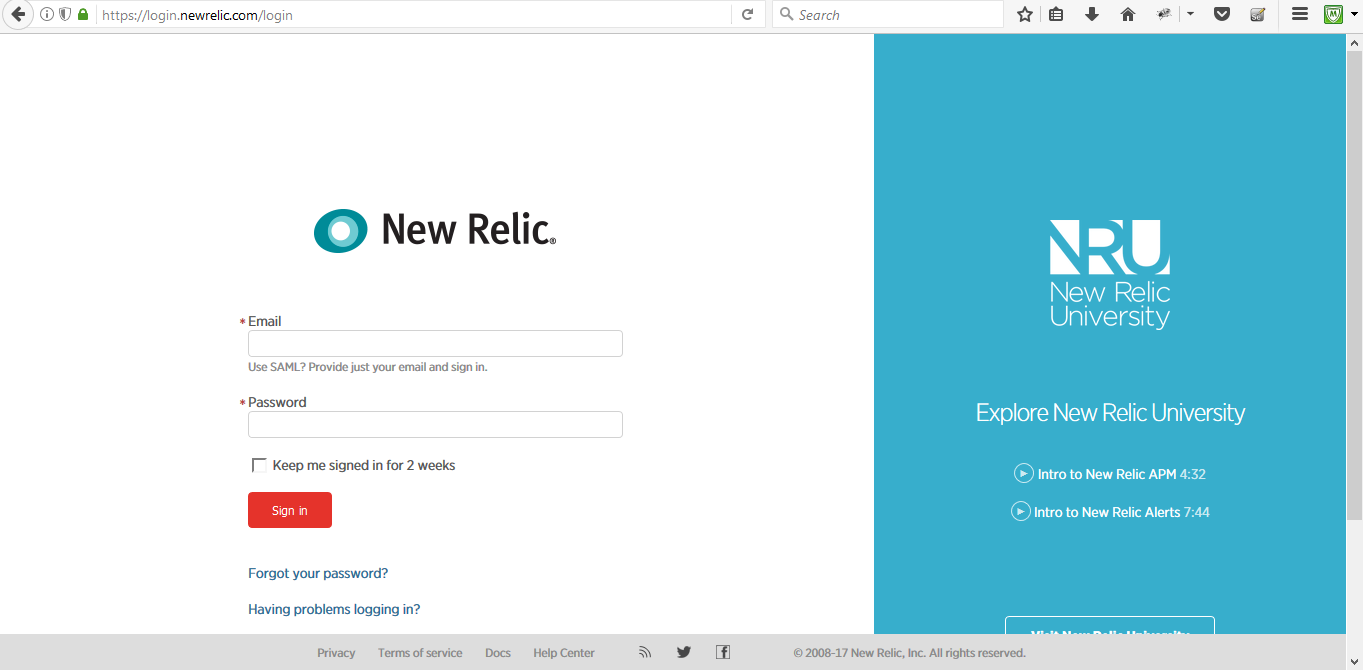
Login to the New Relic Java agent so AIQ performance results can be correlatedwebsite with your valid credentials.
https://login.newrelic.com/login
Click APM data.
Recommended guidance
Usein thecurrentLeftmost Corner if you are going to use it for the first time, if not click the Add more button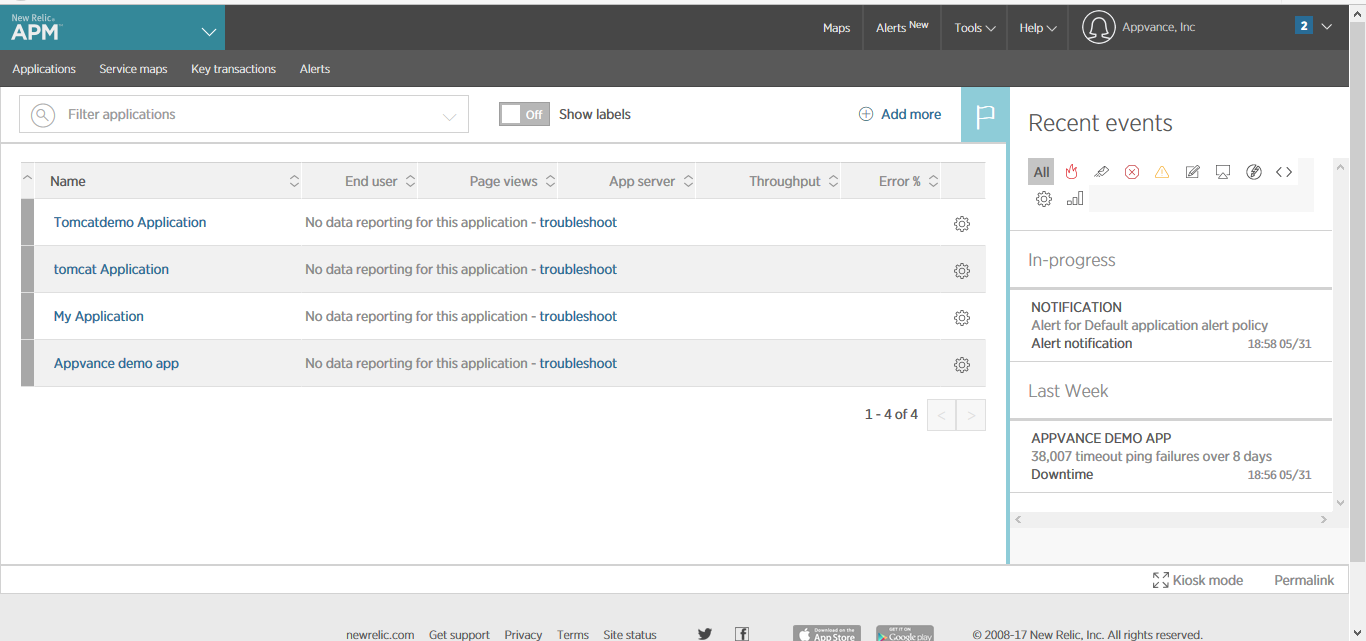
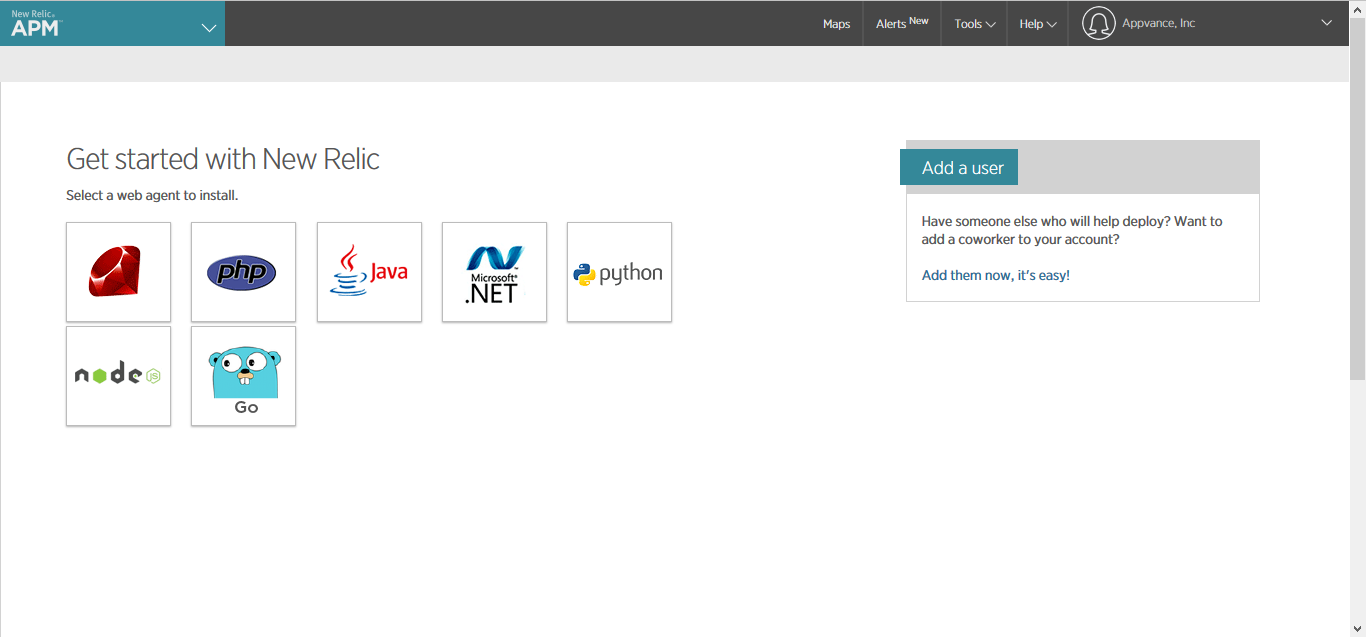
Click Java
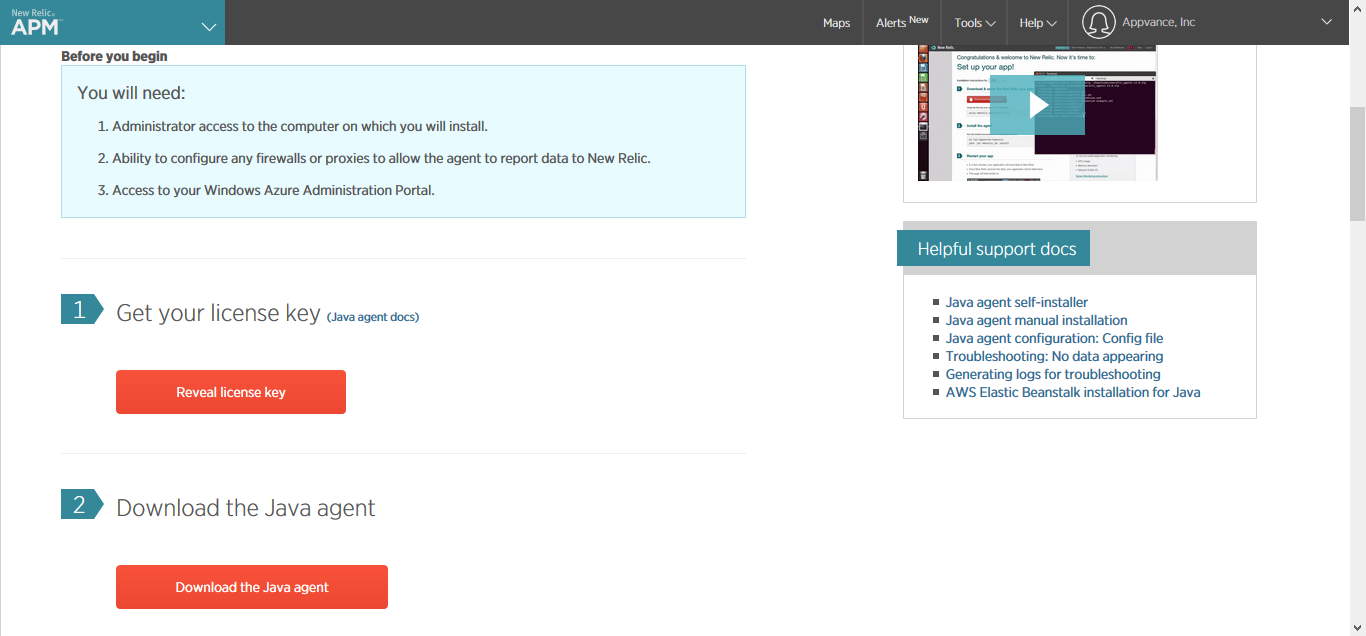
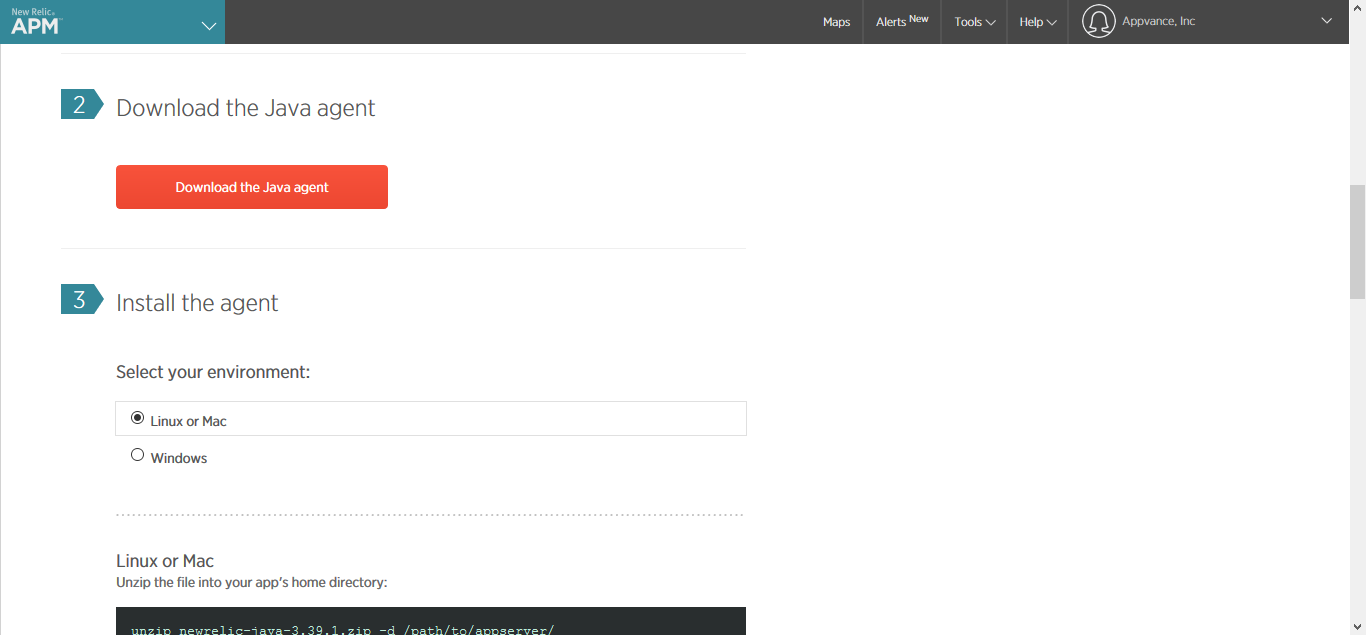
If your OS is windows, Click the Windows button and click download the Java agent.
The new relic-java-3.39.1.zip file will get downloaded.
Extract the newrelic-java-3.39.1.zip and copy the new relic folder and paste it inside the Java Server (Tomcat, Jetty, JBoss, etc.)
Ex:
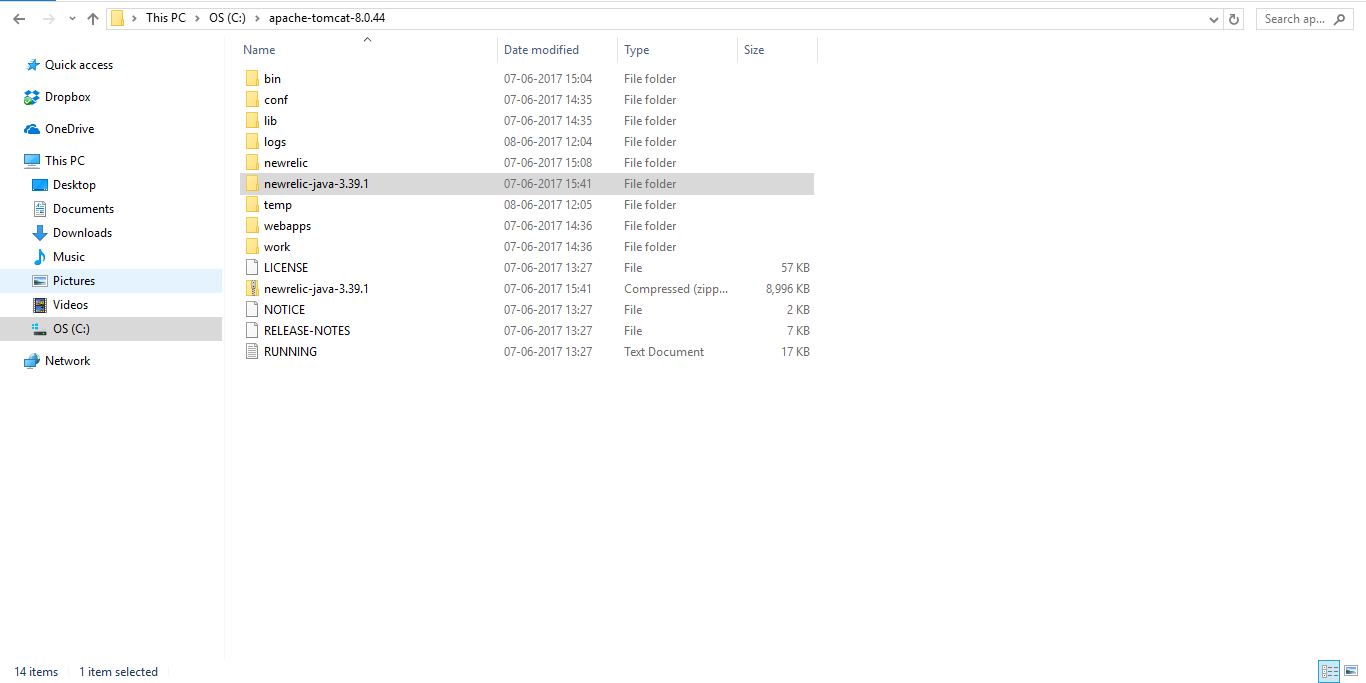
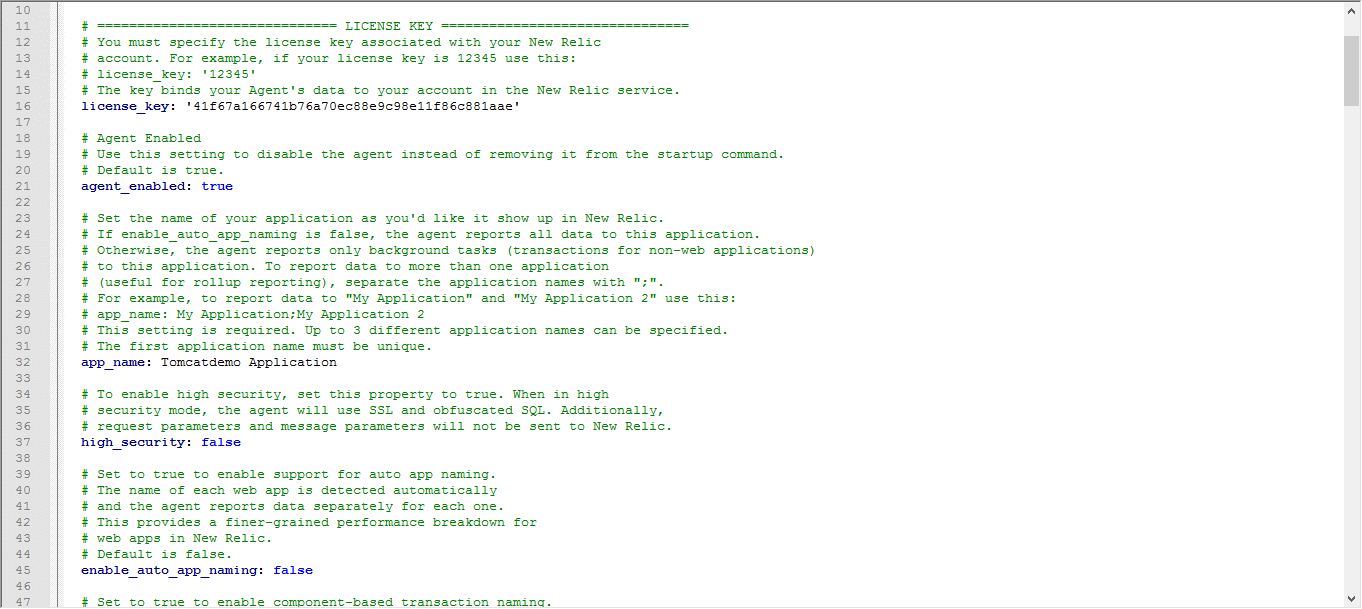
If you want to change Display Name, Navigate to the New relic folder, Edit the app name in 'newrelic.yml' file
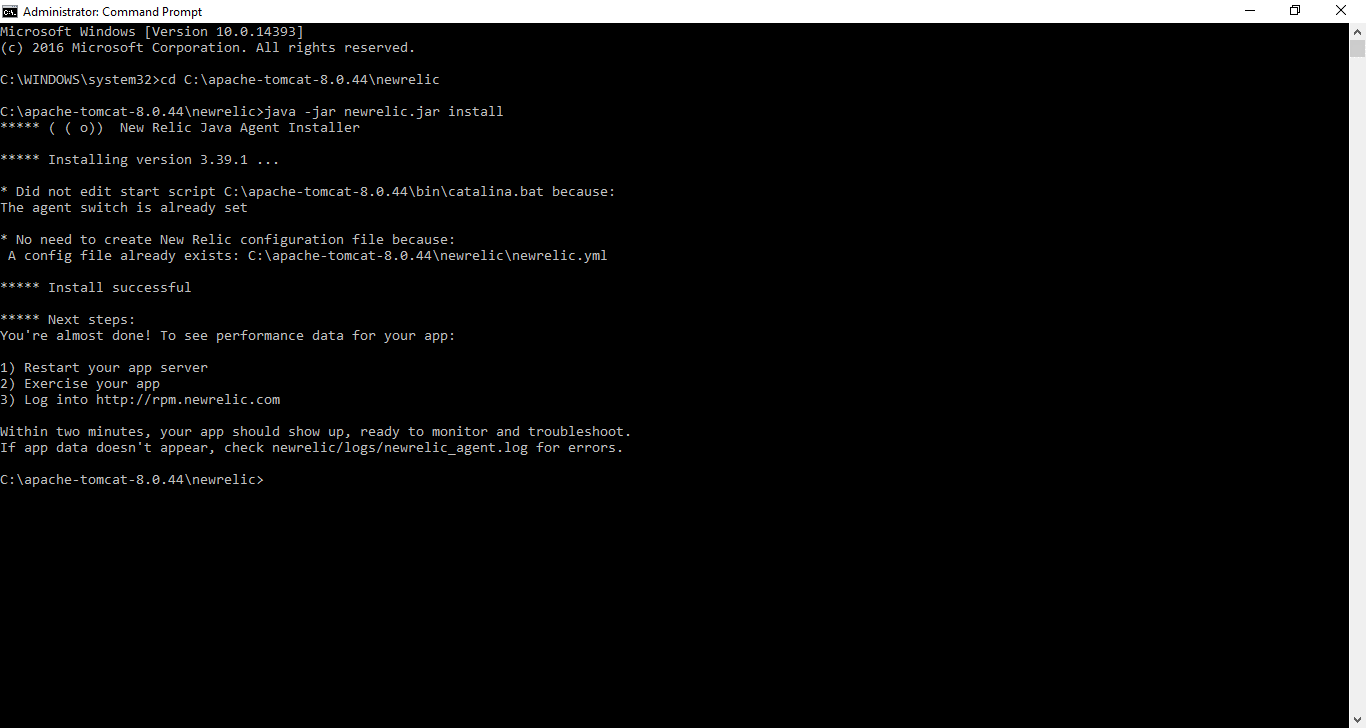
Open the Command Prompt with Administrator access
Navigate to the New relic folder and type the below command
java -jar newrelic.jar install

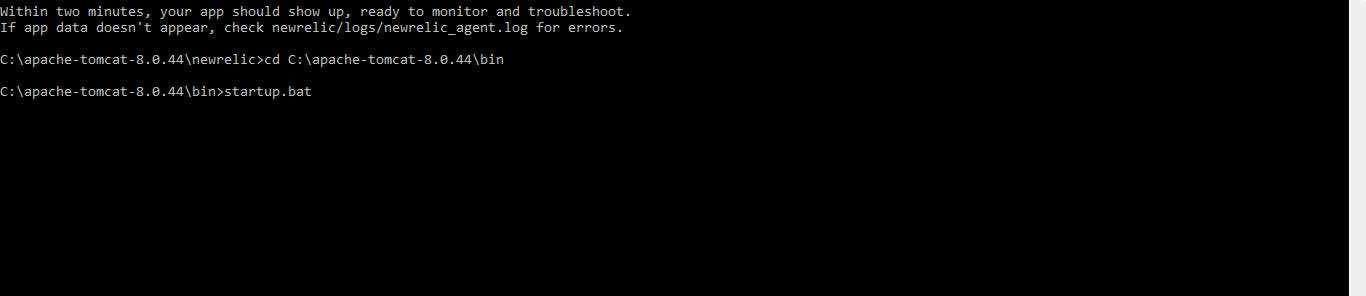
Start the Java Server (In our case it is Tomcat Server)
Perform the actions in the Application that uses the above one as a server
Navigate to the New Relic JavaWebsite agent documentation forand the supportedname agentprovided version.
Validation workflow
Confirmclicking the application server,Javaallversion,the monitoring andtargetdashboardNewgraphsRelicshallaccount.be displayedDownloadthe current Java agent from New Relic using an approved account.Install the agent on the application server and add the recommended javaagent JVM option.Set the application display name and environment tags consistently.Restart the application in a maintenance window, run a short AIQ test, and confirm New Relic receives data for the same time window.
Note: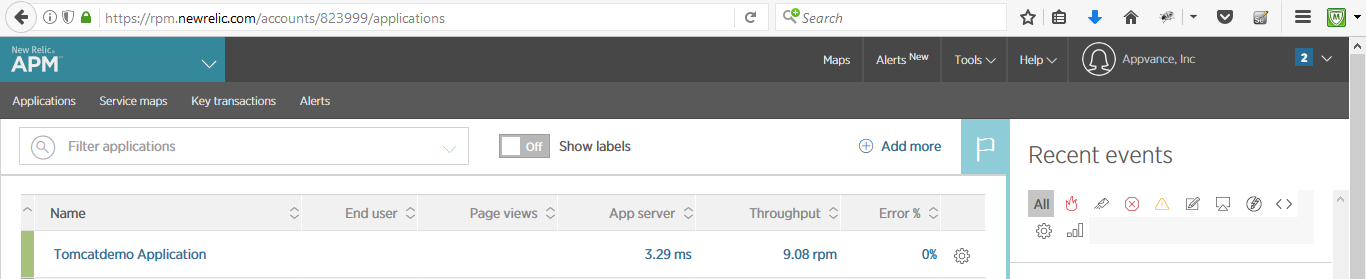
The previous article contained older Tomcat/New Relic version-specific screenshots. Treat those as obsolete and follow current New Relic guidance.
Last updated: SeptemberJuly 21,03, 20262023
If you have any feedback on this topic, please contact us at documentation@appvance.ai.