
Azure Devops
How to set a scenario pipeline in Azure DevOps with Ant.
-
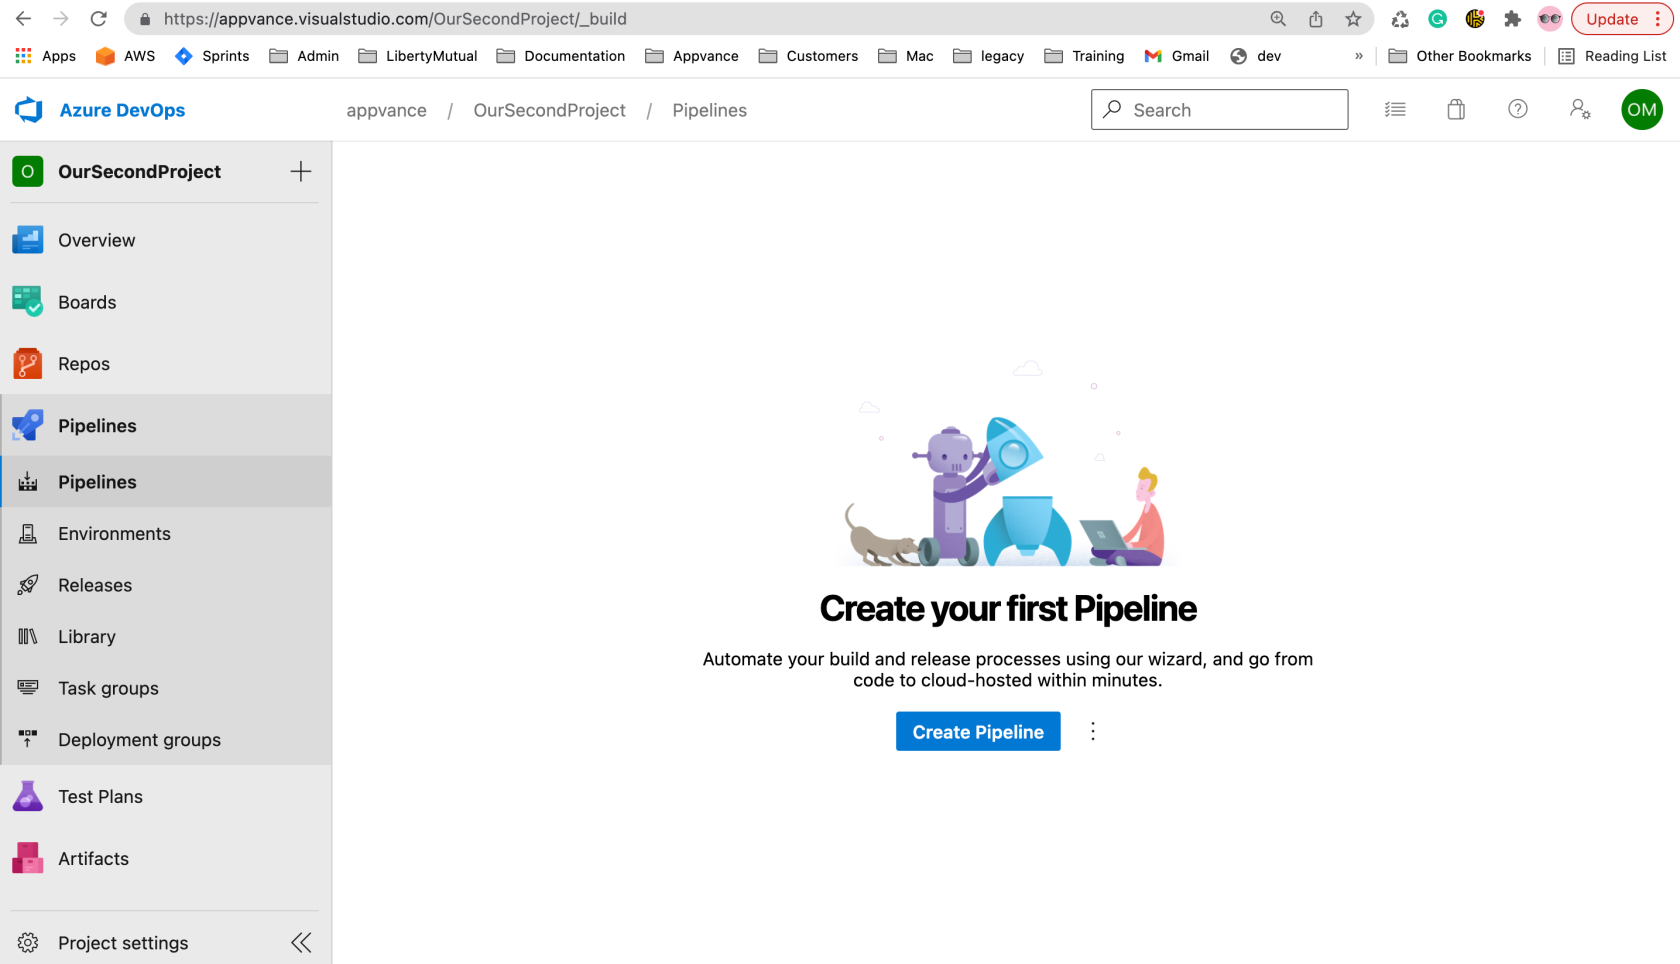
Create Pipeline
-
Select the source of your GIT project containing the pipeline files (build.xml, scenario files, etc)
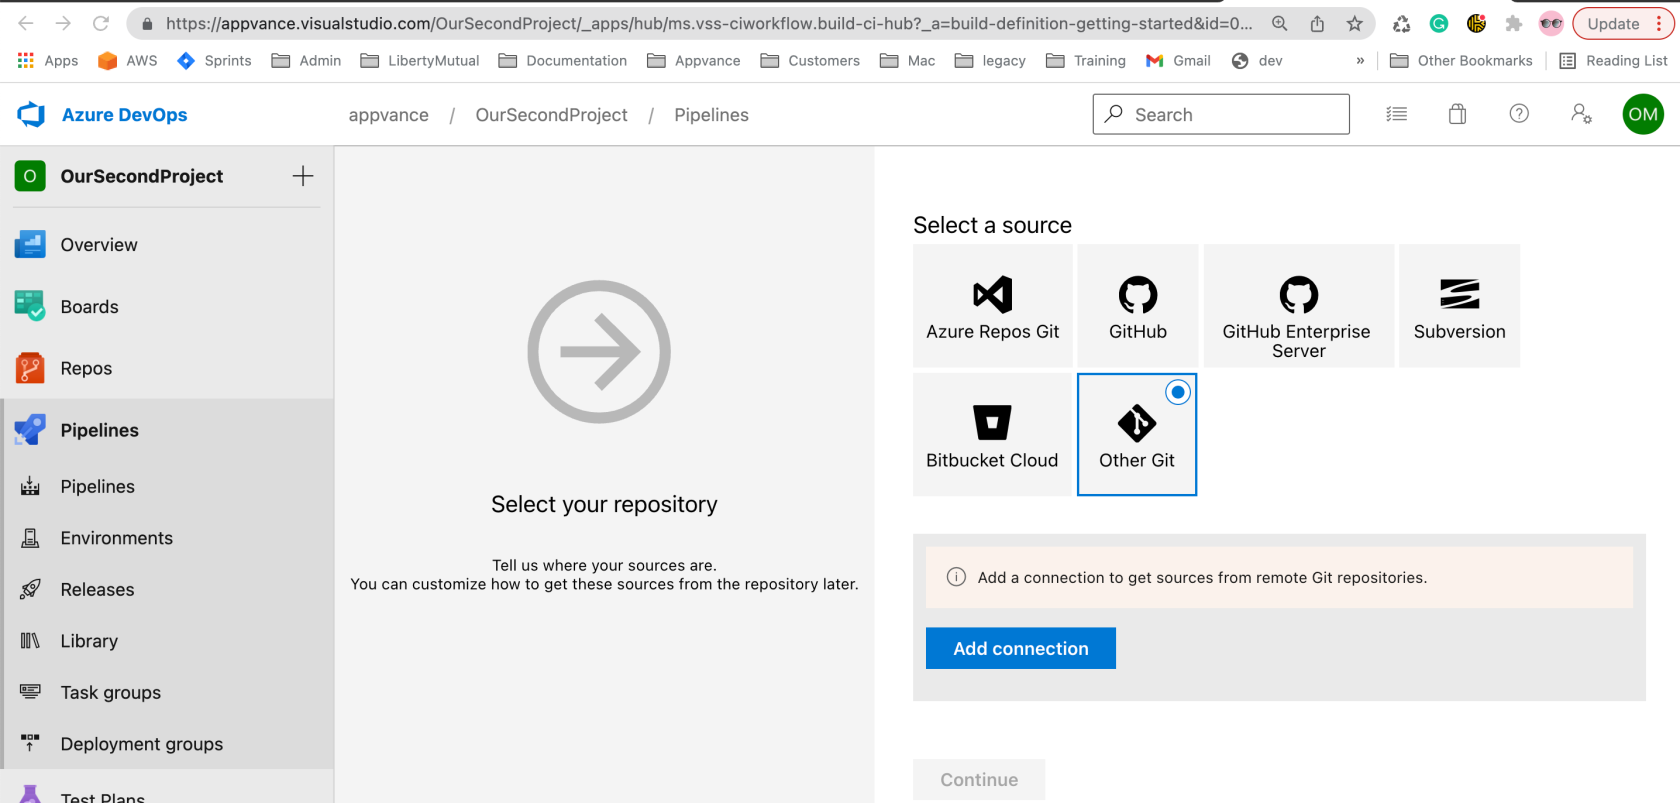
The repository should contain files similar to the ones provided with the ZIP file at the end of this document. Edit as necessary to point to correct controller DNS other data in controller.json and git.json files.
-
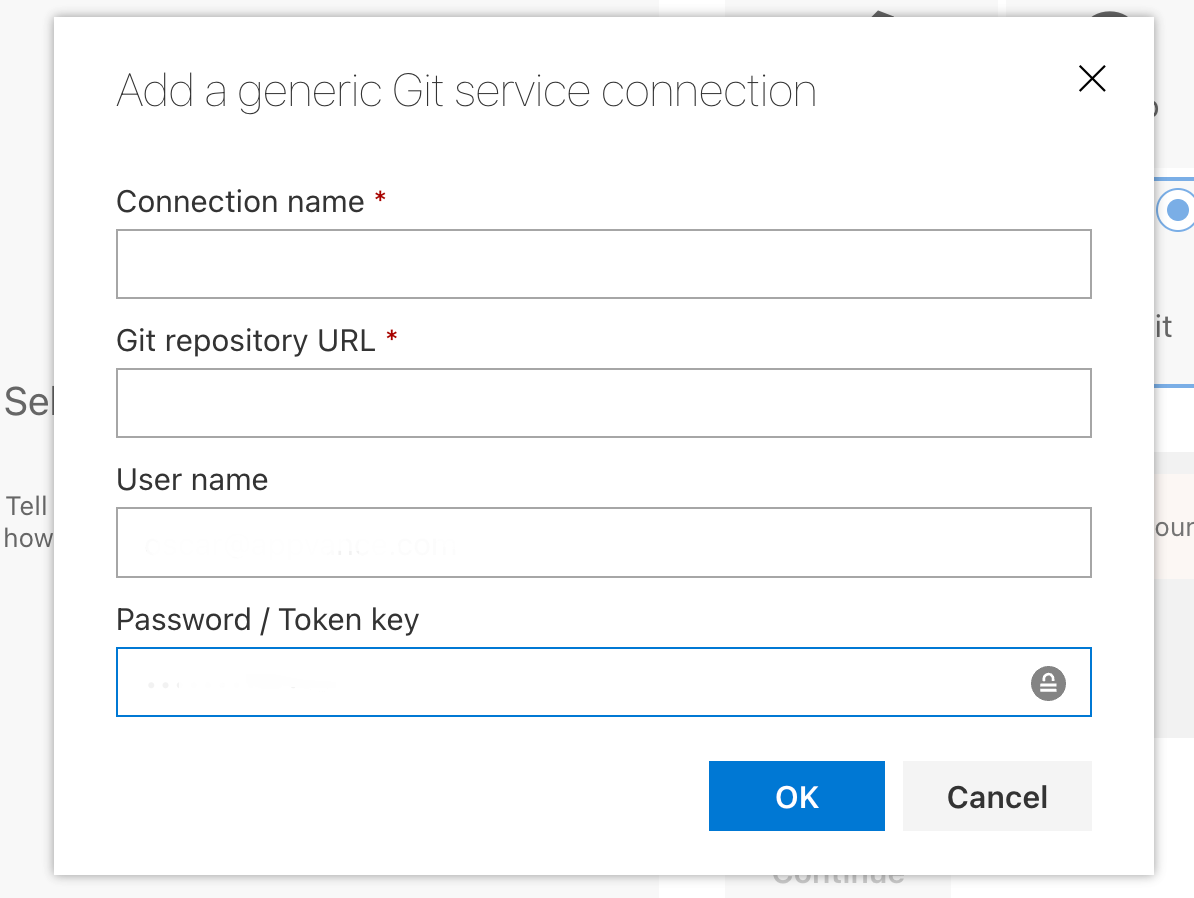
Create the repository connection to your existing Git repository.
-
Connection Name : Enter a name for the connection.
-
Git Repository URL: The URL to your existing GIT repository. URL format is:
https://gitlab.com/<git username>/<git repo name> -
User Name:
<user>@<domain> -
Password / Token Key: The password or access token key to your Git account.
See the Git documentation for more information on setting up access tokens: Managing your personal access tokens - GitHub Docs
-
-
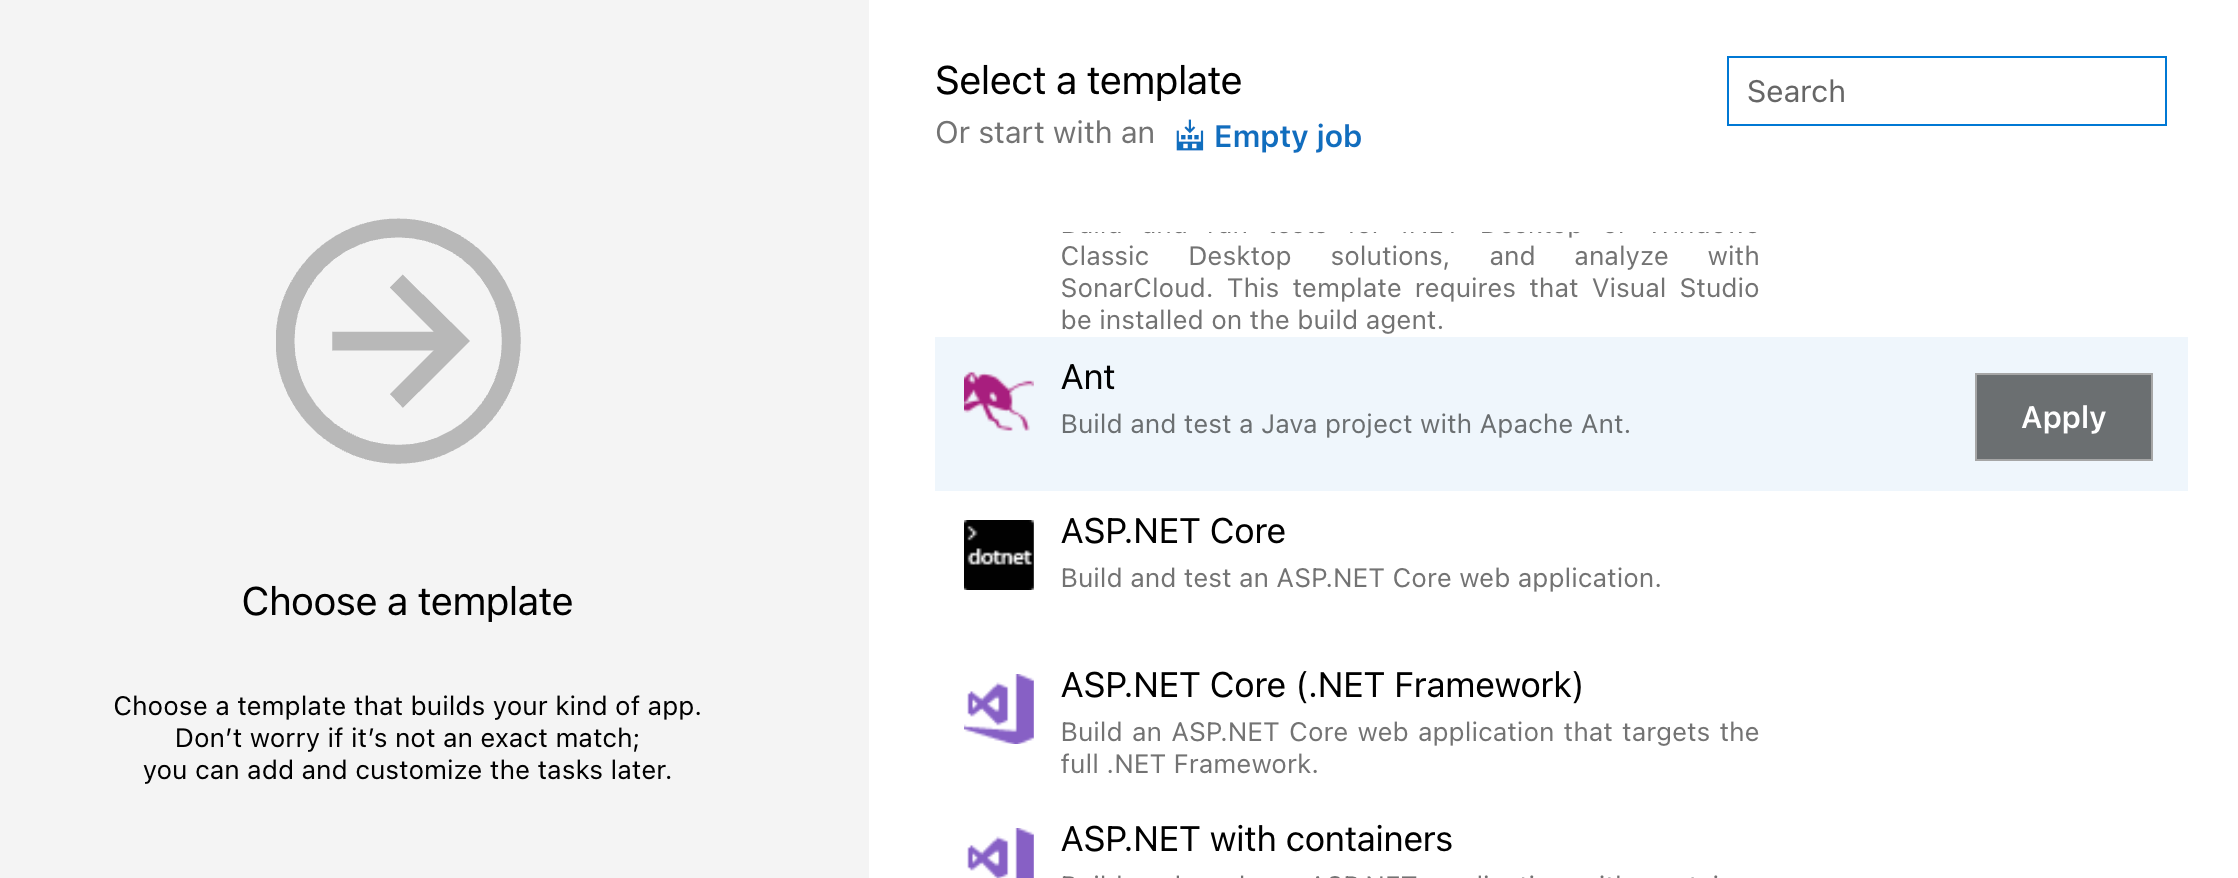
Select Ant pipeline template and choose ubuntu 18.04 agent.
-
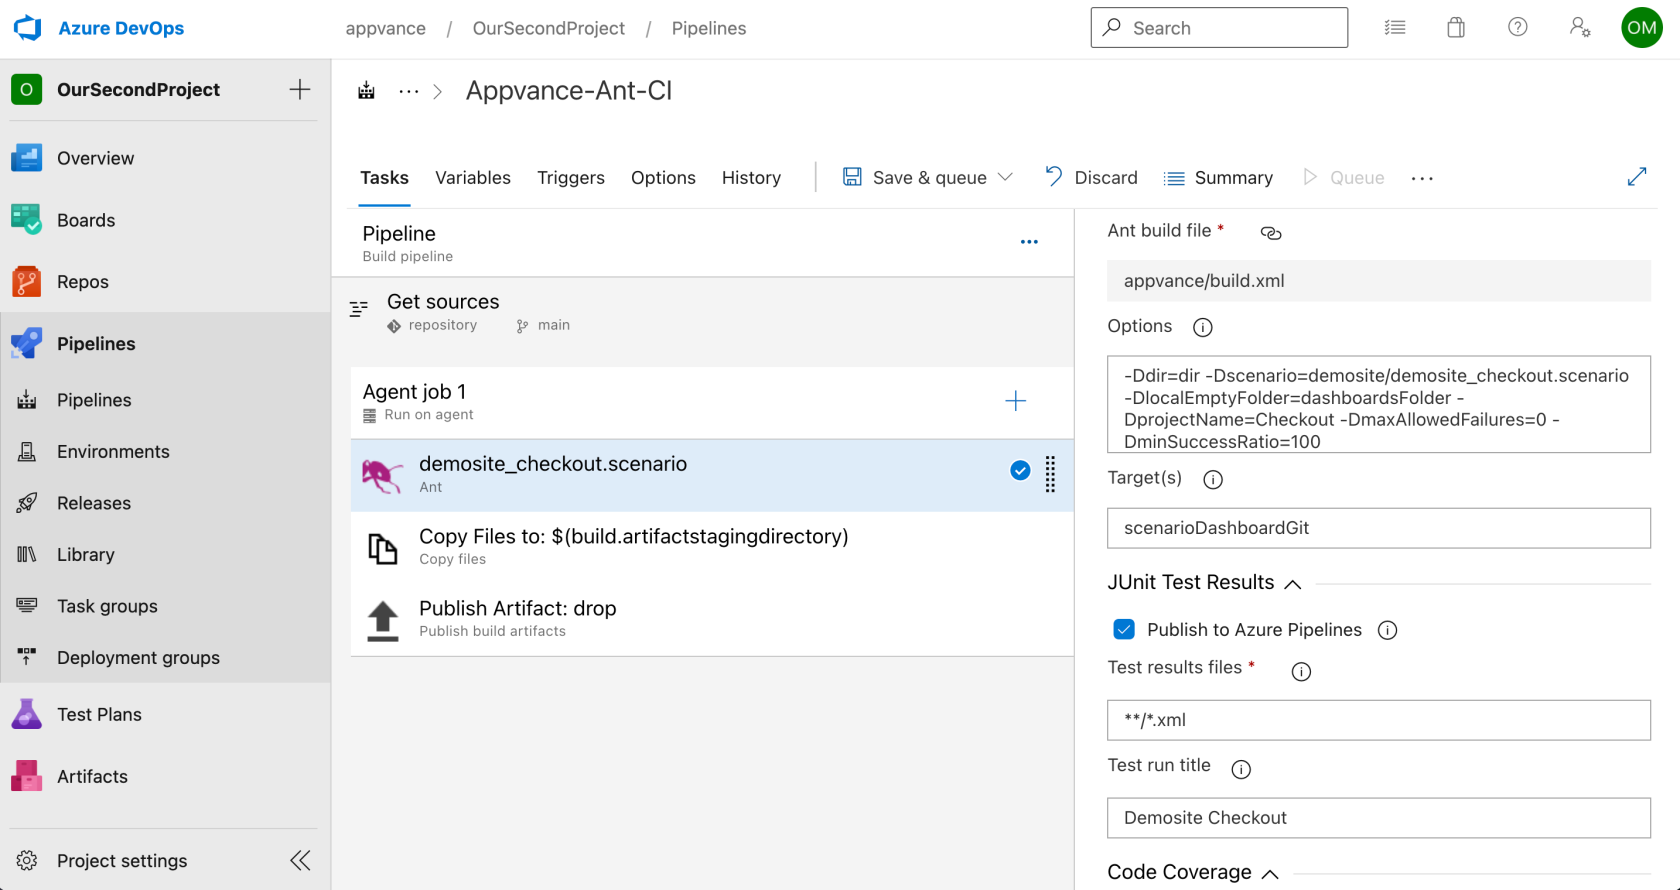
Click on Ant target and define
-
Target:
scenarioDashboardGit -
Options:
-Ddir=dir -Dscenario=demosite/demosite_checkout.scenario -DlocalEmptyFolder=dashboardsFolder -DprojectName=Checkout -DmaxAllowedFailures=0 -DminSuccessRatio=100 -
JUnit test result files :
**/*.xml
-
-
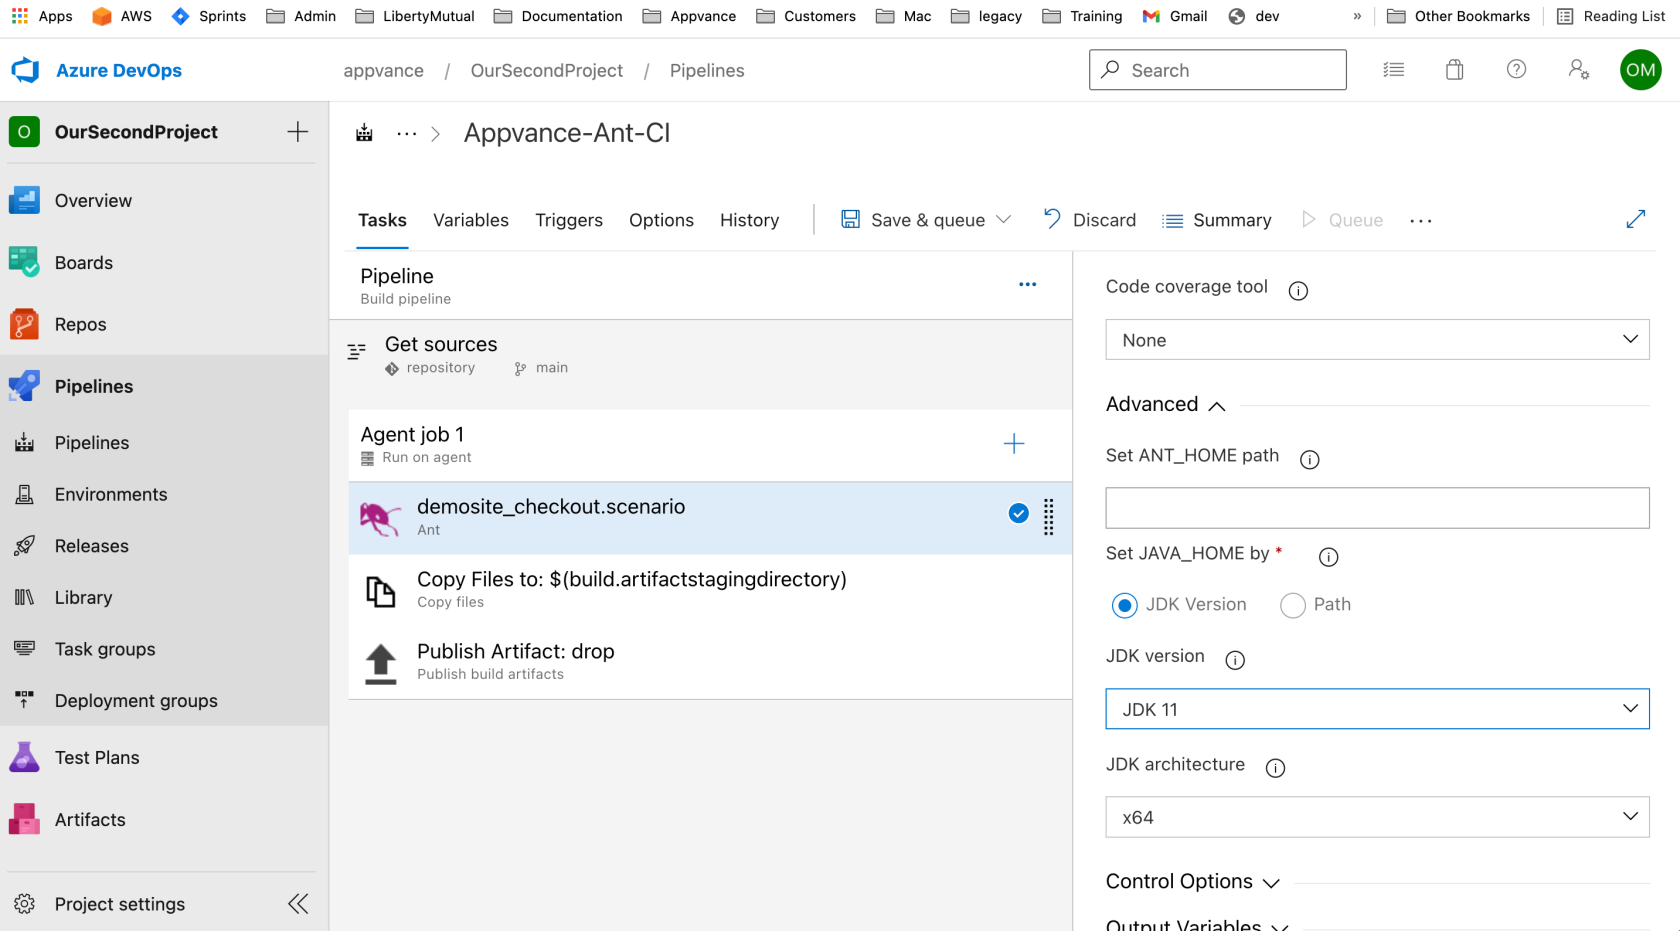
Scroll down, select the Advanced expand button, and select the JDK version to be JDK 11.
-
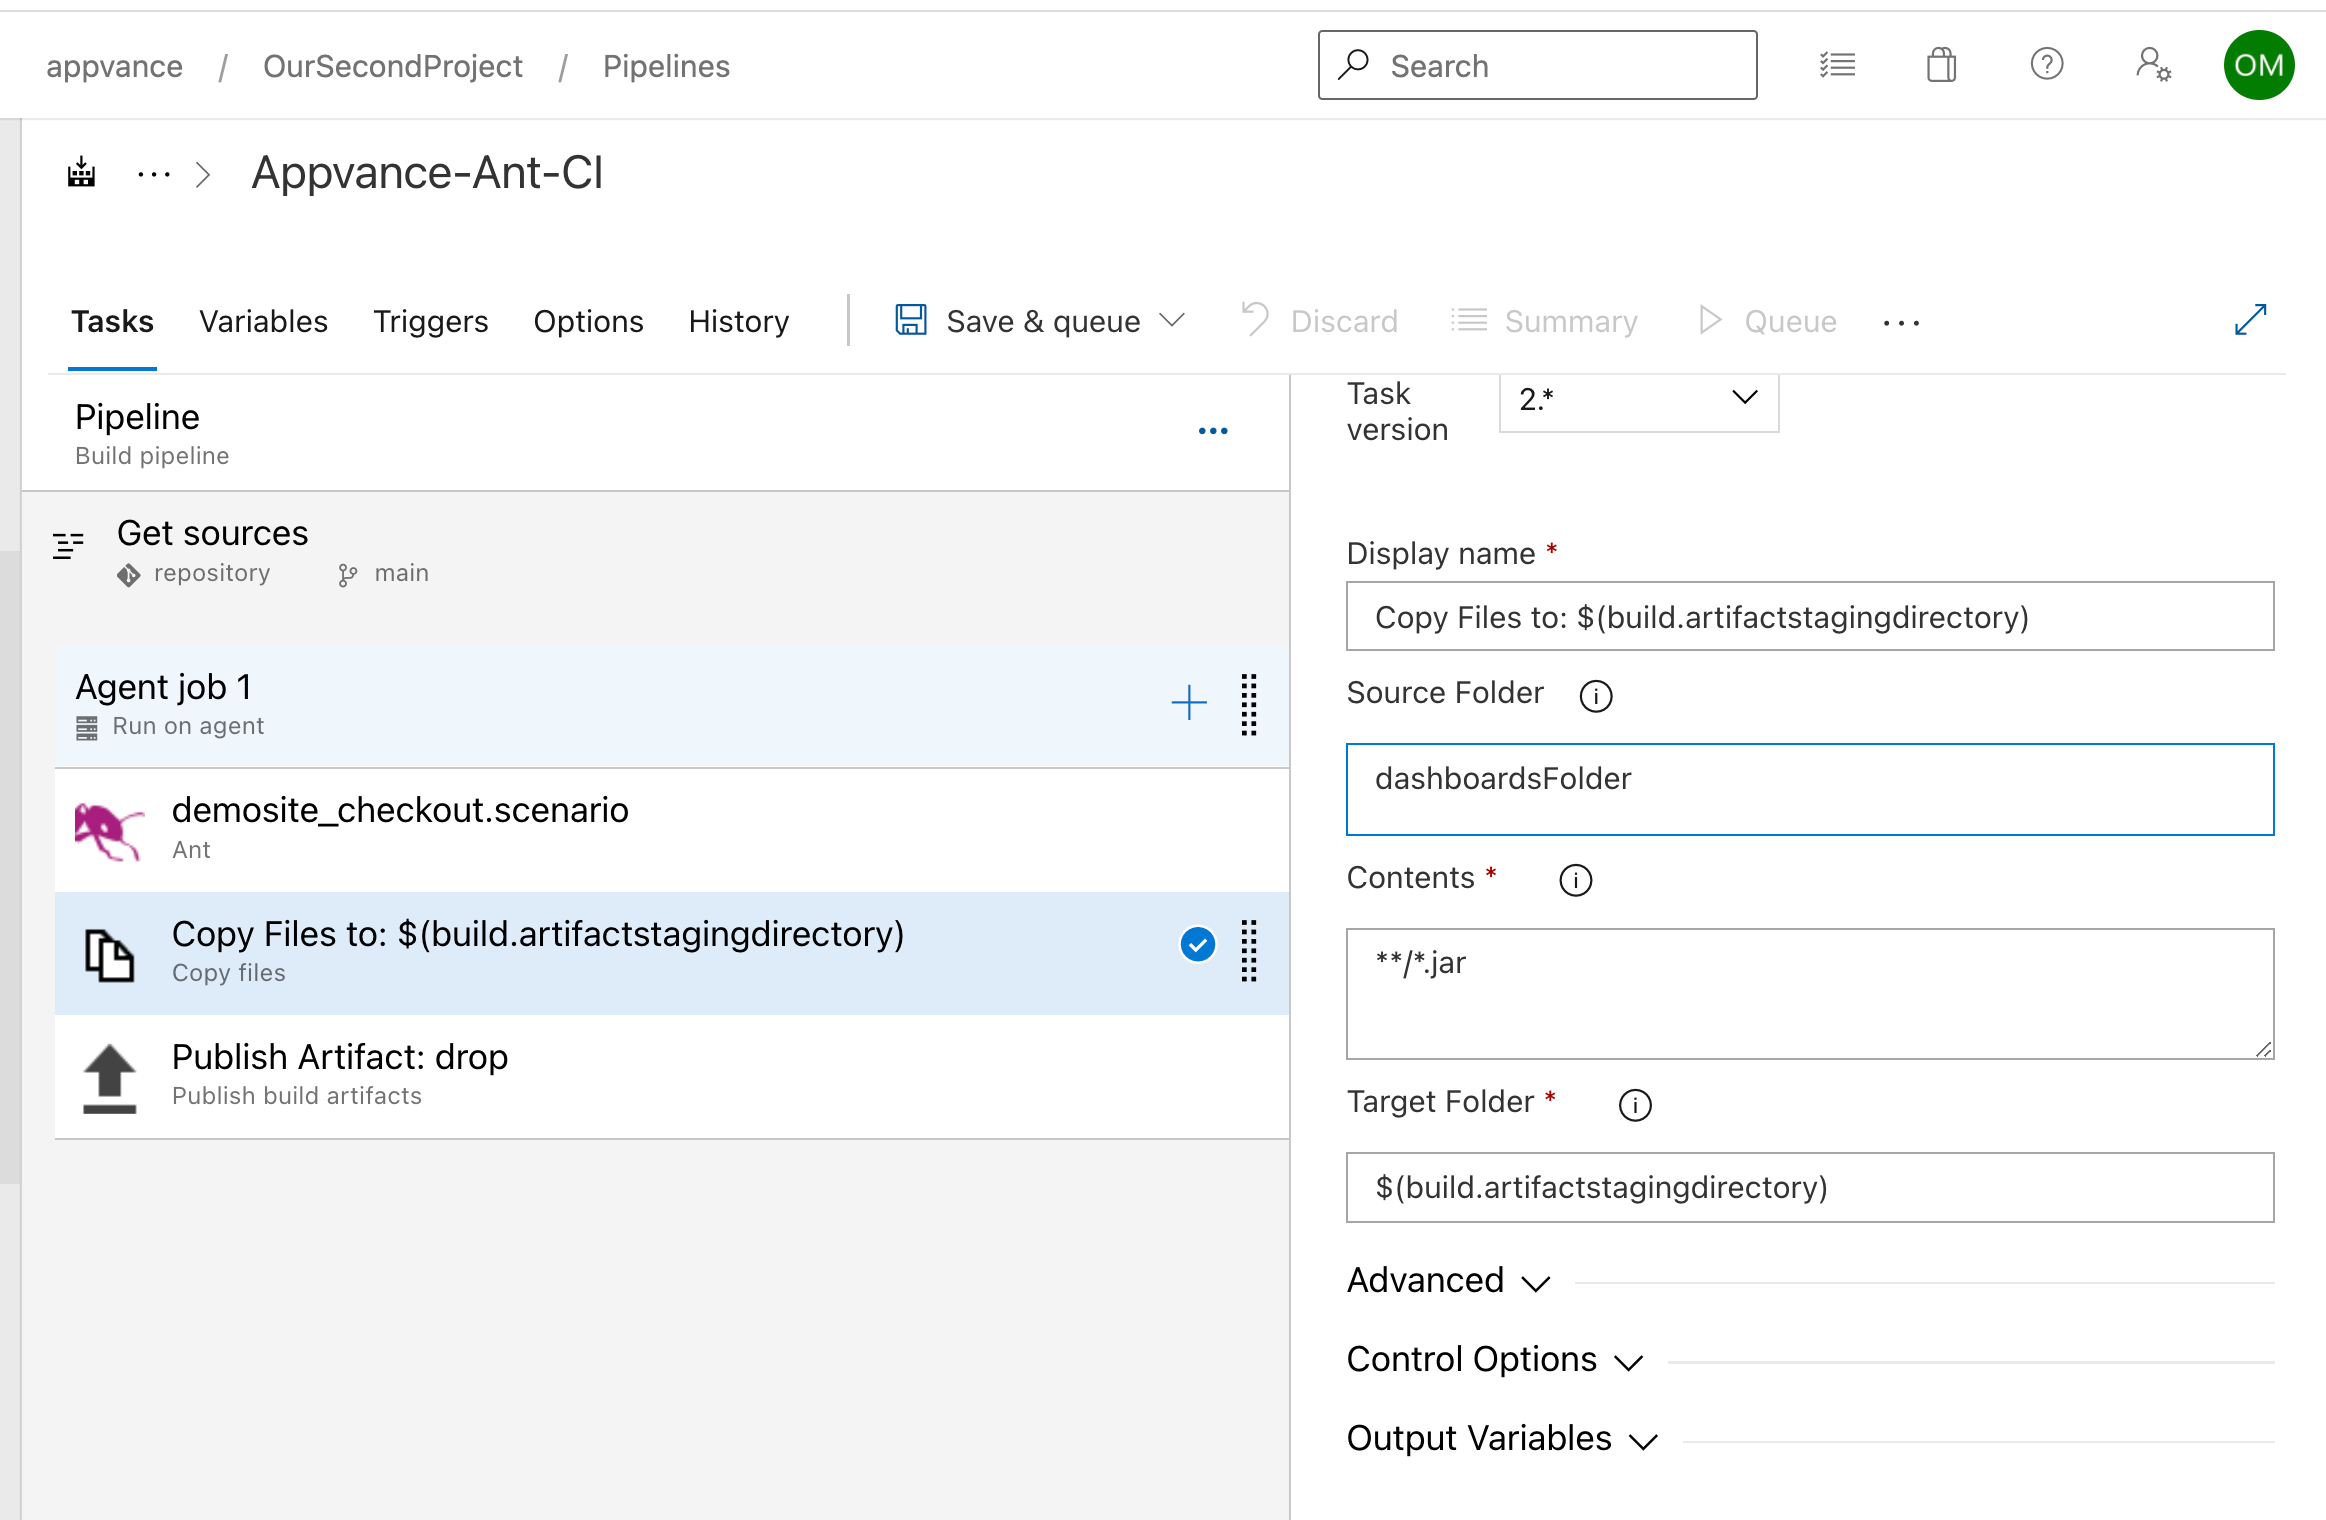
Click on Copy Files task and define the source folder to the dashboard empty folder (dashboardsFolder)
-
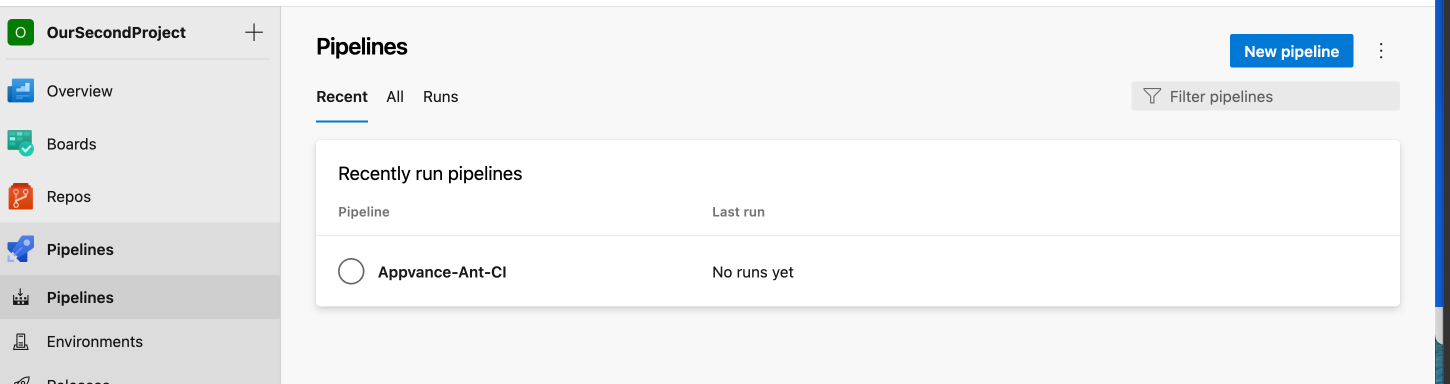
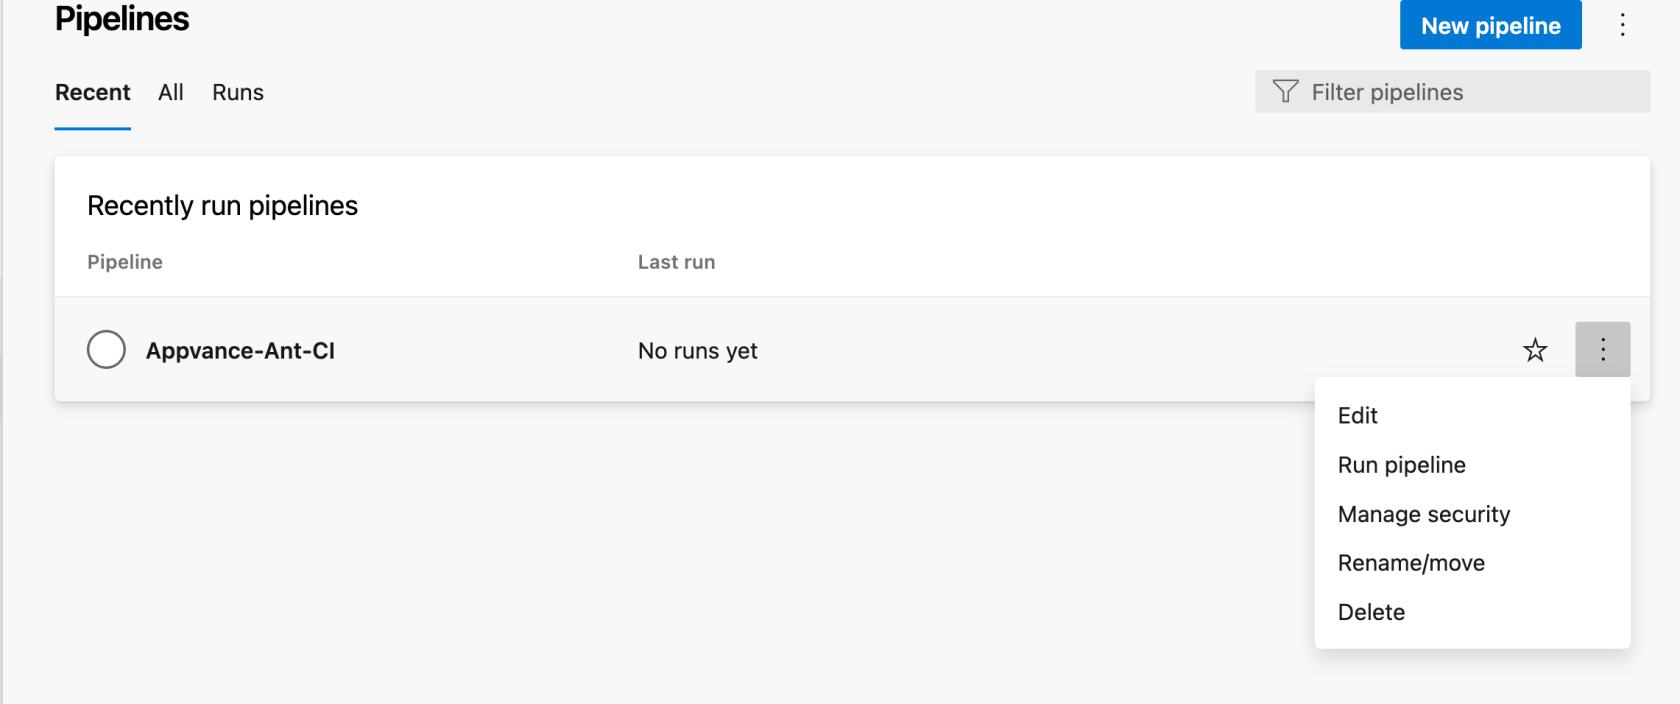
Click Save and click on Pipelines in the left menu. Then in the right-click the More Options context menu and select Run pipeline
-
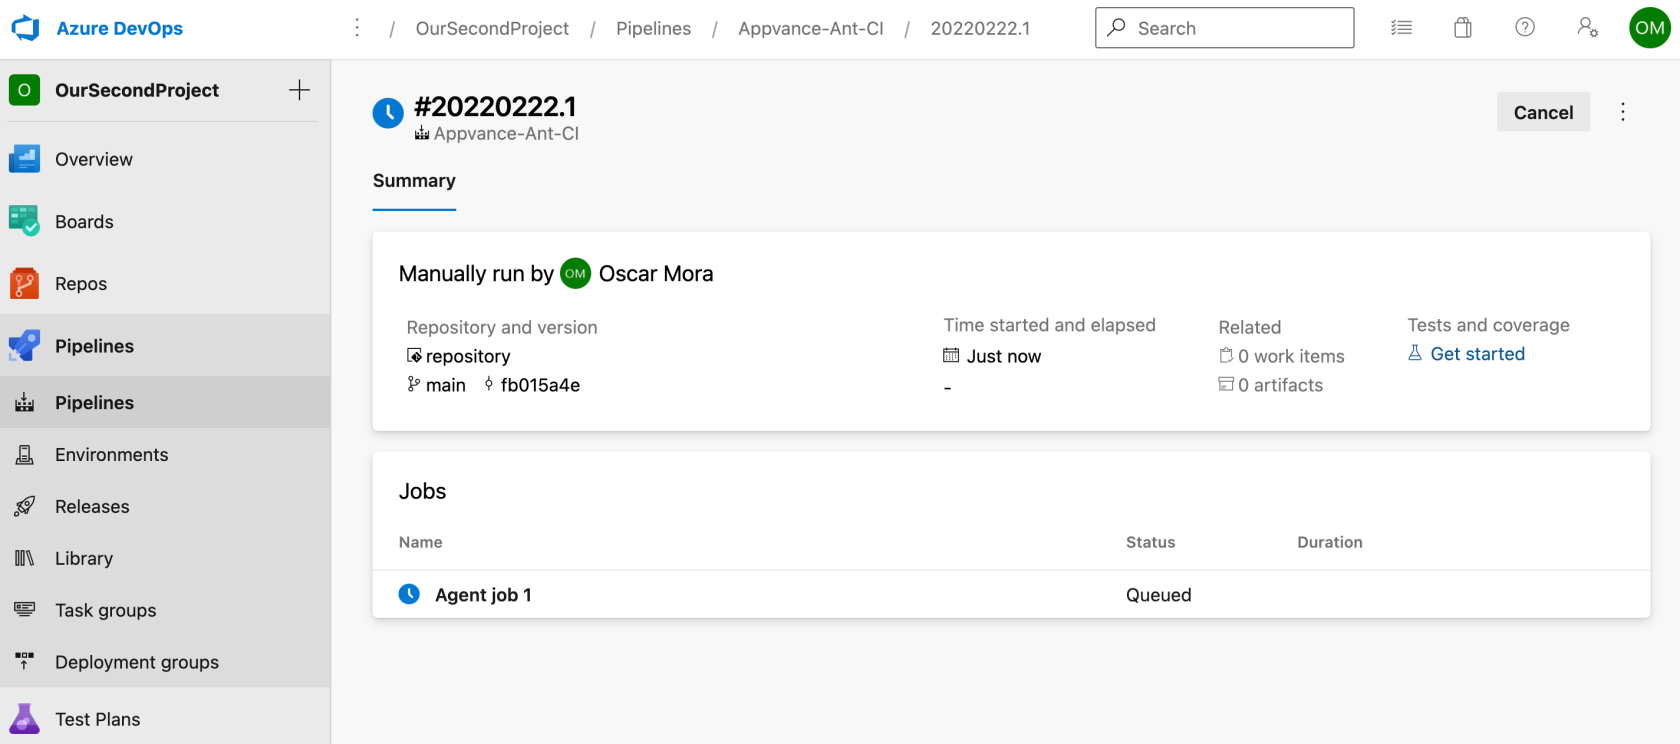
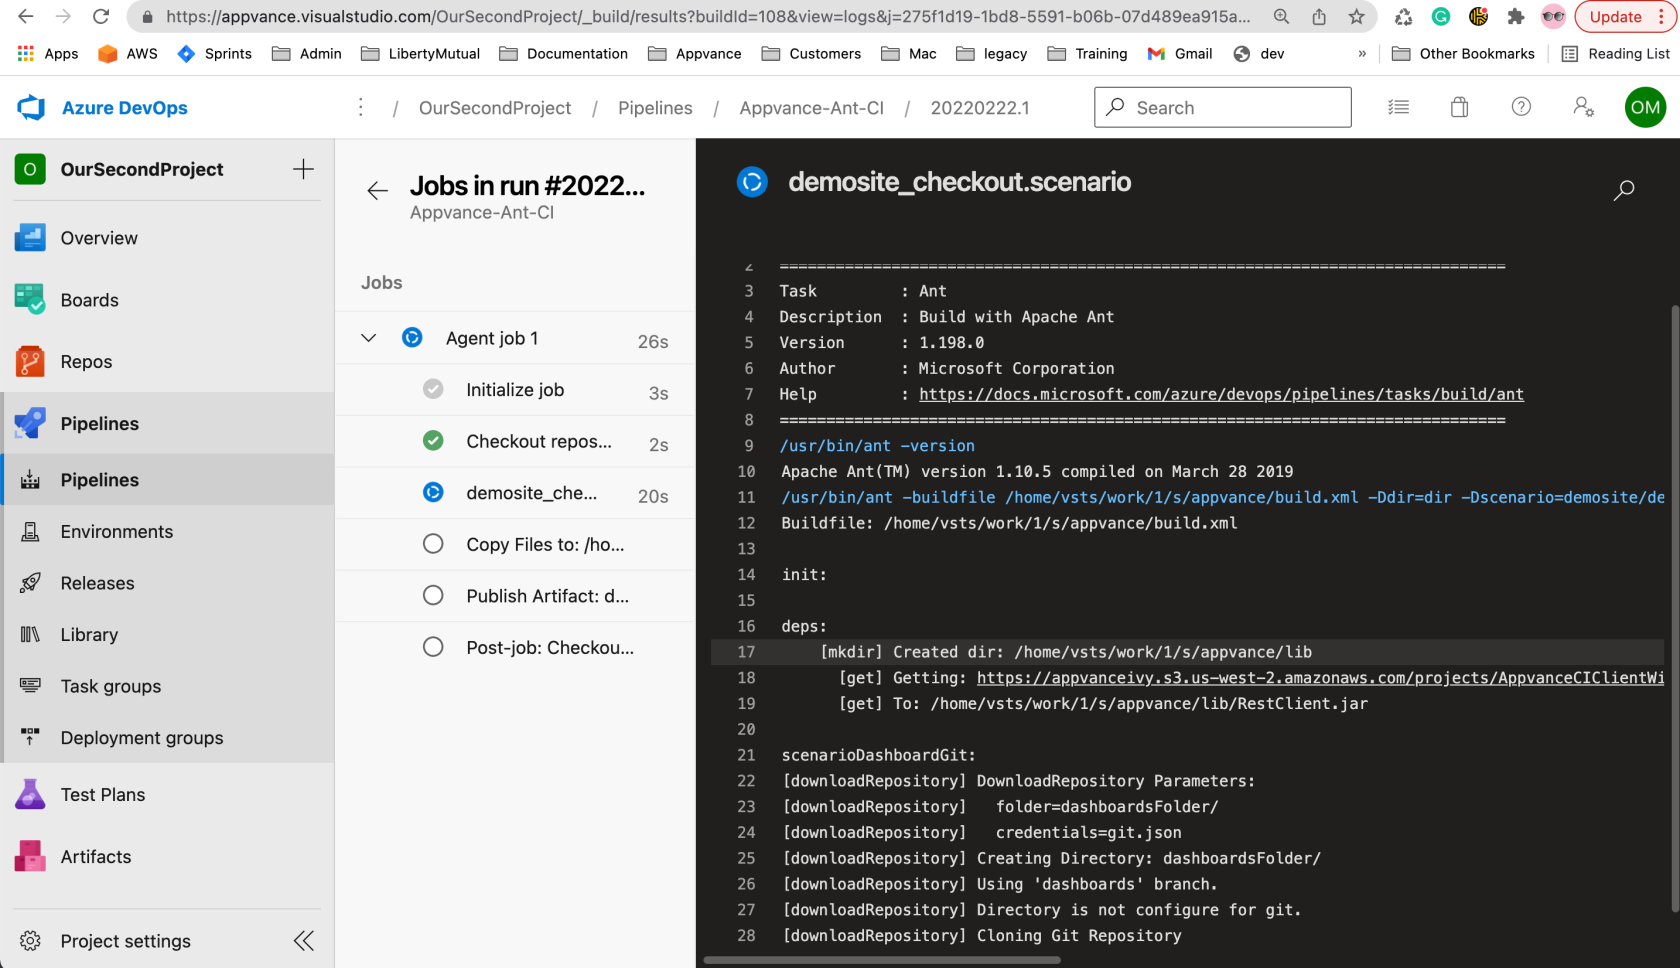
The pipeline should start running
Sample Template Files
-
Download a ZIP file containing sample template files: CICD_TEMPLATE.zip
Last updated: February 06, 2024
If you have any feedback on this topic, please contact us at documentation@appvance.ai