
Bamboo
Setup Build to run tests in Bamboo (Windows - localhost)
Download and install Atlassian Bamboo on one of your servers
Before you install Bamboo, check that you're running a supported Java version and that the JAVA_HOME (pointing to JDK) and JRE_HOME (pointing to JRE) environment variable is set correctly
Download Bamboo
Download Bamboo from the Atlassian download site.
Note: It is highly recommended to avoid placing the Bamboo home directory in any Windows security controlled directory, for example, C:\Program Files
Launch the Bamboo Windows installer to begin the installation wizard
The installer requires you to specify two directories:
Destination directory— This is the directory where Bamboo's application files will be installed. The default is:
C:\Program Files\Bamboo
Bamboo home directory— This is the directory where Bamboo will store its configuration data. If the directory you specify doesn't exist, Bamboo will create the directory when it launches. The default is:
C:\Users\<current-user>\Bamboo-home
Ensure that the Bamboo home directory is not located inside the <Bamboo installation directory>
Start Bamboo
In the command line, change the directory to <Bamboo installation directory> and run the following command:
bin\start-bamboo.bat
In your Web browser, enter the following address: http://localhost:8085/
Configure Bamboo
When you launch Bamboo for the first time, the Bamboo setup wizard will display. The wizard will lead you through the Bamboo settings that you need to configure before you can start using it.
You must have a valid Bamboo license (evaluation or commercial) to use Bamboo. You can generate your own Bamboo evaluation license from your Atlassian account
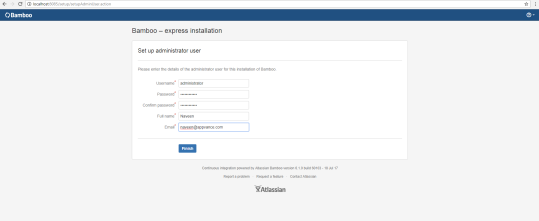
Setup Admin Account: The final step of the setup wizard is to enter the details of the first registered user for the Bamboo system. This user will have global administrative privileges over the entire installation of Bamboo and should not be removed
Once you have entered the details for your administrator user, click Finish. The Bamboo dashboard will be displayed
Bamboo Plug-in, Create test plan, configure and run Appvance IQ Scenario
NOTE: To avoid possible errors when trying to access the result page, the scenarios used for triggering from bamboo should NOT have the database set in the scenario XML. So it will use the default settings of the AIQ console.
Create a new Test Plan in Bamboo and fill out all the required fields
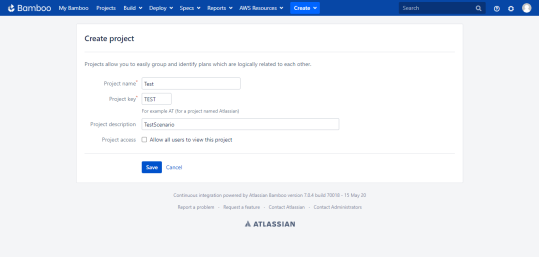
Once the project has been created, Click Crete Plan
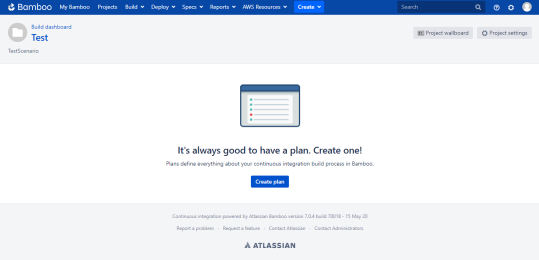
Create a new Test Plan in Bamboo and fill out all the required field
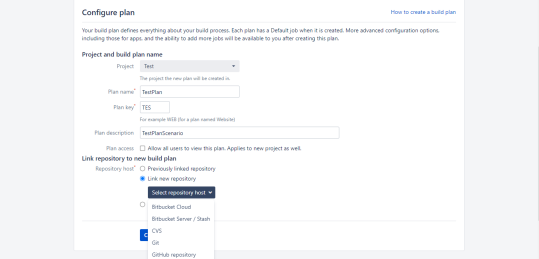
Click any Repository options and click Configure plan. (Ex:- Git)
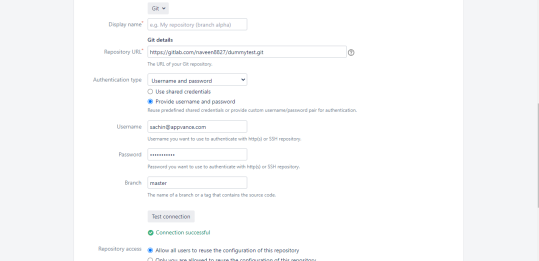
Configure the Job
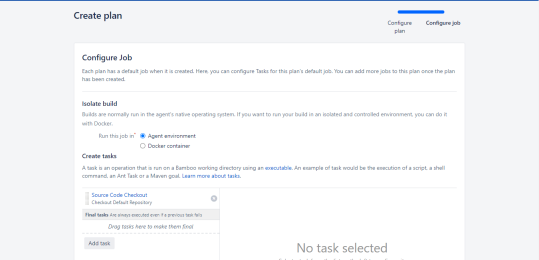
Add the Ant Task by Clicking Add Task
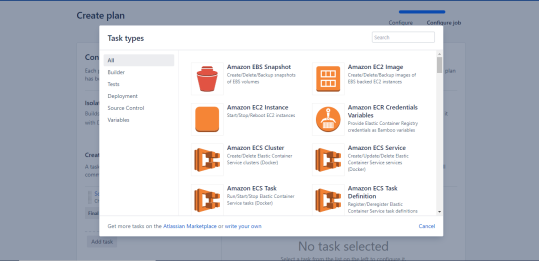
Search Ant in Search Bar
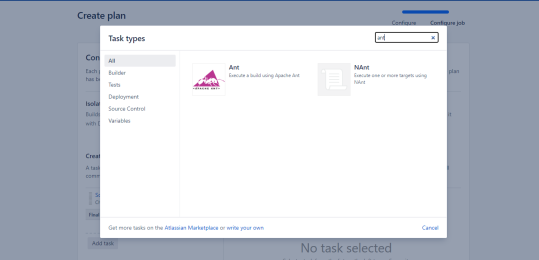
Create a new Task in Bamboo and fill out all the required fields
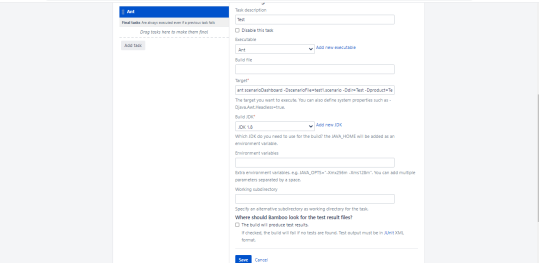
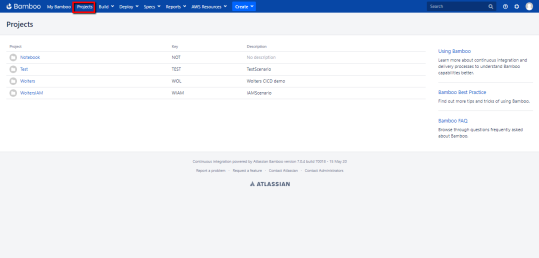
Once the Task is created Click Projects and click the Created Project
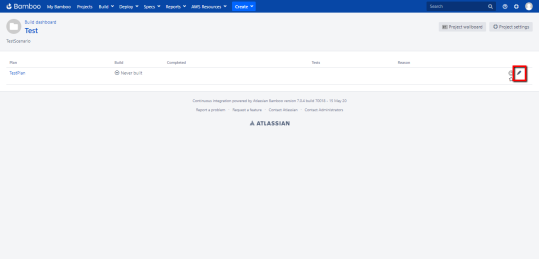
Enable the Plan by clicking Edit and Click Actions > Enable Plan
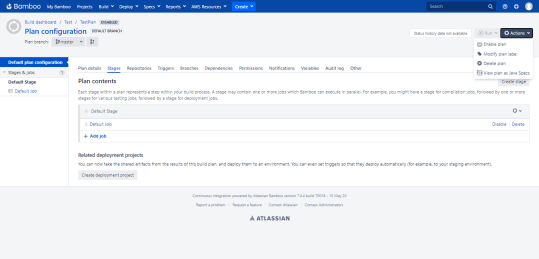
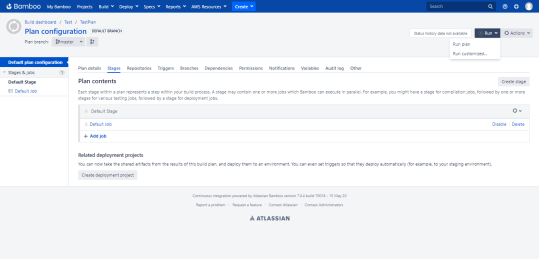
Run the Plan by Clicking Run > Run Plan
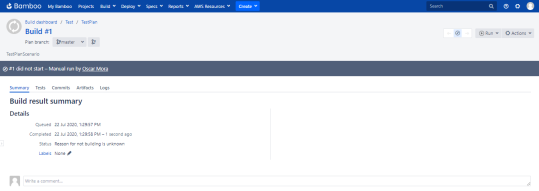
View the Build Result Summary
Last updated: June 02, 2023
If you have any feedback on this topic, please contact us at documentation@appvance.ai