
CICD - TeamCity Integration
Information within illustrates how to configure and run scenarios from TeamCity
Applicable for both TeamCity installed locally as well as in the cloud
Setup a build in TeamCity: Configuration and pre-requisite:
TeamCity can be downloaded from this location
Download Links for the following are available at “CI Jenkins”
After installation, TeamCity automatically launches using port 8080. Change the port to a different one (Example: 8087)
Install ANT using http://ant.apache.org/bindownload.cgi
Download and install the appropriate file on your machine depending on the operating system used
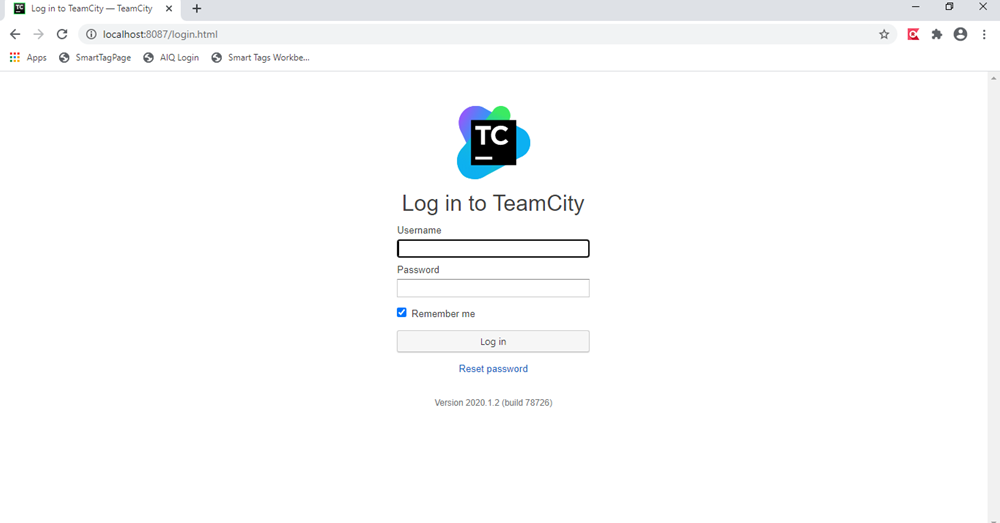
Login to TeamCity with your credentials
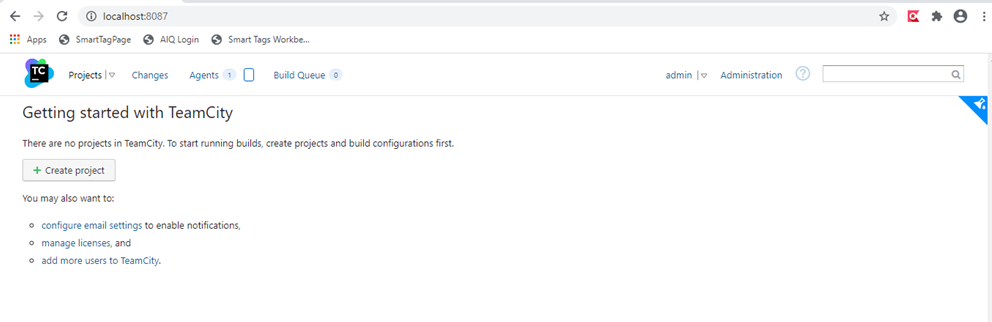
Once logged in, click the Project button to Create a project
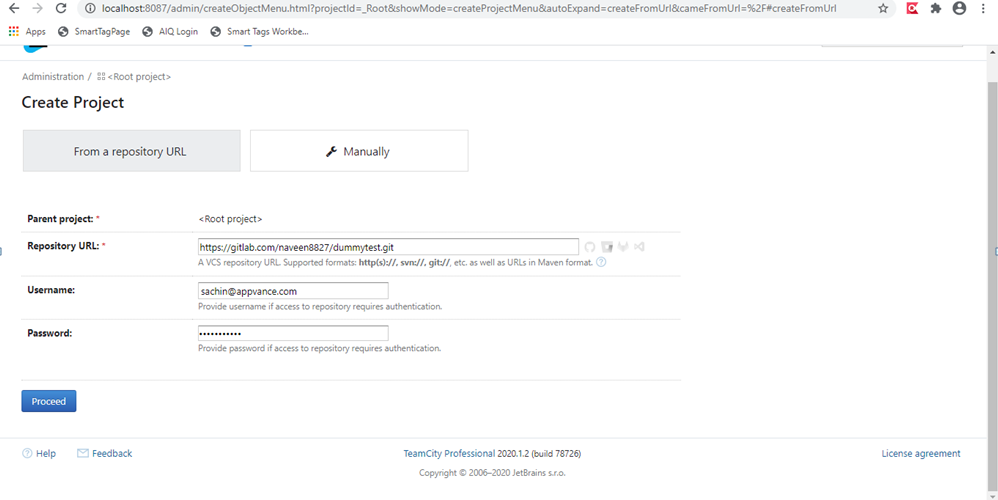
Click From a Repository URL, provide your GitLab creds and the repository URL, and Click Proceed
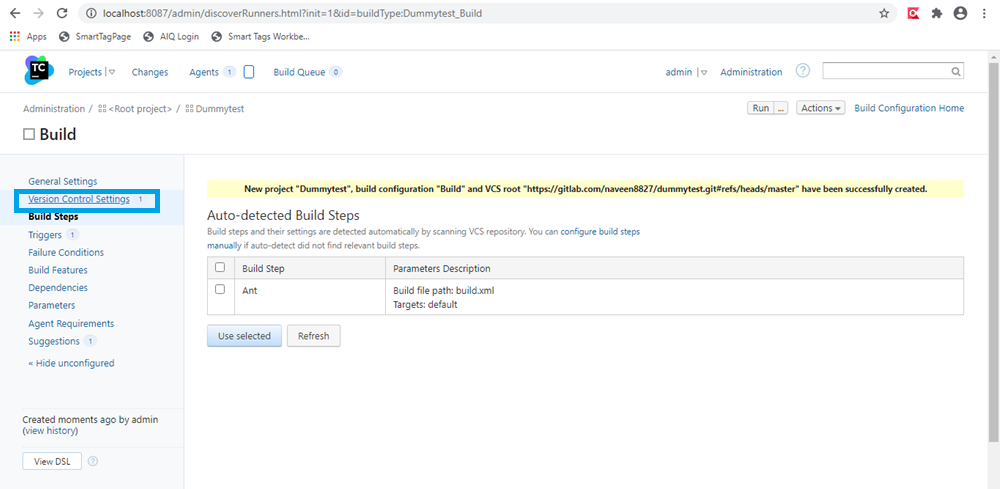
Click Version Control Settings
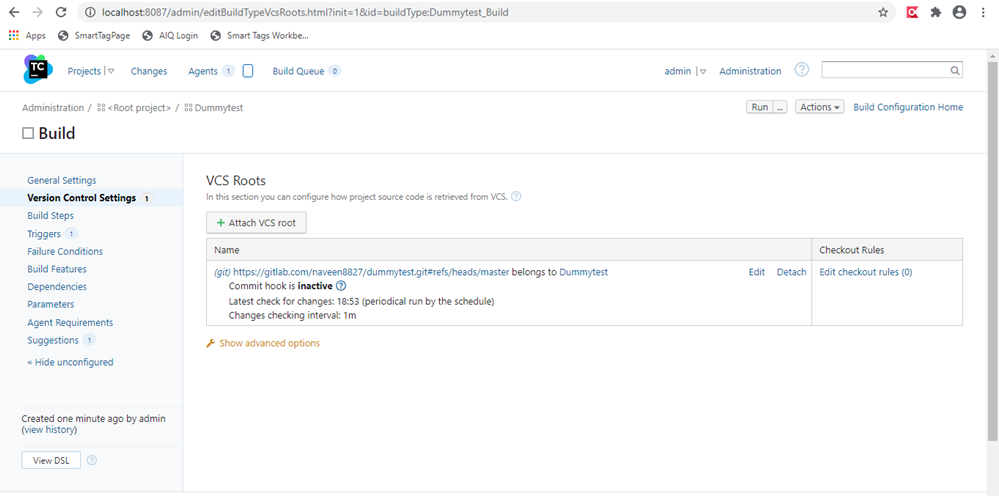
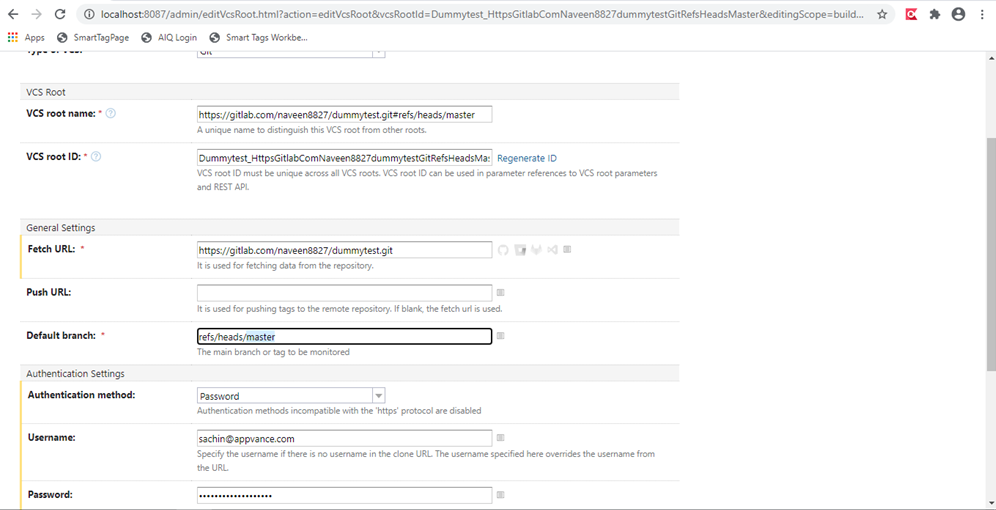
Click Edit and change the branch as per your requirements (Changed the Default Branch to Demo)
Click Build Steps and Add Build Step
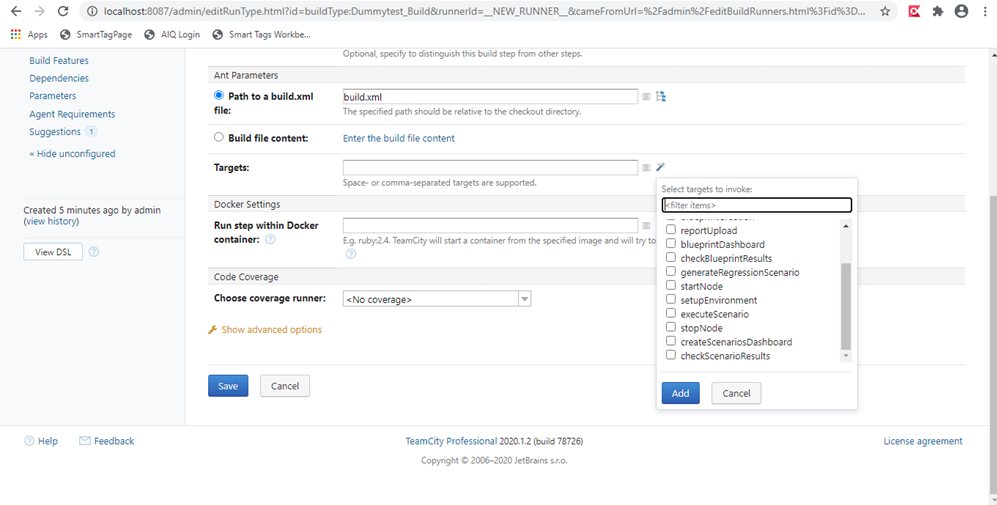
Choose Runner Type as Ant
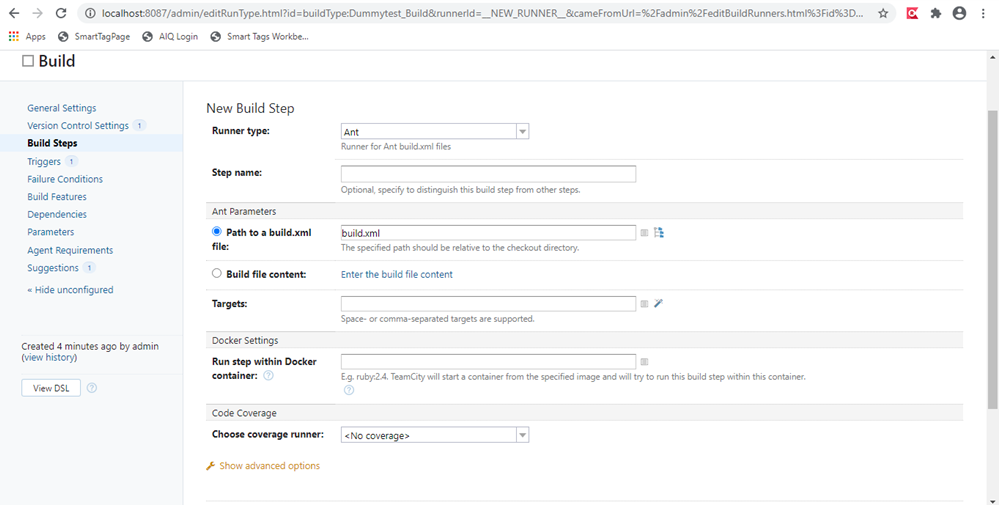
Choose the Targets by clicking the Edit Like button
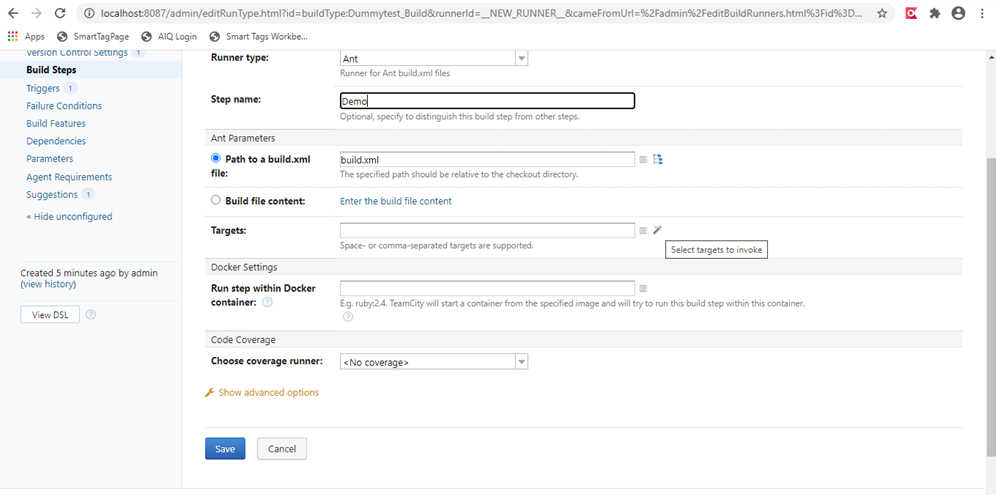
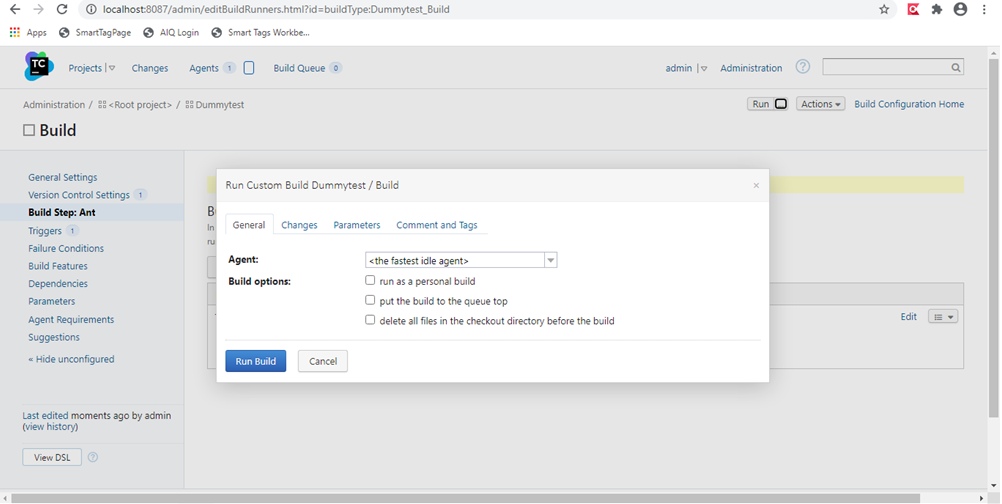
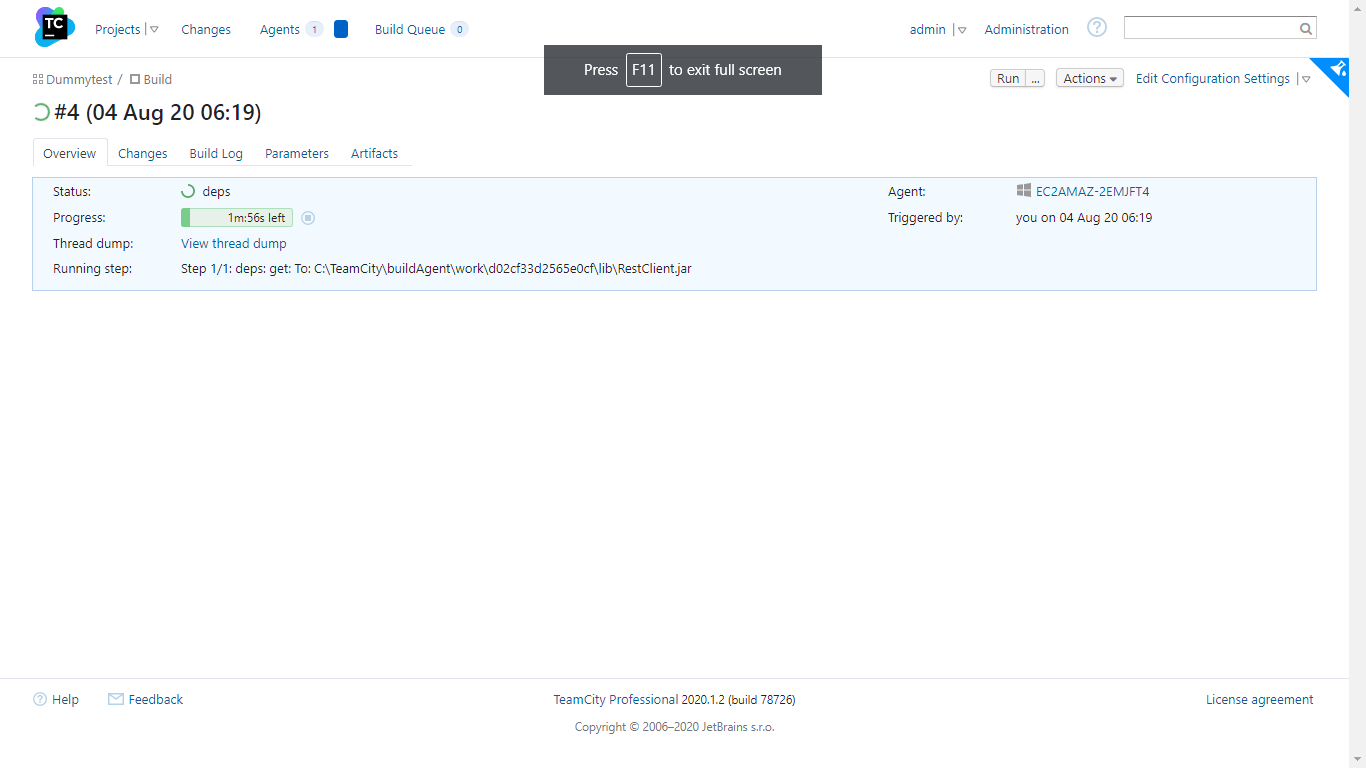
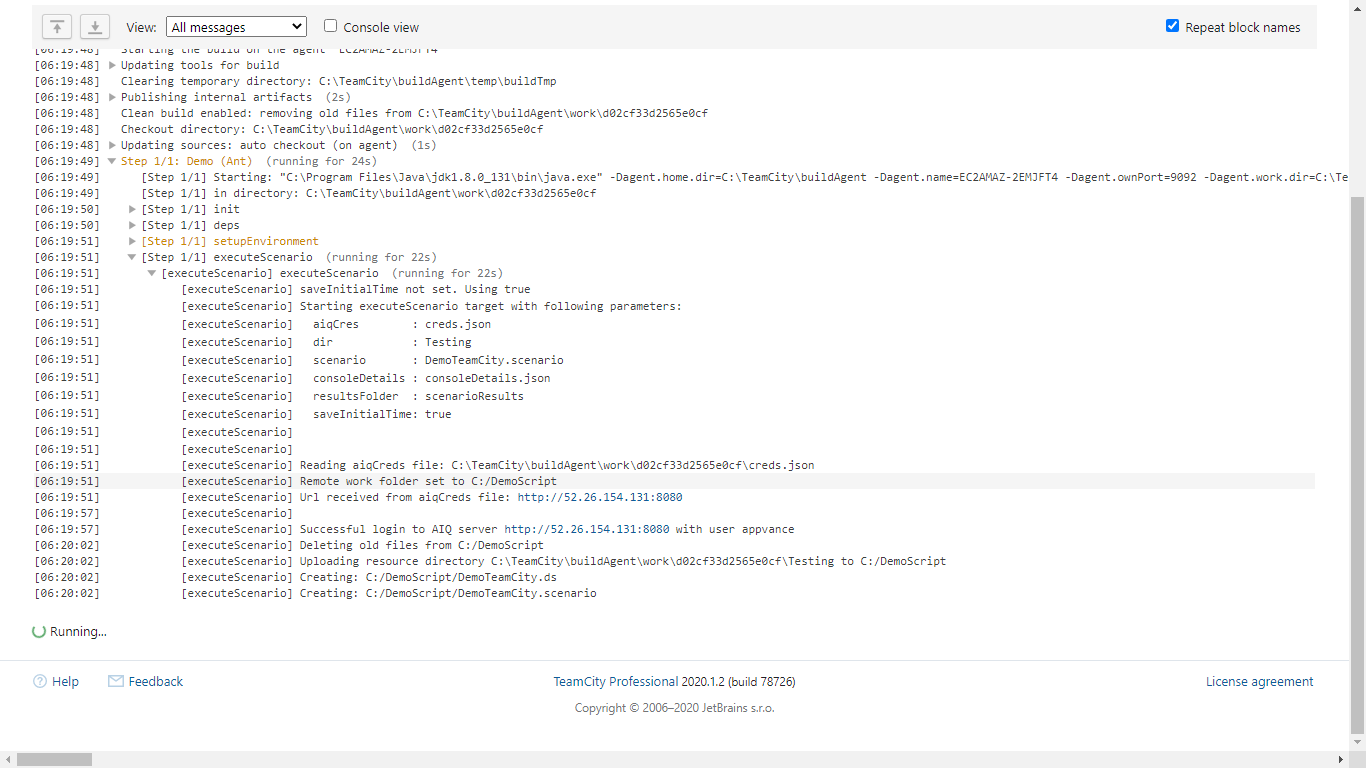
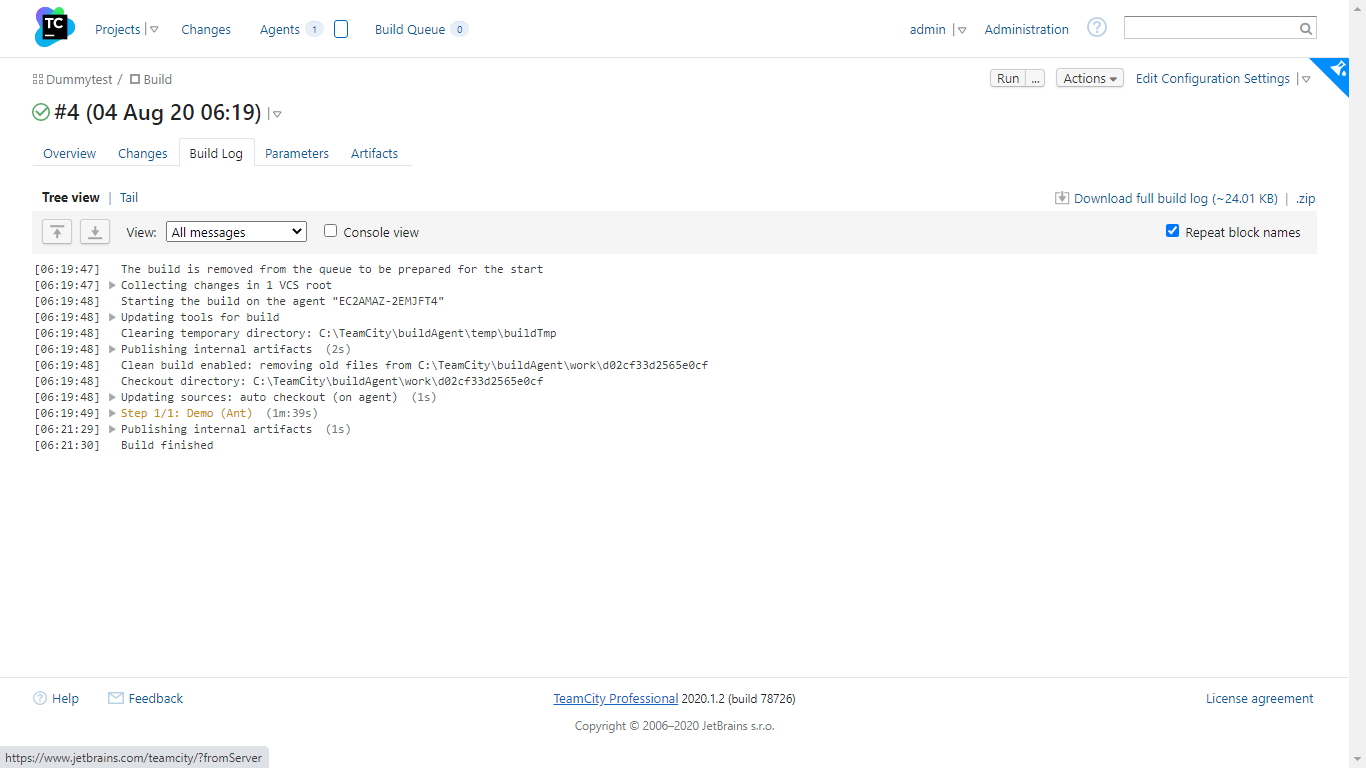
Click Run and choose the options
Now how does the git-lab project look and what are the files that need to be changed?
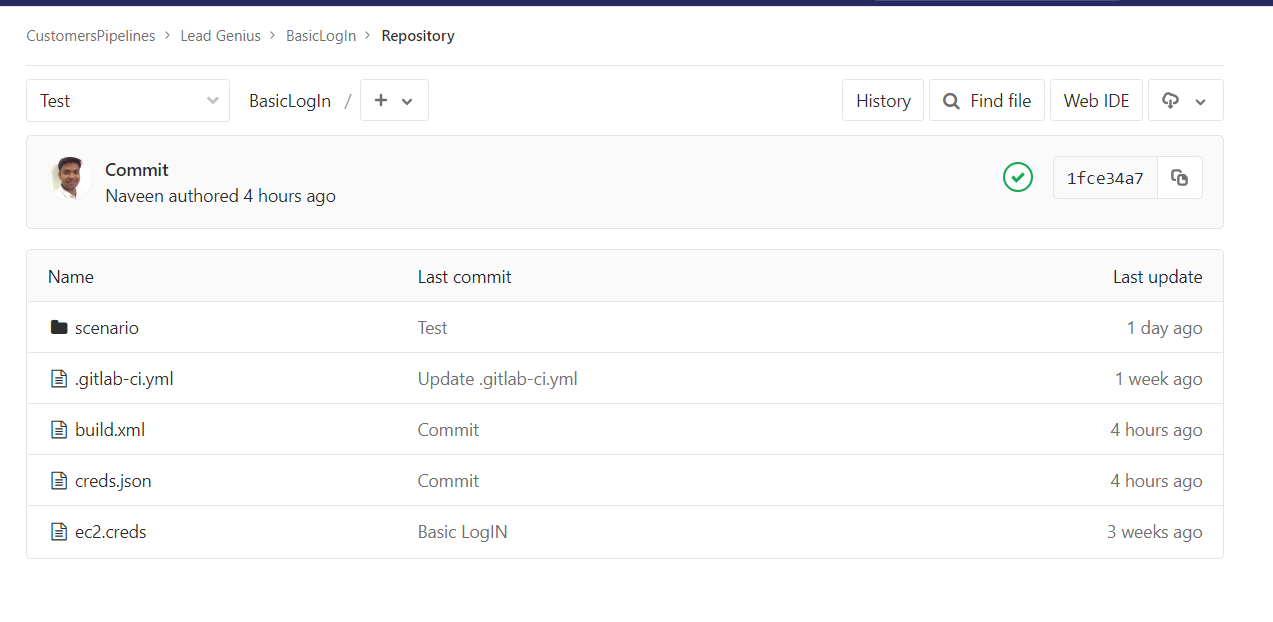
Above is the screenshot of the project that was configured in Jenkins.
Build.xml File: Build.xml file and other files and the folder structure can be downloaded from here.
creds.json File:
{
"controller": {
"instances": ["i-0a8ede7xxxxx"],
"ec2Creds": "ec2.creds",
"timeOut": 60,
"username": "AIQUSERNAME",
"password": "AIQPASSWORD",
"workFolder": "."
}
}
Basically has details about the controller machine and the credentials. Above can be used when we have the EC2 setup.
When we are running AIQ local builds, instances in the 2nd line could be replaced with "URL" and the full URL of the AIQ controller could be provided.
ec2.creds will have details of the Ec2 account: This can be used when we are using AIQ Controller on the EC2 machine and when your tests are run in the AWS cloud.
AWS_ACCESS_KEY_ID=YOURAWSACCESSKEY
AWS_SECRET_ACCESS_KEY=YOURAWSSECRETKEY
REGION:us-west-2.ec2.amazonaws.com
Look for Build Triggers and look for Invoke Ant.
Under Targets, call
deps
startNode
createScenarioDashboard
stopNode
Note: All the above are case-sensitive
Last updated: June 26, 2023
If you have any feedback on this topic, please contact us at documentation@appvance.ai