
Parametrized Jenkins Project
Use case:
-
To update the URL of the AUT, based on the environment chosen
-
To run A scenario or B scenario depending on the environment chosen.
NOTE: In the build.xml file, The ant.lib/ant-contrib-1.0b3.jar file is needed for the conditional IF support needed in setupEnvironment target
The file can be downloaded from here
Folder Structure:
-
Download the zip from GITRepo which has the folder structure that has been used for this use case as an example.
-
In the root folder, you will find build.xml
-
ant.lib folder holding the supporting lib required for the if statements used in build.xml
-
Inside Folder1, you will have ec2.creds file, controller.json file
-
Also, there are CSV files, Creds_prod.csv, Creds_Staging.csv files, these are the files that are mentioned in setUpEnvironment section, depending on the choice from Jenkins, the right file shall be picked and replaced inside the ExplicitValidation folder which holds the other CSV file
-
When Production is called, it only runs the production scenario, and also it picks the file that belongs to production and it replaces it with the actual CSV file used hence the production scenario is used with the right files
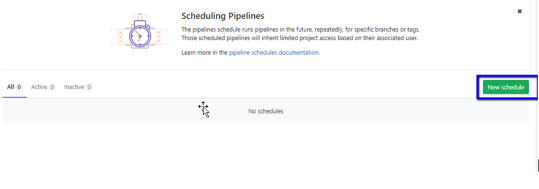
Setting the CI Tool (Jenkins used in the example)
-
Install and set up Jenkins
-
Login to Jenkins as Admin
-
Create the project
-
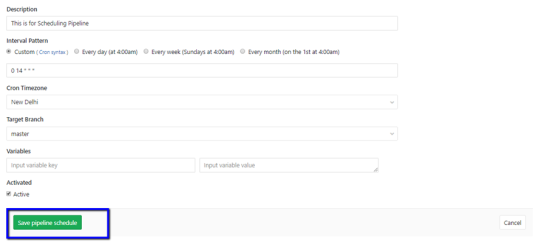
In General - provide the required description
-
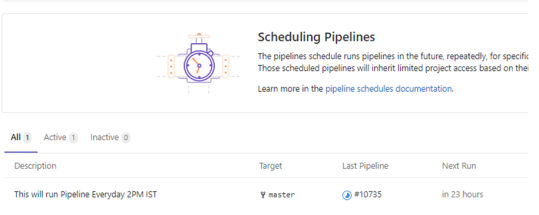
Check This project is parameterized check-box and depending on the choice, choose the parameter, in this example, Choice Parameter was chosen to provide the choices of the Environment as Production and Staging
-
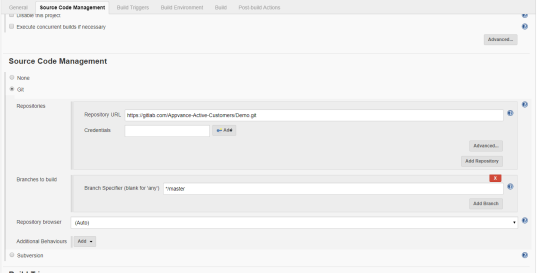
Choose Source Code Management, select the repository, and provide your credentials.
Under branches, provide the branch if the files are in a different branch or master if the files are in the master branch
-
Under Build Triggers - Choose Delete Workspace before building starts
This will delete the previous results which are required so each time the dashboard is created fresh with fresh results. All the history files will already be stored in the mentioned S3 bucket in build.xml file
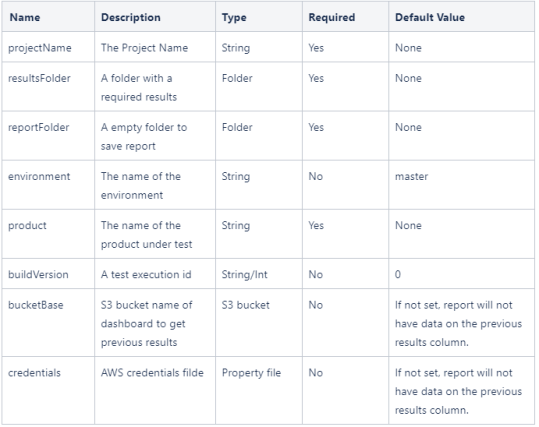
-
Under the build option - Choose the following
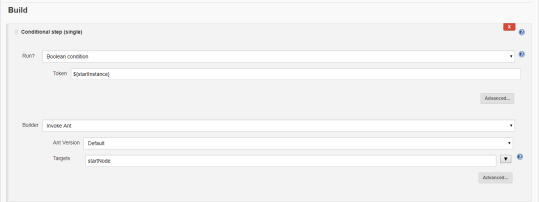
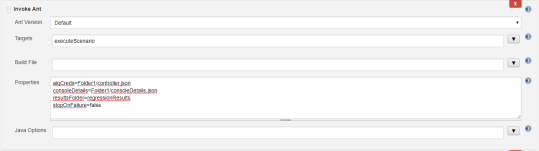
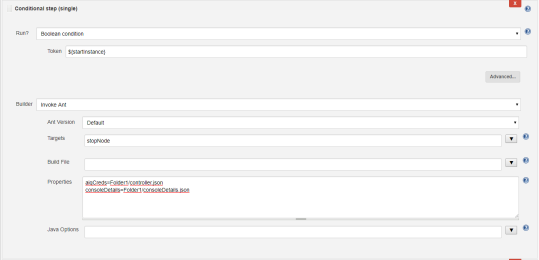
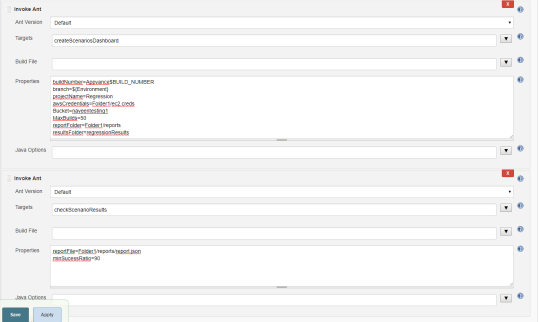
-
Save the project
-
Click Build with Parameters
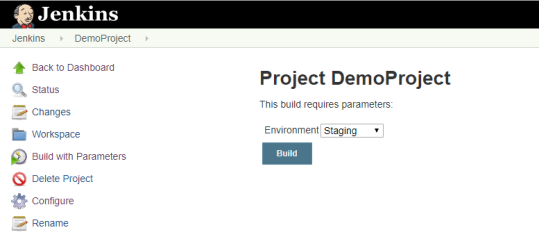
-
Choose the Environment from the drop-down and click Build
-
Jenkins will run the build and the output can be seen in the Console Output
Last updated: June 26, 2023
If you have any feedback on this topic, please contact us at documentation@appvance.ai