
Run AIQ Scenarios from Jenkins with Ant
Recommended guidance
Use AllJenkins and Ant only when the antproject callsstill arerequires case-sensitive.an Ant-based automation pipeline. For new pipelines, confirm whether a newer CI/CD approach is available before extending legacy Ant jobs.
To
Before runconfiguring scenariosthe usingjob
- Confirm the AIQ environment, project, scenario, and execution target.
- Use service accounts or CI credentials stored in Jenkins credentials management.
- Do not hard-code AIQ usernames, passwords, tokens, or environment secrets in build files.
- Confirm the agent machine can reach AIQ, repositories, browsers, Test Nodes, and required application URLs.
- Keep build files,
Jenkinsscripts,mustandbeconfigurationinstalledunder version control.
Pipeline checks
- Run the Ant target locally or on a
local machine, after which local paths can be specified in place of REPOSITORY paths using SERVER.
it.Save thiscontrolled Jenkinsprojectagentwithbeforetheseschedulingconfigurations.- Capture
ClickIDs, Jenkins build now.
Upon successful build,Fail the user can see the logs by clicking on the build link and then clicking on Console Output which will display all the logs and the link to navigate to Reports of the test run.
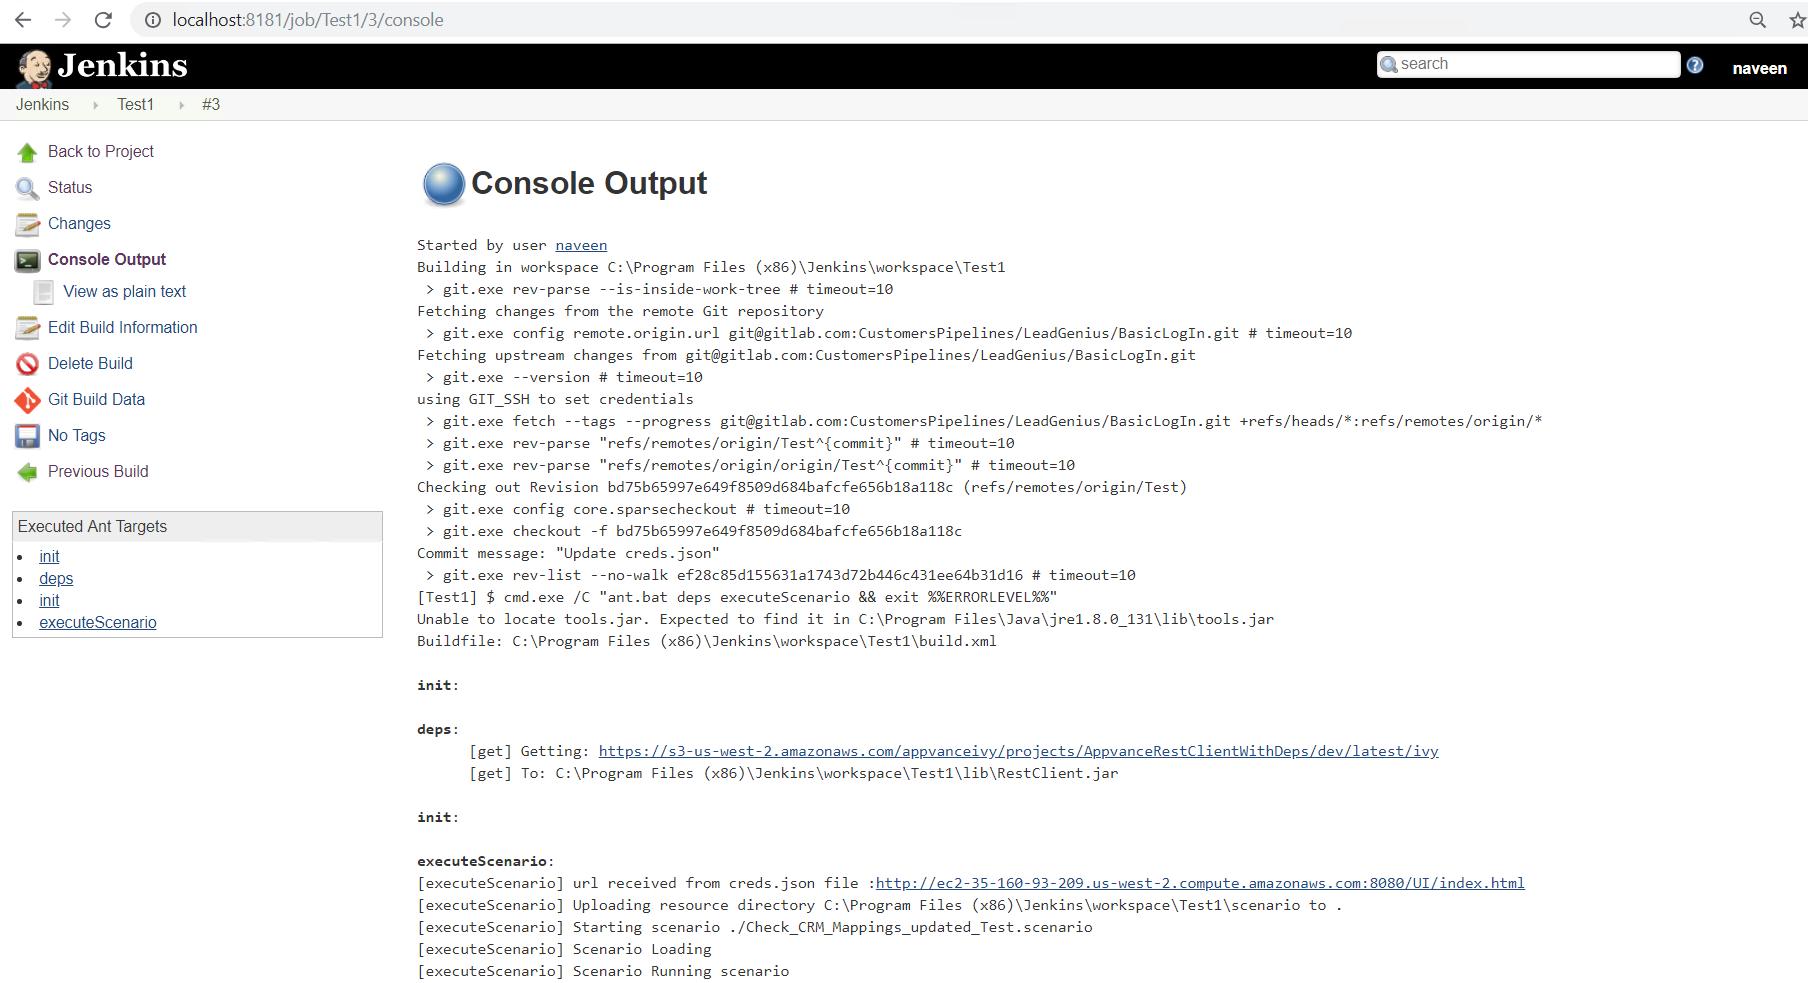
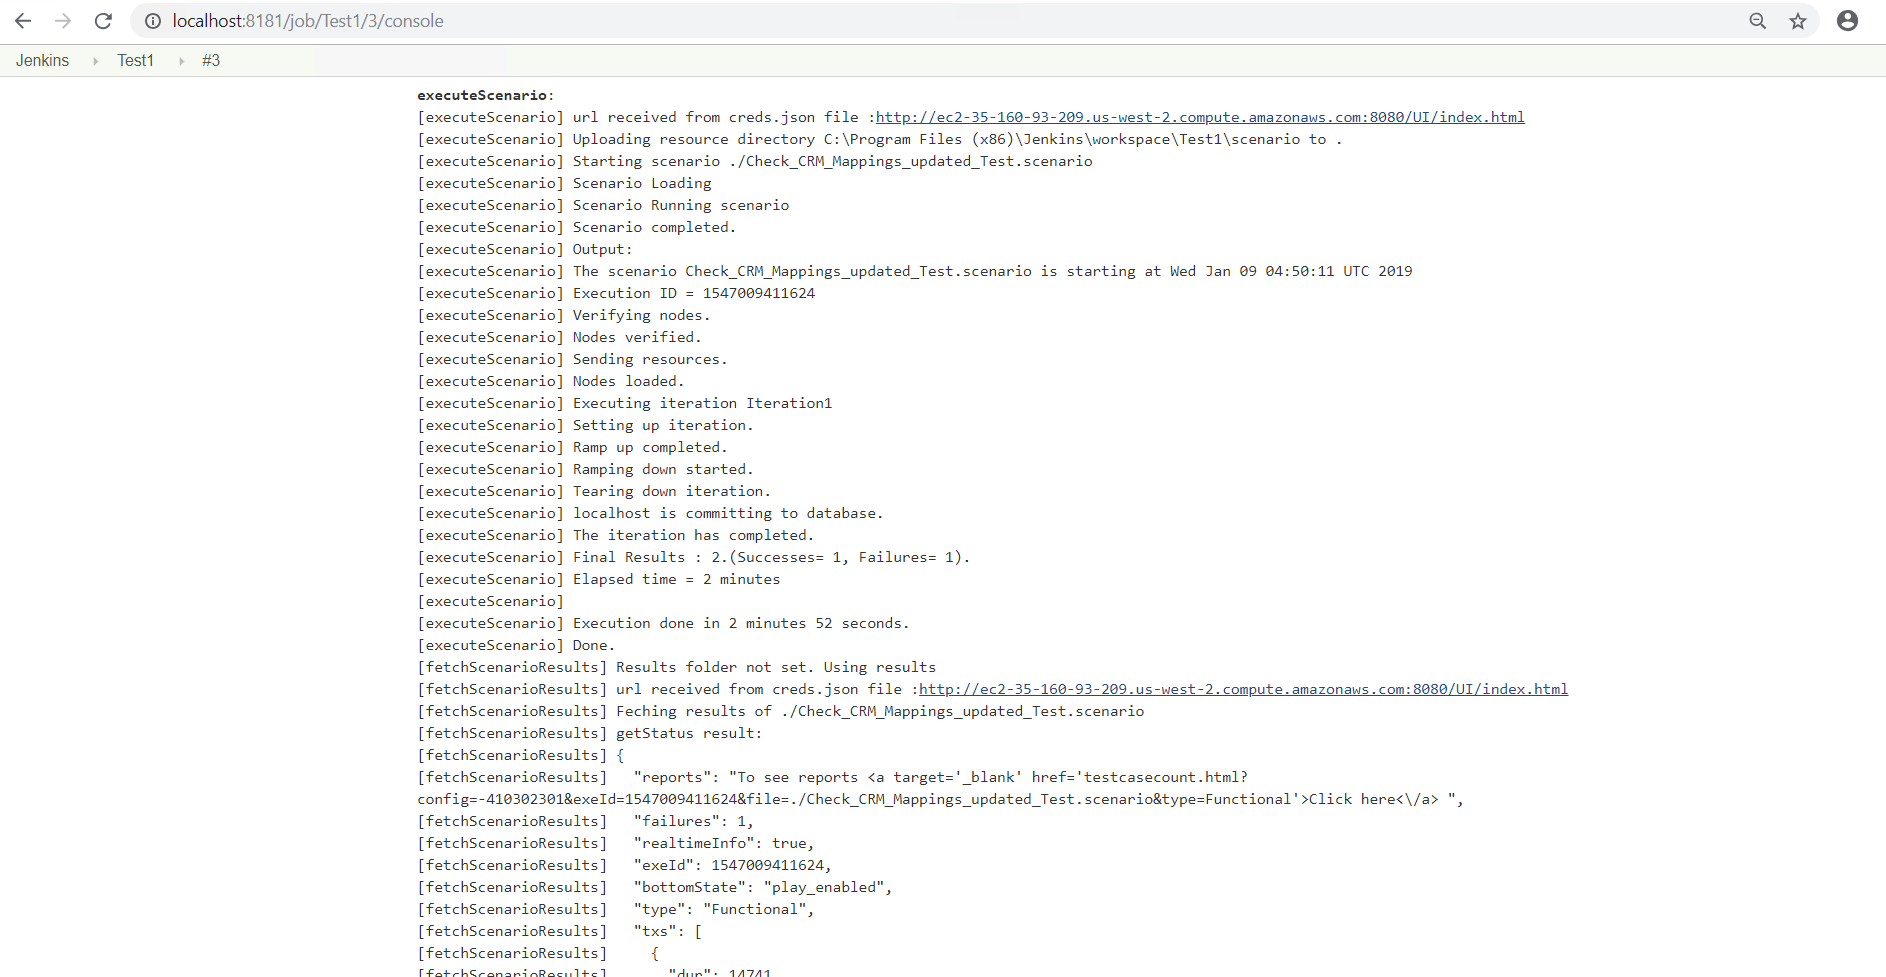
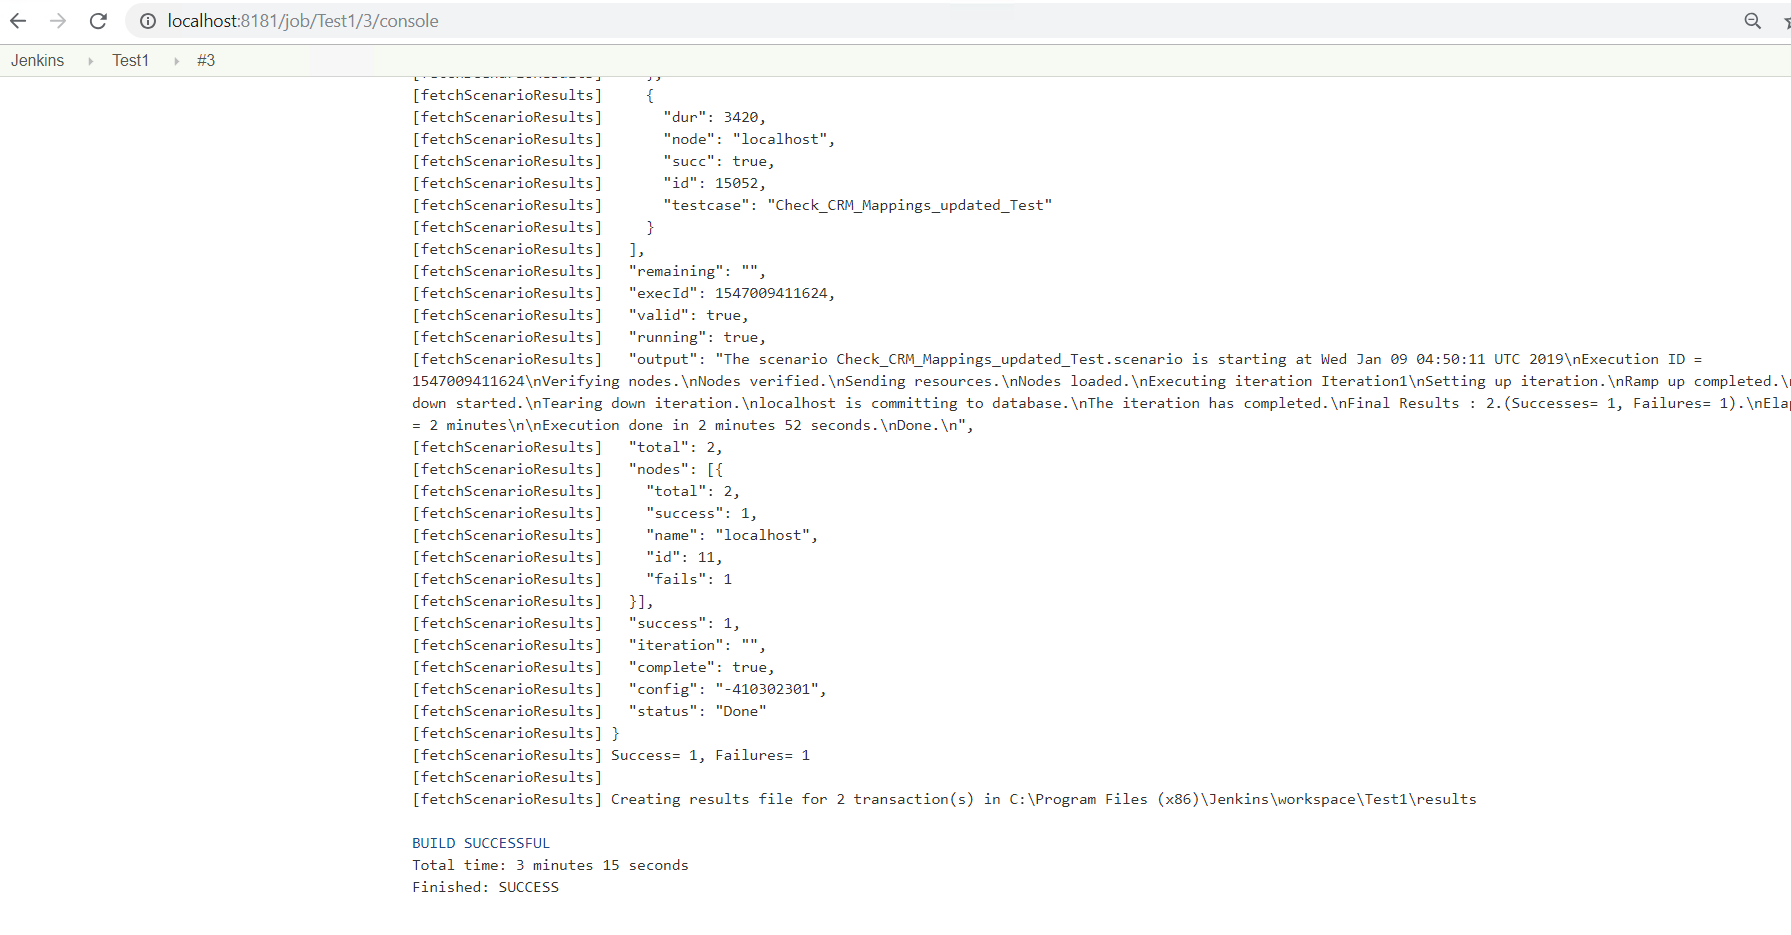
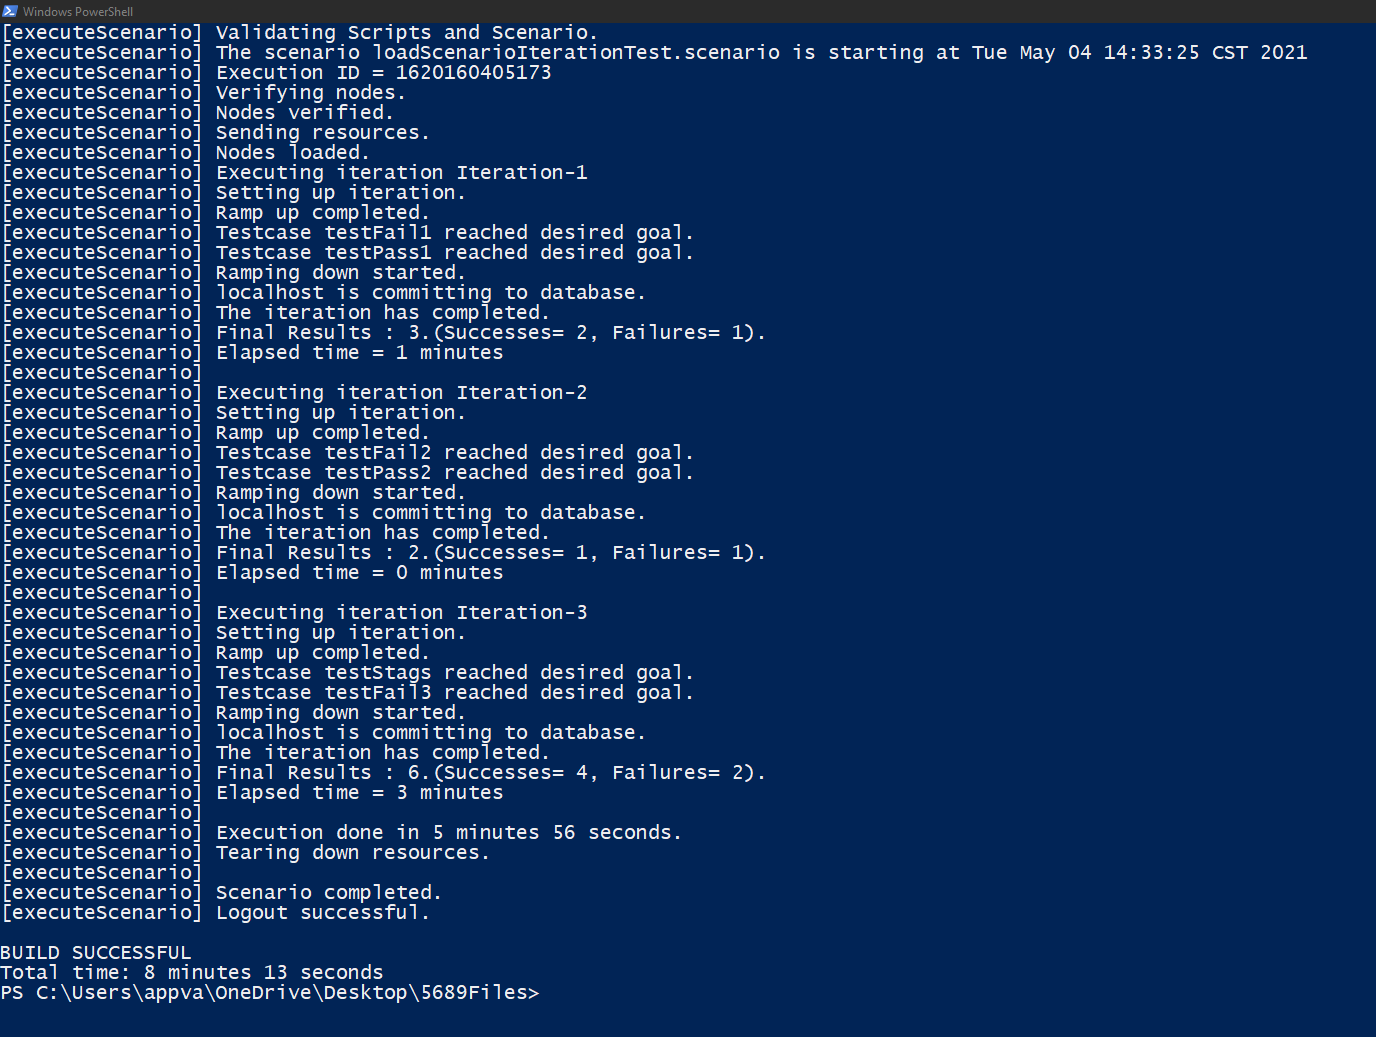
Jenkins consolejob or output logs (run from the command line) will show all the details, test case pass / fail, Execution times being taken from all the iterations.
Beginning inwhen the AIQ 4.10.0result release,fails, iftimes youout, wantor cannot be retrieved.
Terminology note: Use Scenario Editor when referring to runcurrent multipleAIQ scenariosscenarios. inKeep parallellegacy youterms noonly longerwhen havedescribing toold specifyjob thenames, individualfile scenariosnames, inor thehistorical build.xml file. You can now just add the root folder and CICD will run each scenario within that folder.assets.
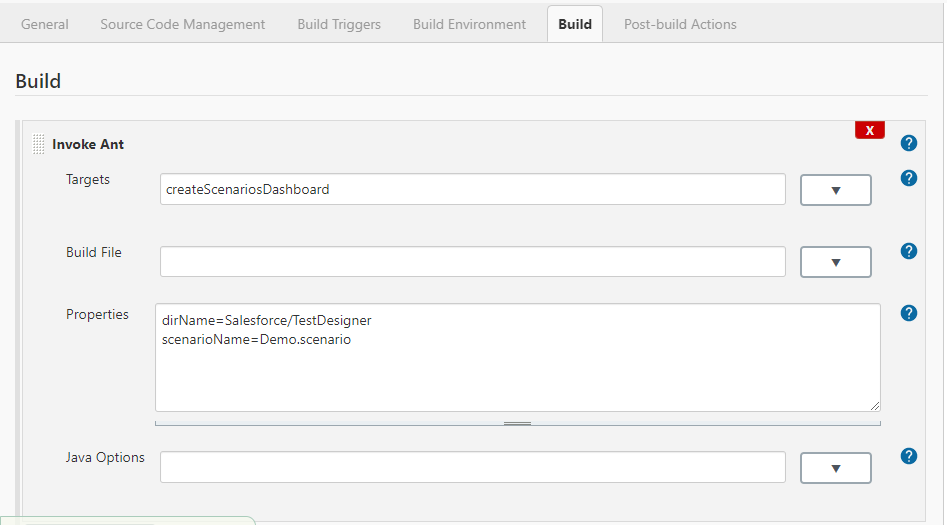
To pass scenario and folder as a parameter, setup the following:
In the build.xml file, parameters on top should have the variable reference for the value.
<!-- Execute Scenario's parameters -->
<property name="dir" value="${dirName}" />

<!-- folder that contains scenario and resources needed by it -->

<property name="scenario" value="${scenarioName}" />
Execute Scenario target should have the same variable name defined for the dir and scenario.
<target name="executeScenario" depends="setupEnvironment">

<taskdef name="executeScenario" classname="com.appvance.ci.ExecuteScenario">

<classpath refid="RestClientLibPath" />

</taskdef>

<executeScenario aiqCreds="${credsData}" dir="${dirName}" scenario="${scenarioName}" consoleDetails="${consoleDetailsData}" resultsFolder="${scenarioResults}" />


<taskdef name="fetchScenarioResults" classname="com.appvance.ci.FetchScenarioResults">

<classpath refid="RestClientLibPath" />

</taskdef>

<fetchScenarioResults aiqCreds="${credsData}" consoleDetails="${consoleDetailsData}" resultsFolder="${scenarioResults}" scenario="${scenarioName}" stopOnFailure="${stopOnFailure}" />

</target>
From Jenkins, the parameters for dir and scenario can be passed by using the Build> Advanced option
Last updated: MarchOctober 01,5, 20242026
If you have any feedback on this topic, please contact us at documentation@appvance.ai