
RBAC setup to use Graph Service in Service Suite
RBAC (Role-Based Access Control) for applications will eventually replace application access policies (see below). Today, the public preview shows some ragged edges in terms of the integration between Exchange Online and Azure AD that Microsoft says they’ll fix before general availability. Even with some bumps to navigate, the new functionality is a welcome addition that extends tenant control over their data, which is always a good thing.
In order to use this protocol you need to do the following configurations in your azure account so the roles and permissions are set correctly.
Once you have done the below steps you should be able to use the service suite Graph Service oauth2 client to send/receive emails using RBAC with the normal client commands.
Open Windows PowerShell as an Administrator
Execute: connect-mggraph -scopes "Application.Read.All". If the exception "The term connect-mggraph' is not recognized as the name of a cmdlet" appears, execute the command install-module microsoft.graph
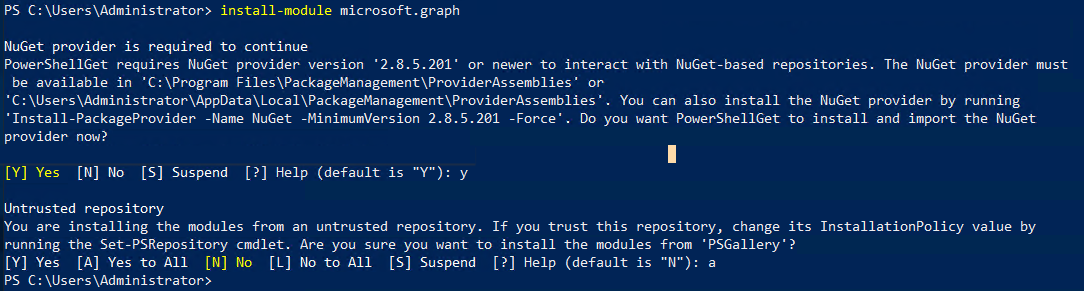
After Microsoft Graph is installed, execute again the command connect-mggraph -scopes "Application.Read.All"
Sign in
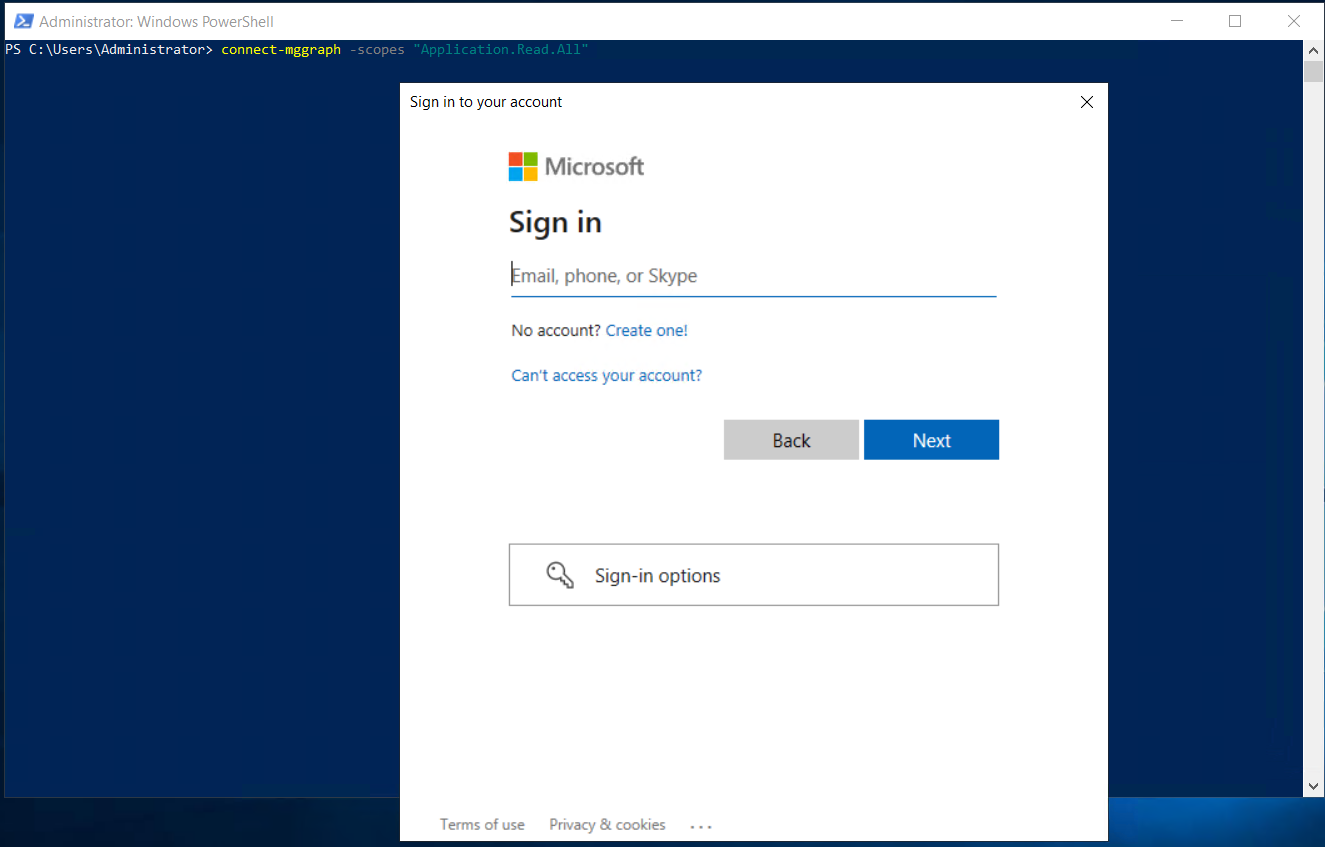
After signing in, should see this:

Execute: $SP = Get-MgServicePrincipal -All
Execute: $ServicePrincipalId = $SP | Where-Object {$_.displayName -eq "{Application name}"} | Select-Object -ExpandProperty Id
Execute: $AppId = $SP | Where-Object {$_.displayName -eq "{Application name}"} | Select-Object -ExpandProperty AppId
Execute: Write-Host ("AppId is {0} and Service Principal Id is {1}" -f $AppId, $ServicePrincipalId)
Output:

Execute: Install-Module -Name ExchangeOnlineManagement
Execute: Import-module ExchangeOnlineManagement
Execute: Connect-ExchangeOnline -UserPrincipalName {user email}
Output:

Execute: New-ServicePrincipal -AppId $AppId -ServiceId $ServicePrincipalId -DisplayName '{Application name}'
Execute: New-ManagementScope -Name "Management emails" -RecipientRestrictionFilter "CustomAttribute1 -eq '{RolName}'"
Execute: Set-Mailbox -Identity {username} -CustomAttribute1 "{RolName}"
Execute: Get-EXOMailbox -Filter {CustomAttribute1 -eq "{RolName}"} | Format-Table DisplayName
Execute: New-ManagementRoleAssignment -App $AppId -Role "Application Mail.Mail.ReadWrite" -CustomResourceScope "Management emails"
Execute: New-ManagementRoleAssignment -App $AppId -Role "Application Mail.Send" -CustomResourceScope "Management emails"
Assing a role to a user
Execute: Set-Mailbox -Identity {username} -CustomAttribute1 "{RolName}"
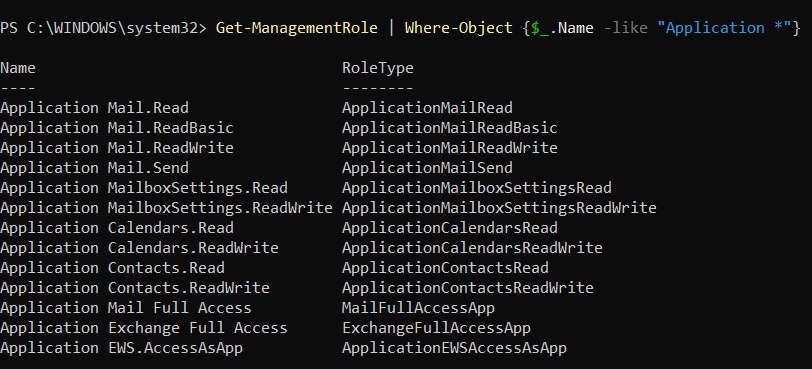
List available permissions
Execute: Get-ManagementRole | Where-Object {$_.Name -like "Application *"}
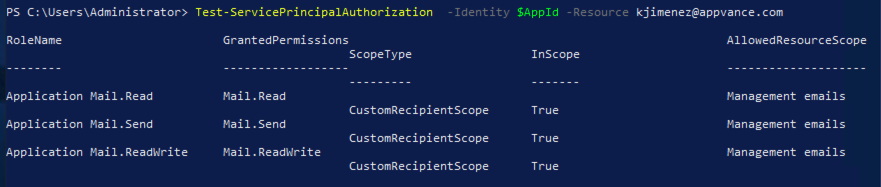
See permissions assigned to a user
Execute: Test-ServicePrincipalAuthorization -Identity $AppId -Resource {email}
Last updated: May 26, 2023
If you have any feedback on this topic, please contact us at documentation@appvance.ai