
MySQL Install and Setup for AIQ
Recommended guidance
Install and configure MySQL Serverfor AIQ only according to the supported database version and deployment model. Database configuration affects login, execution history, reports, upgrades, and data integrity.
Before setup
- Confirm AIQ-supported MySQL version, host, port, storage, charset, and collation.
- Plan database user permissions, backup, restore, monitoring, and maintenance windows.
- Review firewall, network, DNS, certificate, and OS service settings.
- Document configuration values that AIQ requires during install or upgrade.
Validation workflow
GoConfirmtothehttps://downloads.mysql.com/archives/community/database service starts after reboot.ClickValidateProductAIQVersioncan connect using the configured account.- Run login, Scenario Editor, Service Suite, and
selectreporting5.7.31 ClicksmokeOperating Systemand selectMac OS XLocatemacOS 10.14 (x86, 64-bit), DMG Archiveand clickDownloadOpen the downloaded packageA warning may appear, with a legend similar to “can’t be opened because Apple cannot check it…” clickOK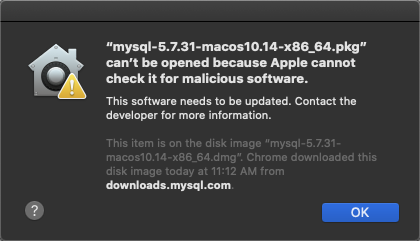
SelectApple Menuand clickSystem PreferencesClickPrivacy & SecurityClick theGeneraltab and selectOpen Anyway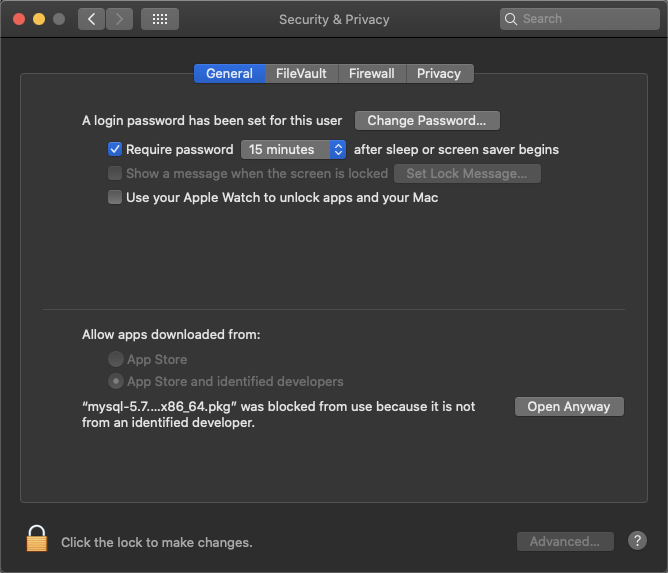
Another warning may appear, clickOpen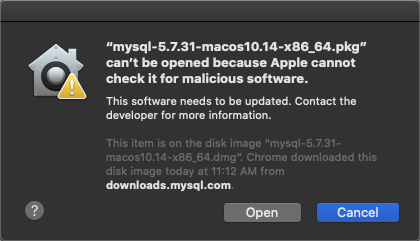
When theInstall MySQLinstaller appears, clickContinue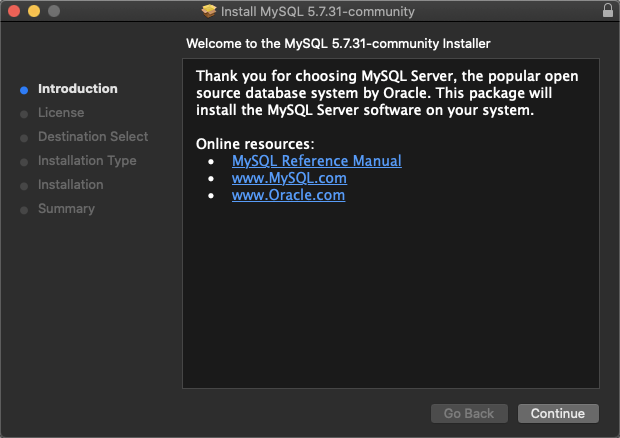
- Review
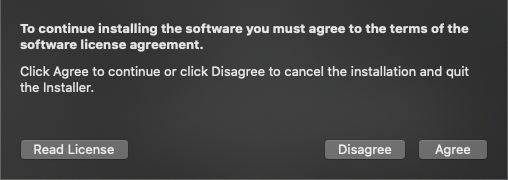
the Software License Agreement, clickContinue, then clickAgree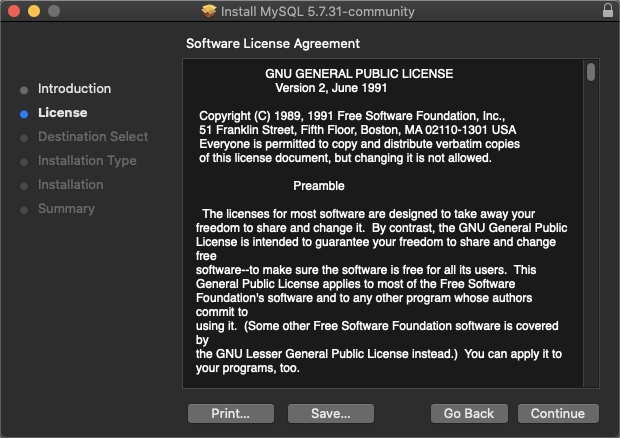
When the Installation Type window appears, clickCustomize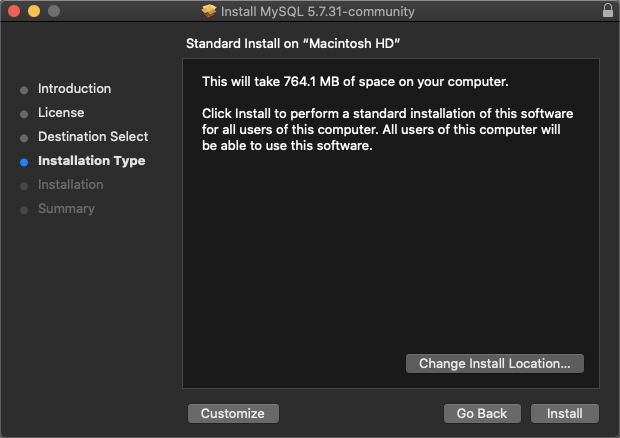
EnsureMySQL Server,Preference Panedatabase andLaunchdAIQSupportlogsareforselected,permission,andpacketclicksize,Install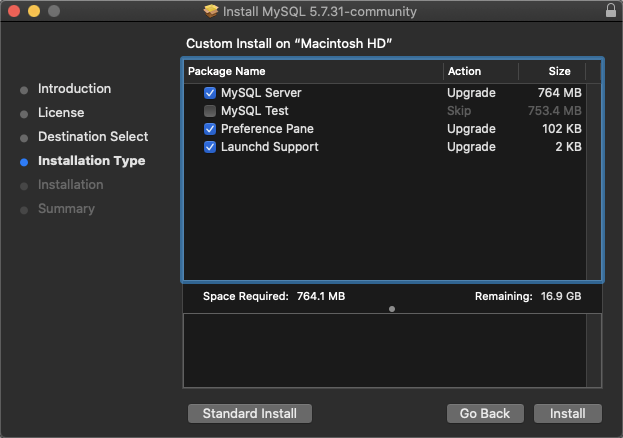
Enterorpasswordcase-sensitivitywhen prompted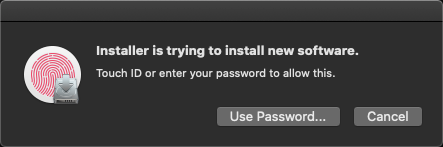
If the System Events.app warning appears, clickOK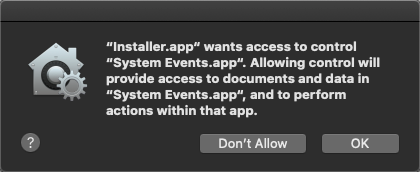
IMPORTANTWhen MySQL Installer provides the temporary password,note this password, it cannot be recovered!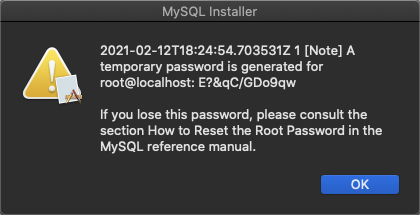
When the Summary window appears, clickCloseIf prompted you may move the installer to trash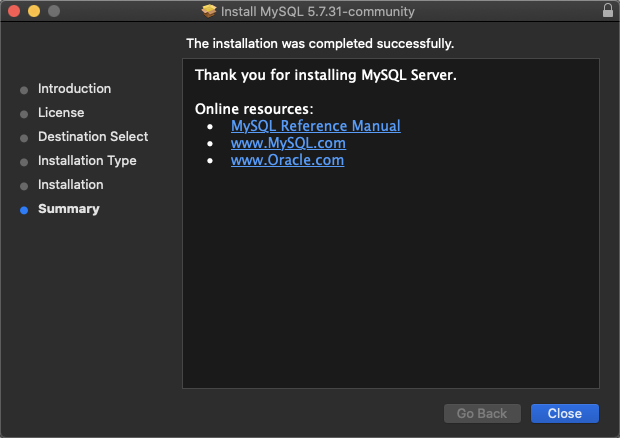
SelectApple Menuand clickSystem PreferencesClickMySQLIf MySQL is running, clickStop MySQL ServerClickStart MySQL Server
Install MySQL Workbench
Go tohttps://dev.mysql.com/downloads/workbench/and download MySQL WorkbenchOpen the installerWhen prompted, drag and dropMySQLWorkbench.apptoApplications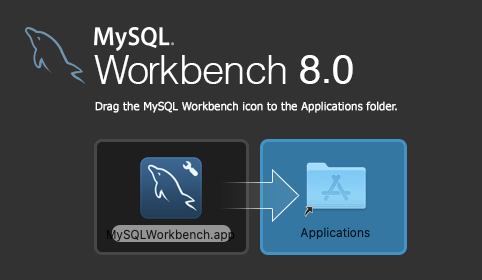
Next step: Install Appvance IQ Database Schema
Last updated: JulyOctober 31,7, 20242026
If you have any feedback on this topic, please contact us at documentation@appvance.ai