
MySQL Install & Setup
RecommendedInstall guidanceMySQL Server
Install
- Go to https://downloads.mysql.com/archives/community/
- Click Product Version and
configureselectMySQL5.7.31 - Click
forOperatingAIQSystemonlyandaccordingselect Mac OS X - Locate macOS 10.14 (x86, 64-bit), DMG Archive and click Download
- Open the downloaded package
- A warning may appear, with a legend similar to
the“can’tsupportedbedatabaseopenedversionbecause Apple cannot check it…” click OK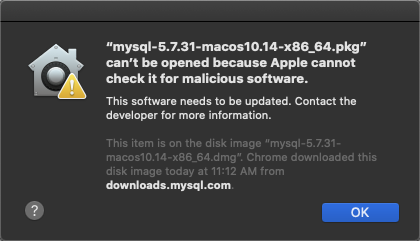
- Select Apple Menu and
deploymentclickmodel.SystemDatabasePreferences - Click
configurationPrivacyaffects&login,Security - Click
executionthehistory,Generalreports, upgrades,tab anddataselectintegrity.OpenBeforeAnyway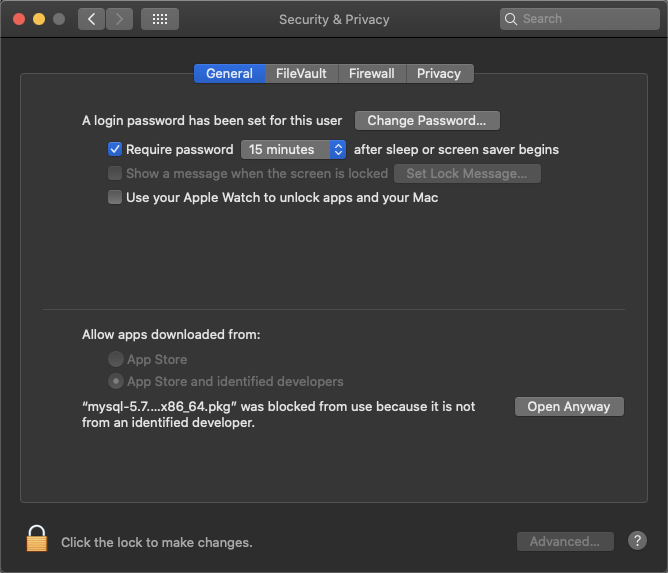
- Another
setupwarning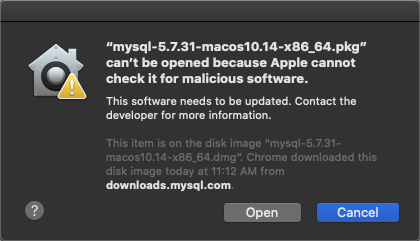
ConfirmWhenAIQ-supportedthe Install MySQLversion,installerhost,appears,port,clickstorage, charset, and collation.Plan database user permissions, backup, restore, monitoring, and maintenance windows.Continue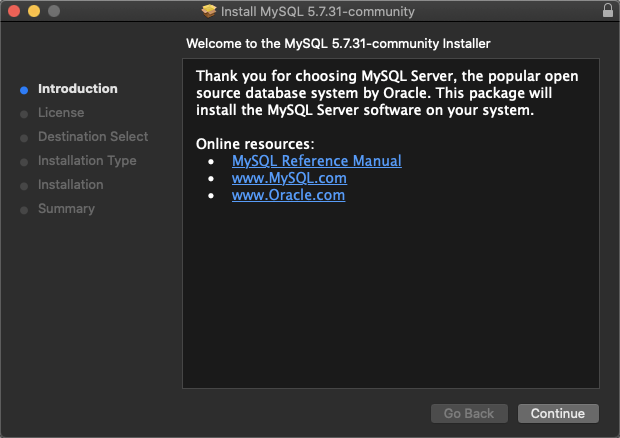
- Review
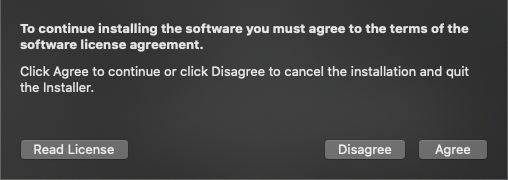
firewall,thenetwork,SoftwareDNS,Licensecertificate,Agreement, click Continue, then click Agree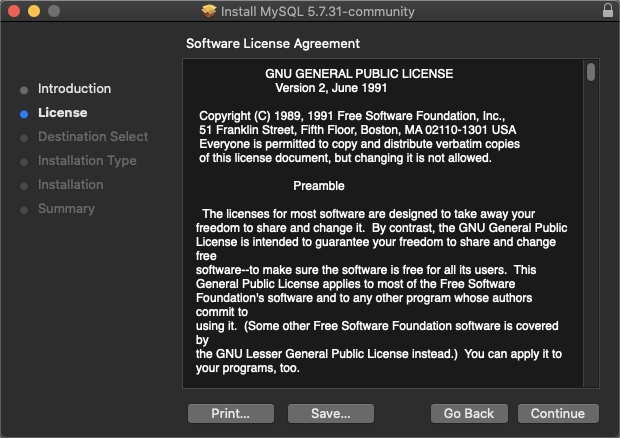
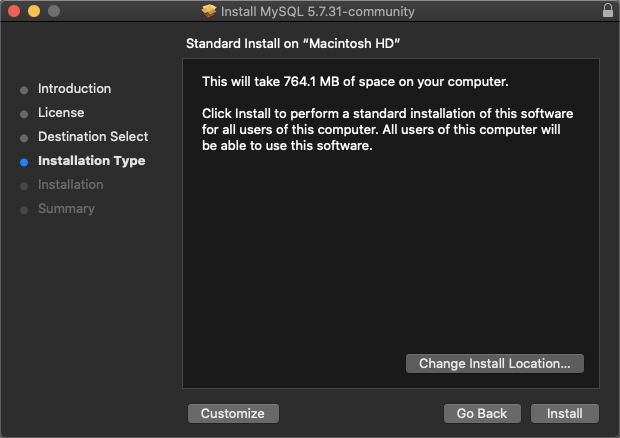
- When the Installation Type window appears, click Customize
- Ensure MySQL Server, Preference Pane and
OSLaunchdserviceSupportsettings.are selected, and click Install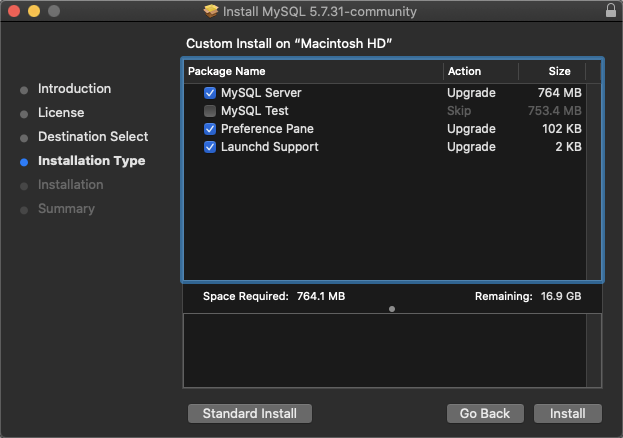
DocumentEnterconfigurationpasswordvalueswhenthatprompted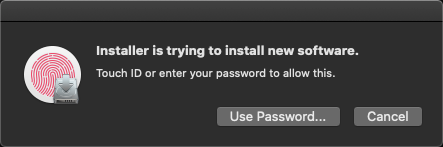
- If
AIQtherequiresSystemduringEvents.appinstallwarningorappears,upgrade.click OK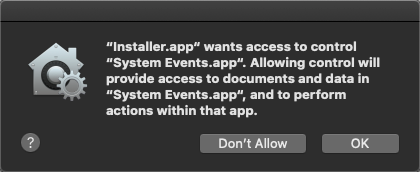
- IMPORTANT When MySQL Installer provides the temporary password, note this password, it cannot be recovered!
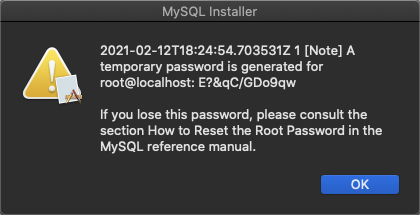
- When the Summary window appears, click Close
If prompted you may move the installer to trash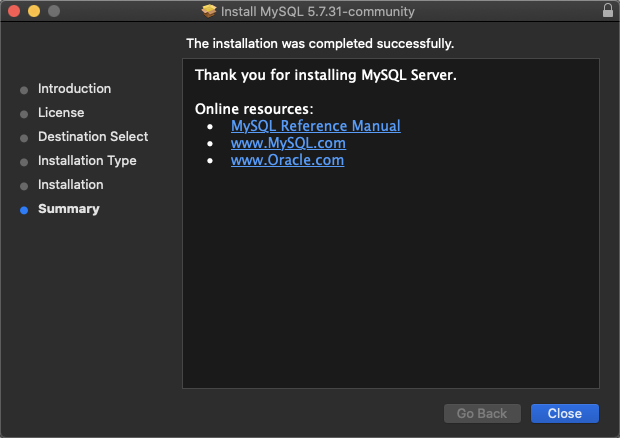
- Select Apple Menu and click System Preferences
- Click MySQL
- If MySQL is running, click Stop MySQL Server
- Click Start MySQL Server
ValidationInstall workflowMySQL Workbench
ConfirmGo to https://dev.mysql.com/downloads/workbench/ and download MySQL Workbench- Open the
database service starts after reboot.installer ValidateWhenAIQprompted,can connect using the configured account.Run login, Scenario Editor, Service Suite,drag andreportingdropsmokeMySQLWorkbench.apptests.Reviewtodatabase and AIQ logs for permission, packet size, or case-sensitivity issues.Applications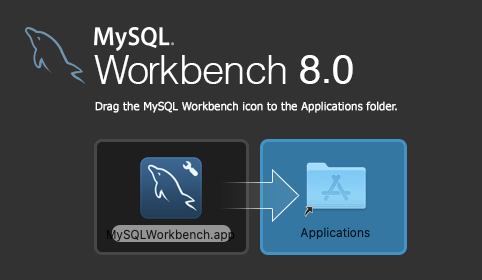
Next step: Install Appvance IQ Database Schema
Last updated: OctoberJuly 7,31, 20262024
If you have any feedback on this topic, please contact us at documentation@appvance.ai