
Runing Appvance IQ on Windows as a ServiceNew Page
Runing Appvance IQ on Windows as a Service
It is recommended that you start AIQ services automatically rather than manually. The suggested method is to use the Autologon utility to setup Appvance IQ to run as service on Windows.
Autologon is Microsoft utility that enables you to easily configure Windows’ built-in autologon mechanism. Instead of waiting for a user to enter their name and password, Windows uses the credentials you enter with Autologon, which are encrypted in the Registry, to log on the specified user automatically.
It is recommended to start Appvance services automatically, but they can be started manually if needed. See Starting AIQ Services Manually for more information.
Prerequisites:
- Appvance IQ is installed on Windows OS
- Login to Windows using an account with administrator privileges
Download and Install Autologon
- Download Autologon from Microsoft here: Download Autologon
- Extract
Autologon.ziparchive. For example, extract toC:\Autologon.
Setup Autologon Service
Checking for Previous Configurations
Verify that no other entries for Autologon service exist as follows. If there are previous configurations on the server, it may prevent Autologon from working correctly.
For any past users for which an Autologon service was created:
- Open Autologon.
- Enter the Username, Domain and Password.
- Click Disable.
Check the Registry for Autologon entries:
Active Directory considerations:
- When the user used to login is provided by an Active Directory domain and the Active Directory is set to have an interactive login, the Autologon process will not work. In those cases, try creating a local user in the machine itself, edit its group policy to remove any interactive logon and use this local user to set the autologin process.
Configuring Autologon
- Open Autologon.exe (64 bit). The Autologon - Sysinternals window appears.
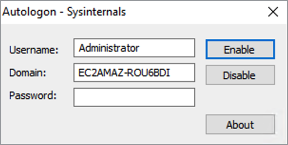
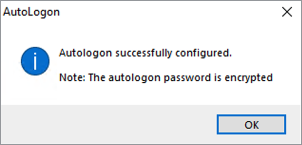
- Enter the user’s password and click Enable.
- Open Task Scheduler with administrative privileges, click Action and select Create Basic Task. The Create Basic Task Wizard appears.
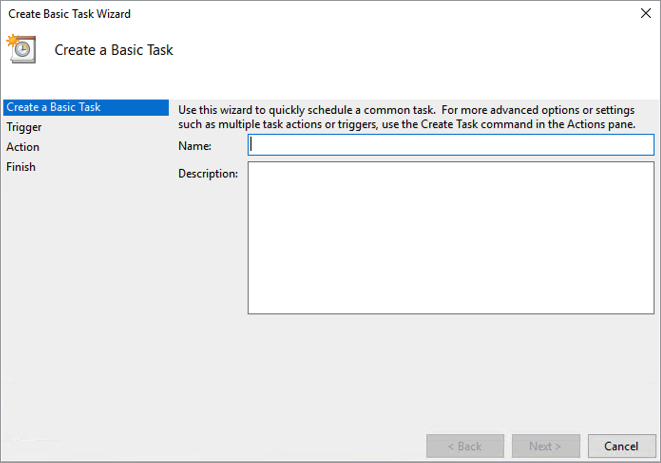
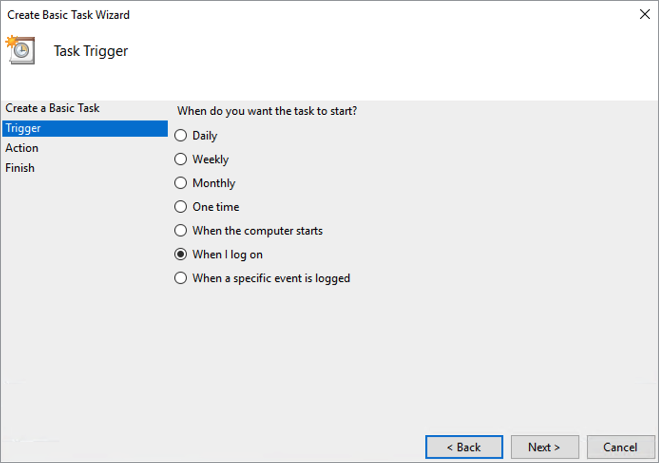
- Enter a name in the Name box (such as AIQ or Appvance) and click NextThe Task Trigger list appears
- Select When I log on and click Next
- The Action list appears.
- Select Start a Program and click Next
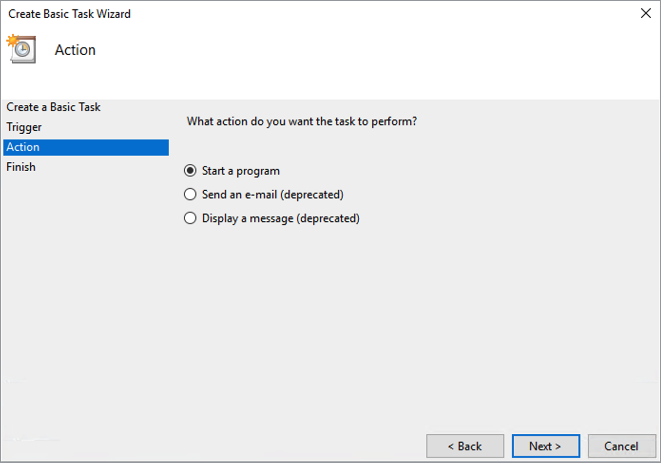
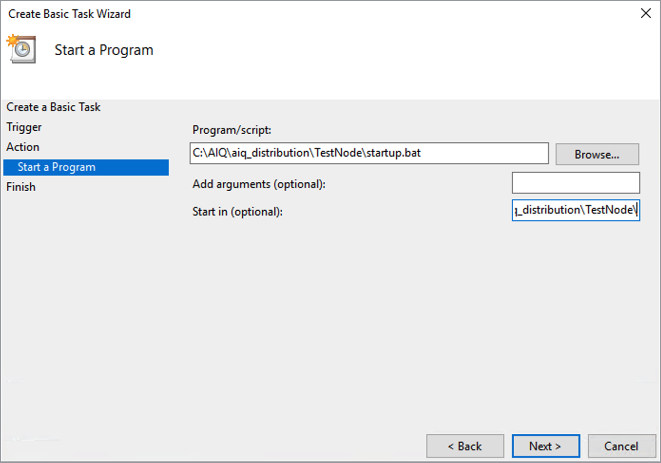
- The Start a Program configuration appears.
- Click Browse.
- Browse to and select <aiq-path>/TestNode/startup.bat and click Open.
- IMPORTANT: Also enter the <aiq-path>/TestNode/ path in the Start in box and click Next.
- Select Open the Properties dialog for this task when I click Finish.
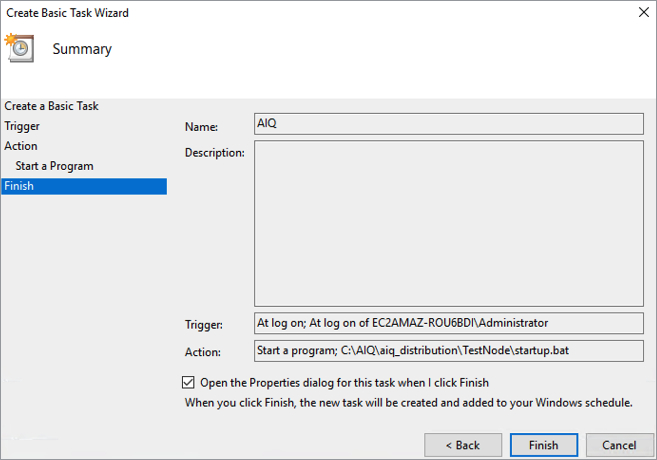
- Click FinishThe Properties dialog appears.
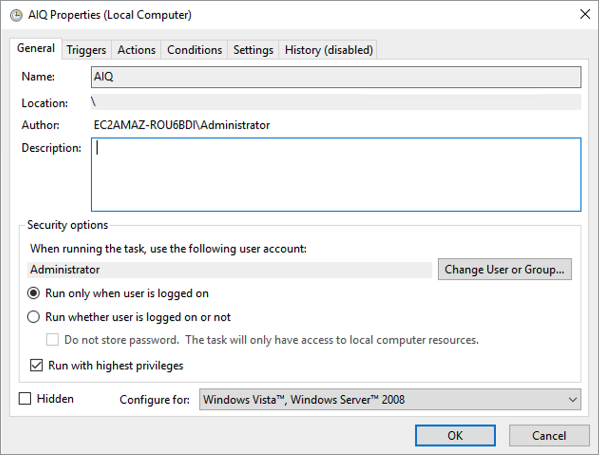
- Select whether it runs when a user is logged into that test node of not. This choice will be important in situations where the system reboots when no one is logged into that test node.
- Run only when user is logged on
- Run whether the user is logged on or not
- Check Run with highest privileges.
- Click the Settings tab.
- Uncheck the Stop the task if it runs longer than option.
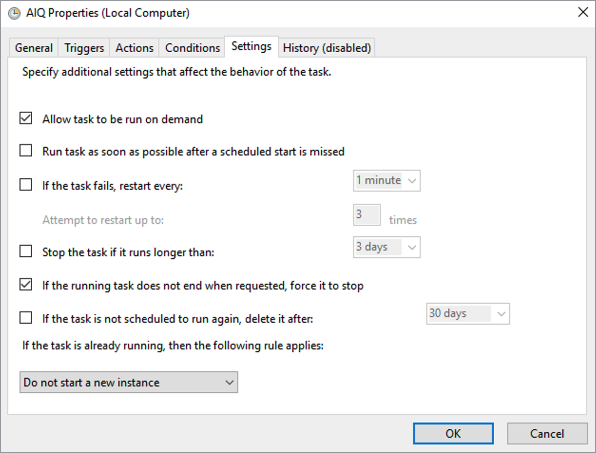
- Click OK.
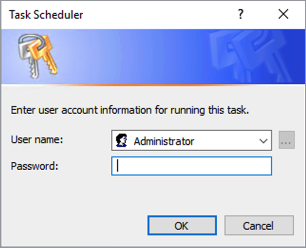
- When prompted, enter the service username and password to apply the changes and click OK.
Verifying Autologon Service
You may test the Autologon service by running it manually from the Task Scheduler. However to ensure the settings are working as expected, it is recommended that you restart the server and confirm that Appvance IQ launches properly without a user directly logging into the server.
After you have configured AIQ to run as a service, proceed to the next step: Installing License and Certificate
Last updated: January 22, 2025
If you have any feedback on this topic, please contact us at documentation@appvance.ai