
CICD - Repository Alone
This guide shows CI/CD Integration without the use of any cloud services like S3 buckets to store the results and create the dashboard.
You can configure the repository to store test assets, the same Repository (Which could be any flavors of GIT or SVN) can be used to store all the test results and create dashboards.
Below are the steps that need to be followed.
Configure repository in AIQ under preferences > Repository. Please visit the Repository chapter to know more about how to configure repositories using HTTP or SSH
Below is the required folder structure and files
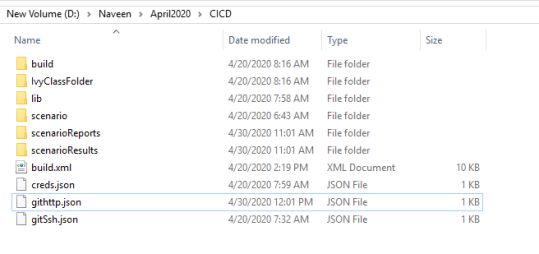
lib will hold the Restclient.jar file.
The scenario folder holds all the scenario files that are required to be run.
scenarioReports and scenarioResults are the files that are required to store the results that will be uploaded to the git repo that is configured
build.xml is the file that holds all the configuration details and the ant targets
creds.json file holds the server details and login details of AIQ
githttp.json file holds details of git repo to use along with HTTP credentials and branch details.
gitSsh.json file holds details of the git repo, the URL, ssh credentials, and the branch details.
Here is the zip of the above folder structure to download for reference
Configure build.xml with buildversion to use, specify product, specify customer name, specify an environment, specify dir, and the scenario file to use
If the blueprint is going to be run, make changes accordingly and point to the abpt file from the freshly run blueprint
creds.json - provide the URL of AIQ services running, provide credentials of AIQ
Depending on SSH or HTTP, provide the details of the Repo, credentials, branch, sshPhrase, and sshKey in either githttp.json or gitSsh.json
Note: Depending on which file is being used, make the reference of that file in build.xml for the below-mentioned property
<property name="gitCredentials" value="githttp.json" />
Once all the changes are made and saved
Open command prompt of if this is driven from any CICD tools, run "blueprintDashboard" for creating dashboard report and "scenarioDashboard" for creating scenario dashboards
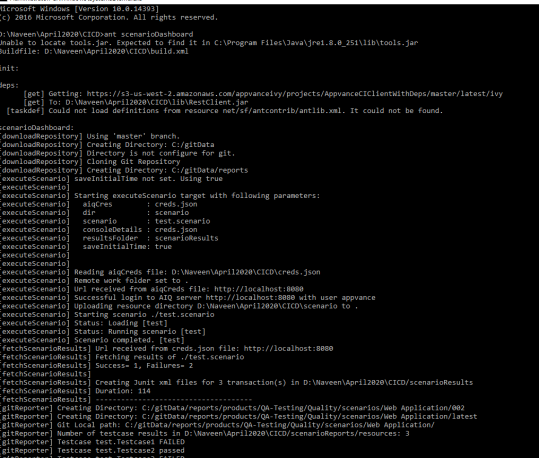
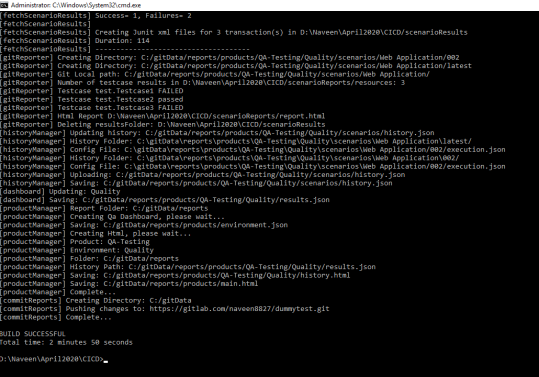
Once the build is successfully run, go to AIQ > Preferences > Repository
Click Explore Repository
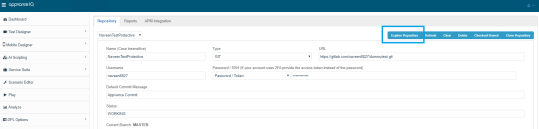
Look for the folder called reports
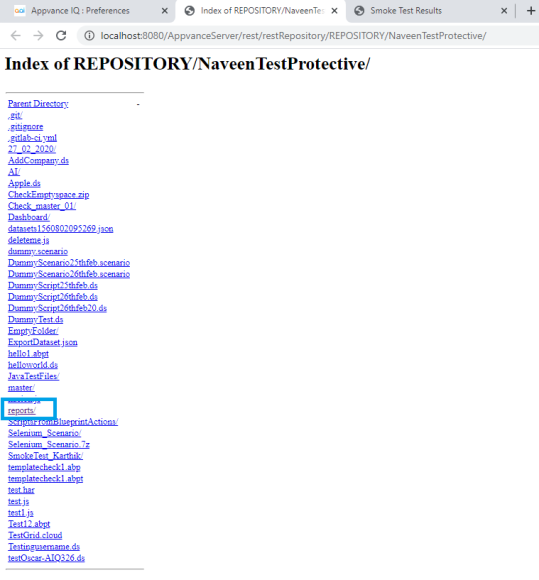
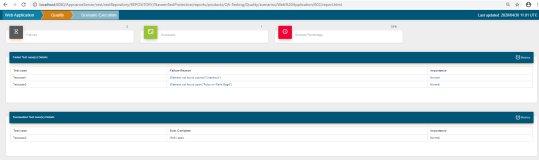
Click Reports> Products > main.html to have the dashboards created
Last updated: June 26, 2023
If you have any feedback on this topic, please contact us at documentation@appvance.ai