
Creating First Jenkins Project
Creating your first project and configuring GIT Repo:
Once downloaded and installed launch http://localhost:8080 (or with the changed port number) in your browser or log in to your Jenkins cloud
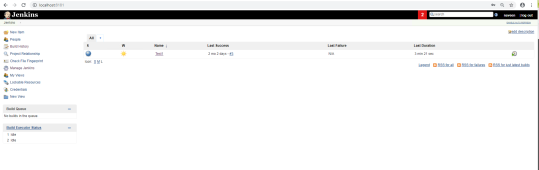
Click on New Item from the left navigation
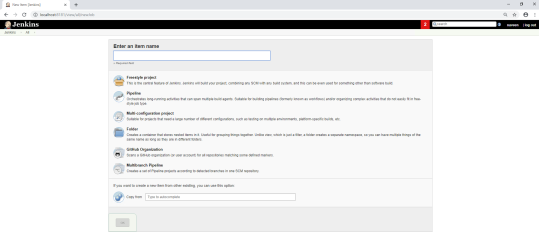
Provide a valid Job name
Select “Build a free-style software project”
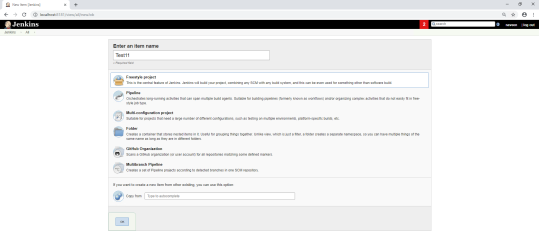
Click on the OK button
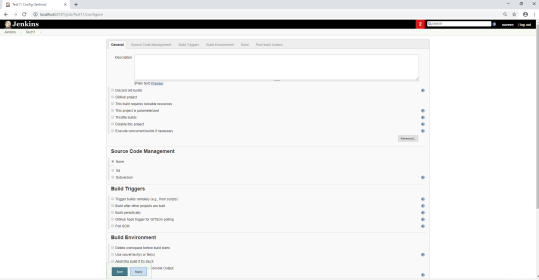
Provide a description of the project

Locate Source Code Management and choose Git, Provide the Repository URL with the credential details where all the above files reside and changes made
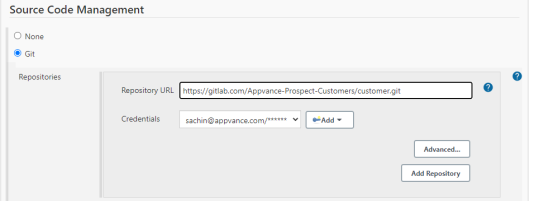
Mention the branch details from the files that reside

Build Environment - Check "Delete workspace before build starts", this will ensure the latest assets are uploading when running the Jenkins job
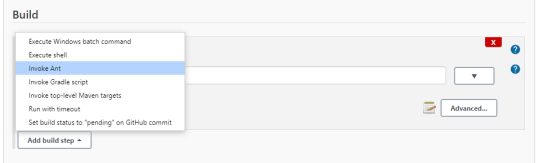
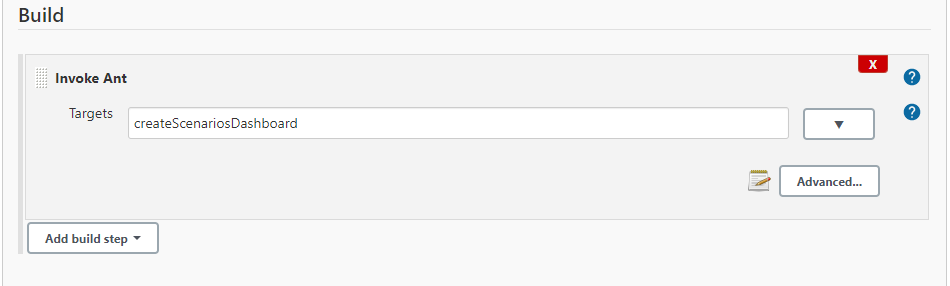
Build - Add Build step > Invoke Ant and add the Ant Call as mentioned below
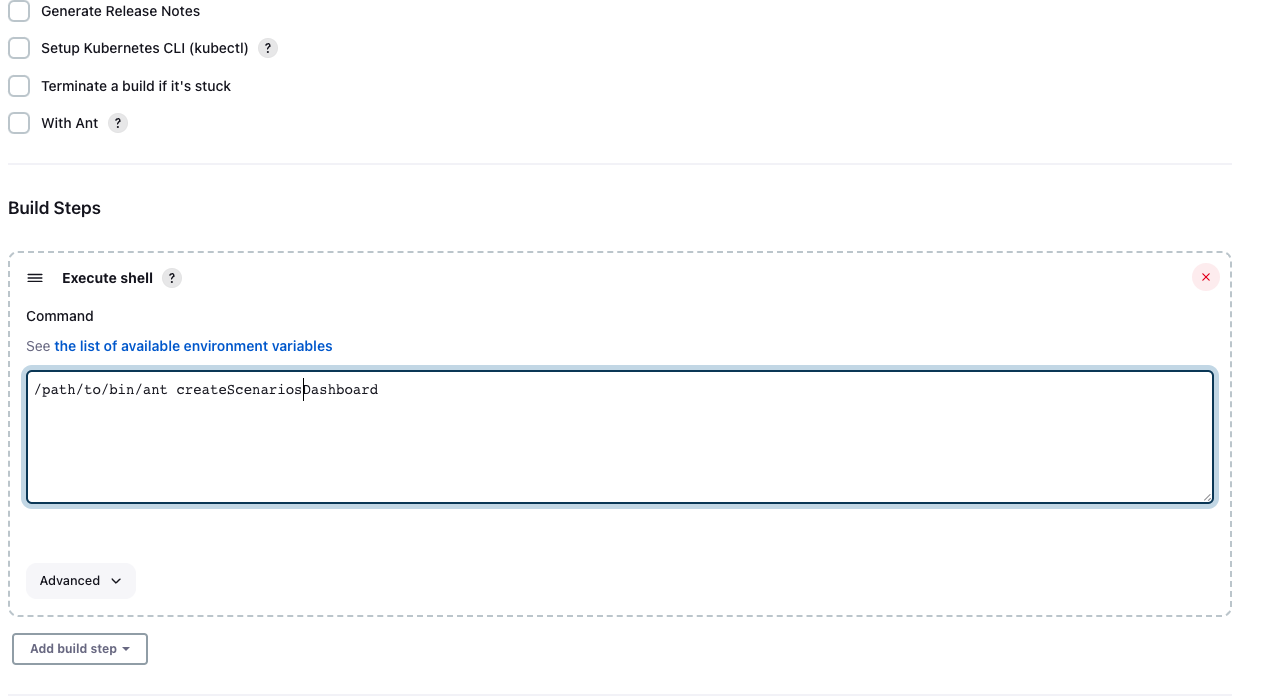
** If Ant is not configured in Jenkins but its installed on the Jenkins agent, the job still can be executed with the following command:
Last updated: June 02, 2023
If you have any feedback on this topic, please contact us at documentation@appvance.ai