
Creating First Jenkins Project
Creating your first project and configuring GIT Repo:
-
Once downloaded and installed launch http://localhost:8080 (or with the changed port number) in your browser or log in to your Jenkins cloud
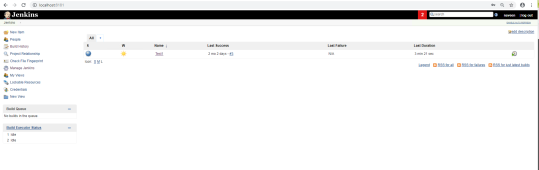
-
Click on New Item from the left navigation
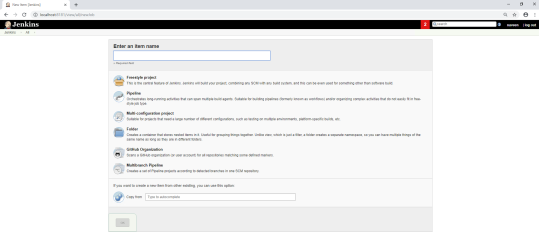
-
Provide a valid Job name
-
Select “Build a free-style software project”
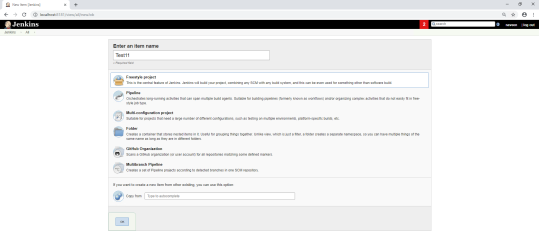
-
Click on the OK button
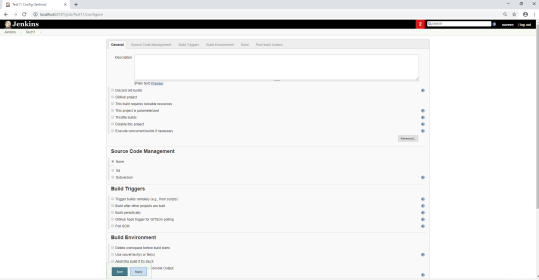
-
Provide a description of the project

-
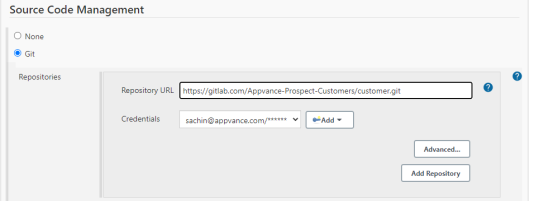
Locate Source Code Management and choose Git, Provide the Repository URL with the credential details where all the above files reside and changes made
-
Mention the branch details from the files that reside

-
Build Environment - Check "Delete workspace before build starts", this will ensure the latest assets are uploading when running the Jenkins job
-
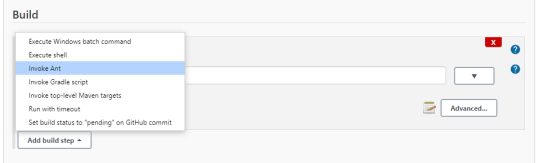
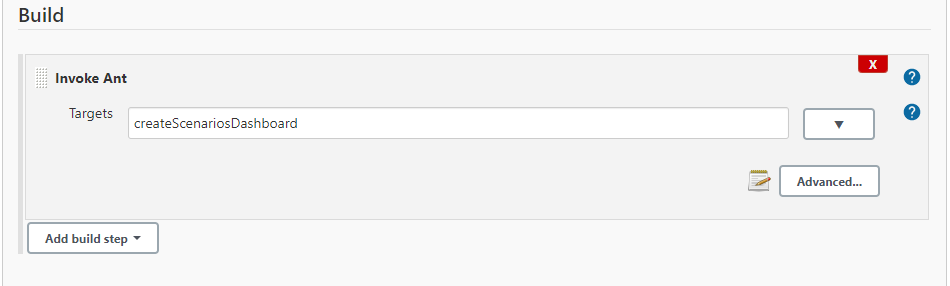
Build - Add Build step > Invoke Ant and add the Ant Call as mentioned below
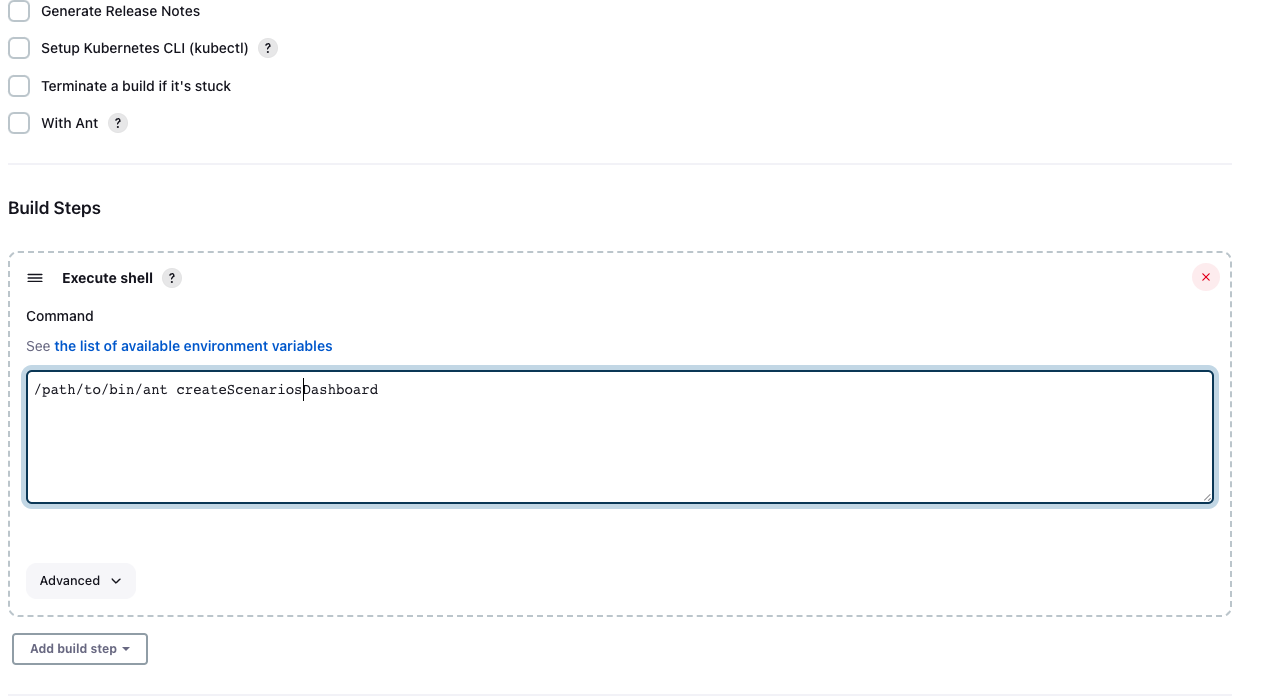
** If Ant is not configured in Jenkins but its installed on the Jenkins agent, the job still can be executed with the following command:
Last updated: June 02, 2023
If you have any feedback on this topic, please contact us at documentation@appvance.ai