
CircleCI
Operate an Appvance Test Scenario from CircleCI using the Appvance IQ Plugin.
Appvance IQ Test scenarios can be run from CircleCI integration using a CIPlugin that Appvance provides. CIPlugin enabled you to start test scenarios from the YAML tag (CI Tools).
Prerequisites
-
Appvance CI Plugin
-
Java 1.8
-
Scripts and Appvance Test scenario created and available
-
Active GitHub account
-
Circle CI that is tied to the GitHub account
Running the test scenario
-
Create a project in your GitHub account.
-
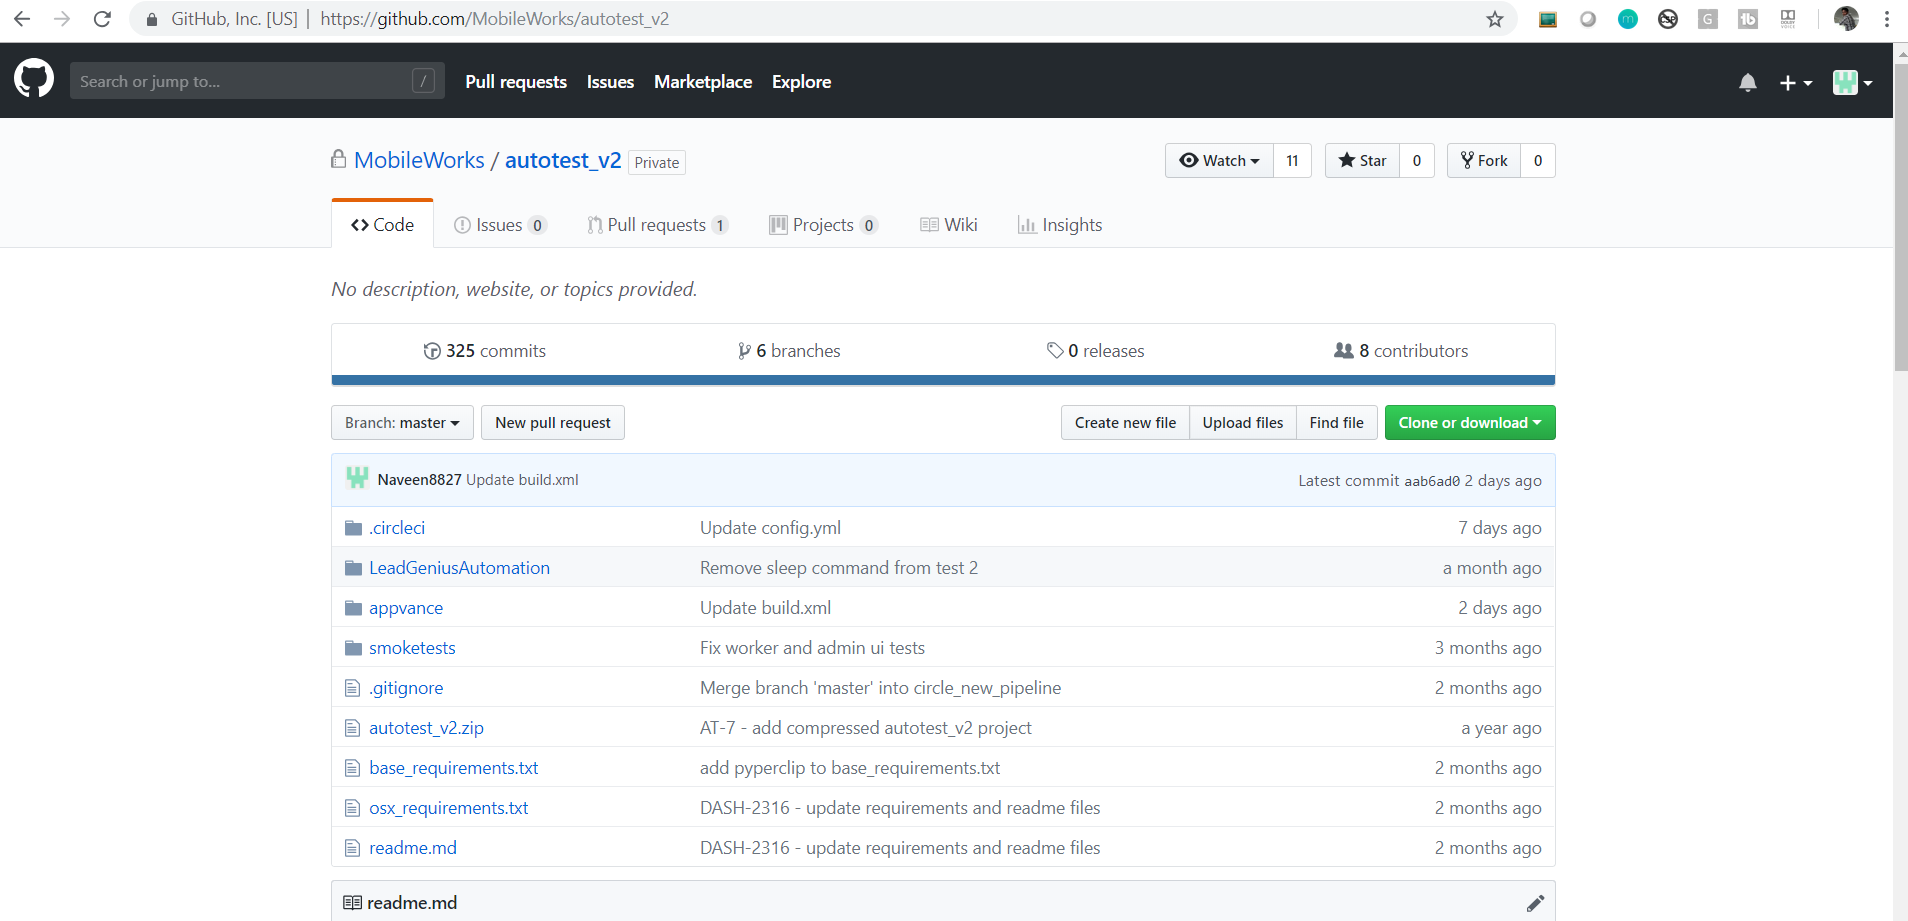
Create a folder called CircleCI with the file called config.yml.
-
Config.yml should have the minimum following details in it:
# Python CircleCI 2.0 configuration file

                        #

                        # Check https://circleci.com/docs/2.0/language-python/ for more details

                        #

                        jobs:

                        build:

                        docker:

                        - image: circleci/java:8-jdk

                        working_directory: ~/repo

                        steps:

                        - checkout

                        - run:

                        name: Install ant

                        command: |

                        sudo apt-get install -y ant

                        echo 'ant installed.'

                        cd /home/circleci/repo/appvance/scenario1

                        ant -buildfile build.xml -DbuildNumber=$CIRCLE_WORKFLOW_ID executeScenario

                        cd /home/circleci/repo/appvance/scenario2

                        ant -buildfile build.xml -DbuildNumber=$CIRCLE_WORKFLOW_ID executeScenario

                        no_output_timeout: 2h

                        - save_cache:

                        key: deps1_{{ .Revision }}

                        paths:

                        - ~/repo

                        workflows:

                        version: 2

                        build_and_test:

                        jobs:

                        - build

                        - dev:

                        requires:

                        - build

                        filters:

                        branches:

                        only:

- /feature-.*/ -
This is going to install JDK 8, Install ant that is required to build AppvanceRestClientWithDeps.jar, and call the build.xml which internally runs the scenarios that are mentioned
-
Create a folder called appvance and inside have build.xml file and localhost.json files per scenario for better organizing
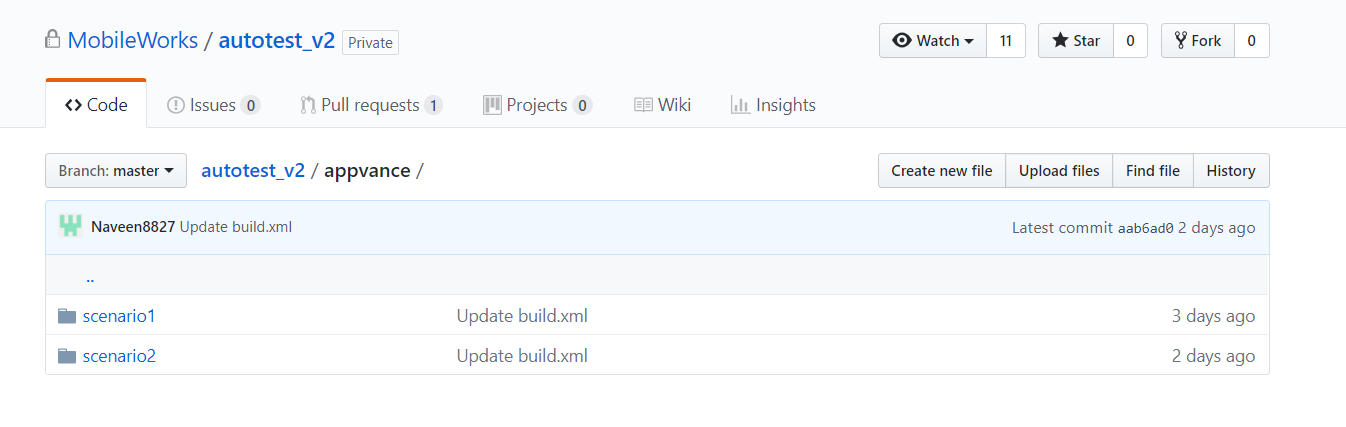
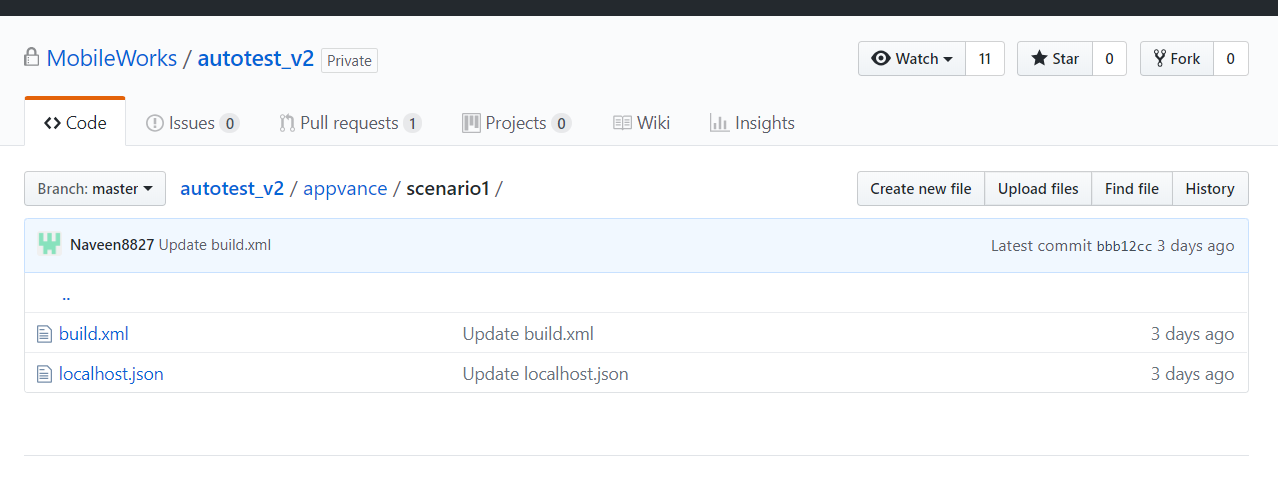
build.xml would have the following details.
<project name="Lead Genius CI" default="addDeps" basedir=".">

<description>Lead Genius Blueprint Circle CI</description>

<property name="aiqCreds" value="localhost.json" />

<property name="scenarioName" value="ScenarioFiles/Scenario1.scenario"/>

<property name="resourcesDir" value="."/>

<target name="init">

<path id="IvyPath">

<pathelement location="AppvanceRestClientWithDeps.jar"/>

</path>

</target>


<target name="setup" depends="init">

<get src="https://s3-us-west-2.amazonaws.com/appvanceivy/projects/AppvanceRestClientWithDeps/master/latest/ivy" dest="AppvanceRestClientWithDeps.jar"/>

<taskdef name="blueprintEcho" classname="com.appvance.blueprint.BlueprintEcho" >

<classpath refid="IvyPath"/>

</taskdef>

<blueprintEcho message="Setting up blueprint ant tasks ..." />

</target>

<target name="executeScenario" depends="setup">

<taskdef name="runScenario" classname="com.appvance.ci.ExecuteScenario" >

<classpath refid="IvyPath"/>

</taskdef>

<runScenario scenario="${scenarioName}"

aiqCreds="${aiqCreds}"

dir="${resourcesDir}"/>

</target>


</project>
The file is self-explanatory and the scenario name is something that needs to be changed along with the path.
localhost.json would have the following details
{

"controller":{

"url":"http://ec2-x-x-x-x.us-west-2.compute.amazonaws.com:8080",

"username":"appvance",

"password":"appvance",

"workFolder":"/MyWorkdirectory/"

}

}
URL of the controller has to be changed and also the workFolder of the scenarios to be changed.
Any changes done to the files will initiate a build-in CircleCI.
You can go to your CircleCI Account after all these configurations are done in Github and the jobs can be run from CircleCI.
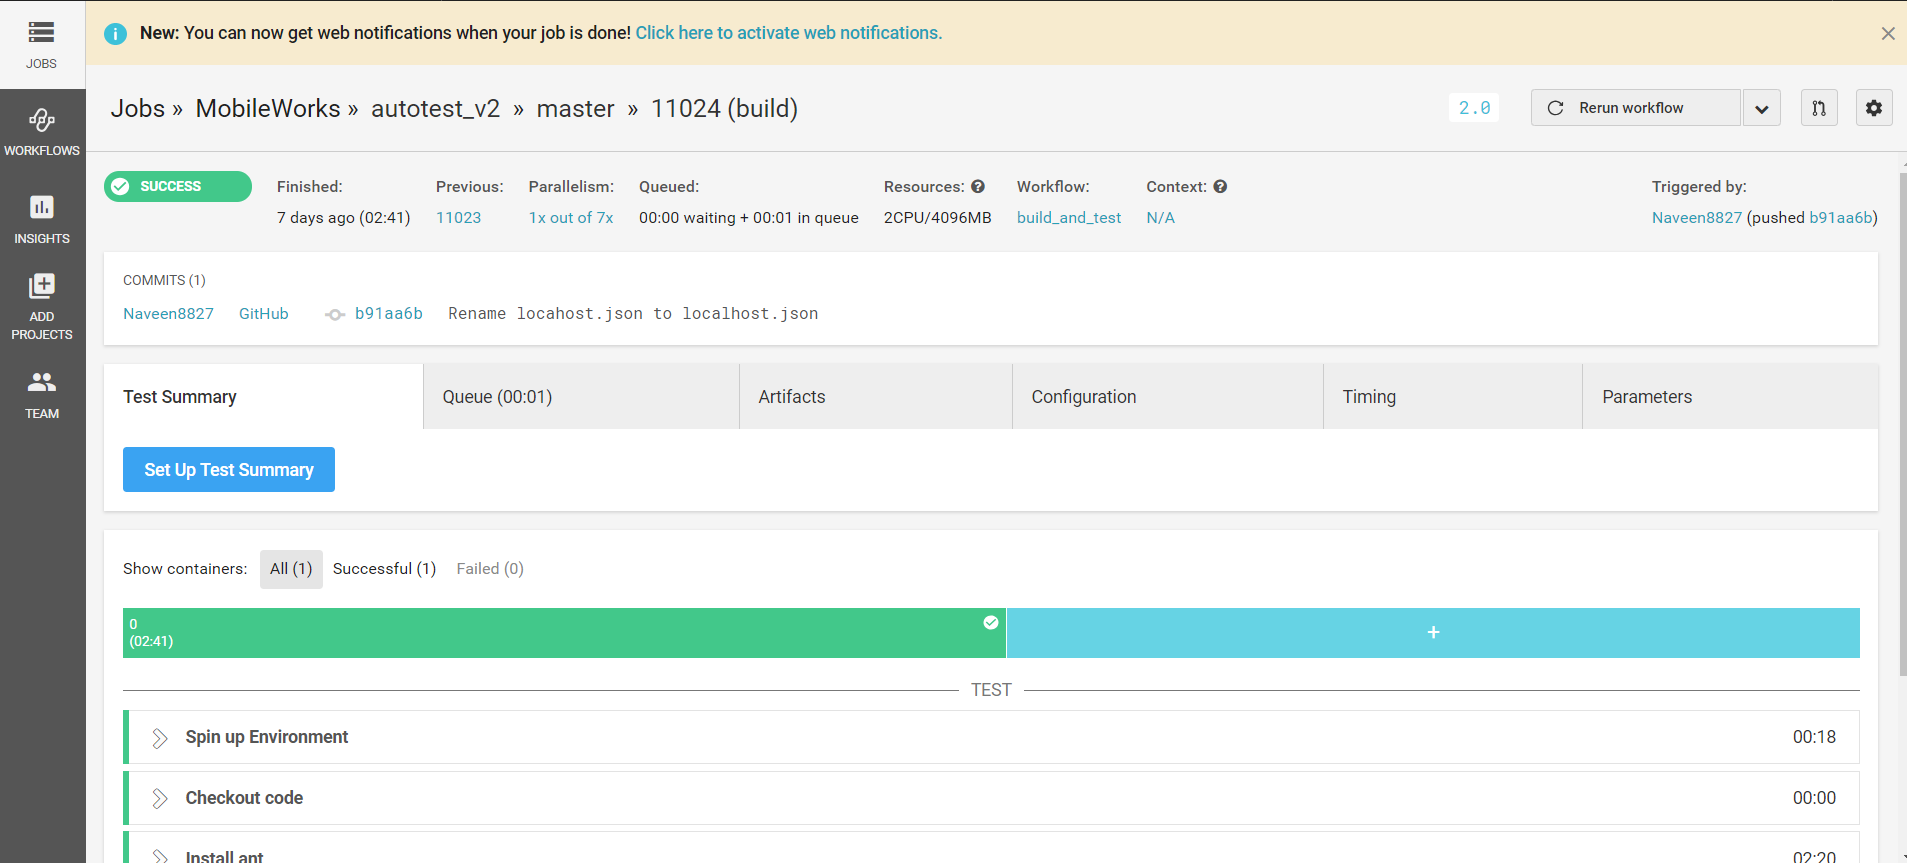
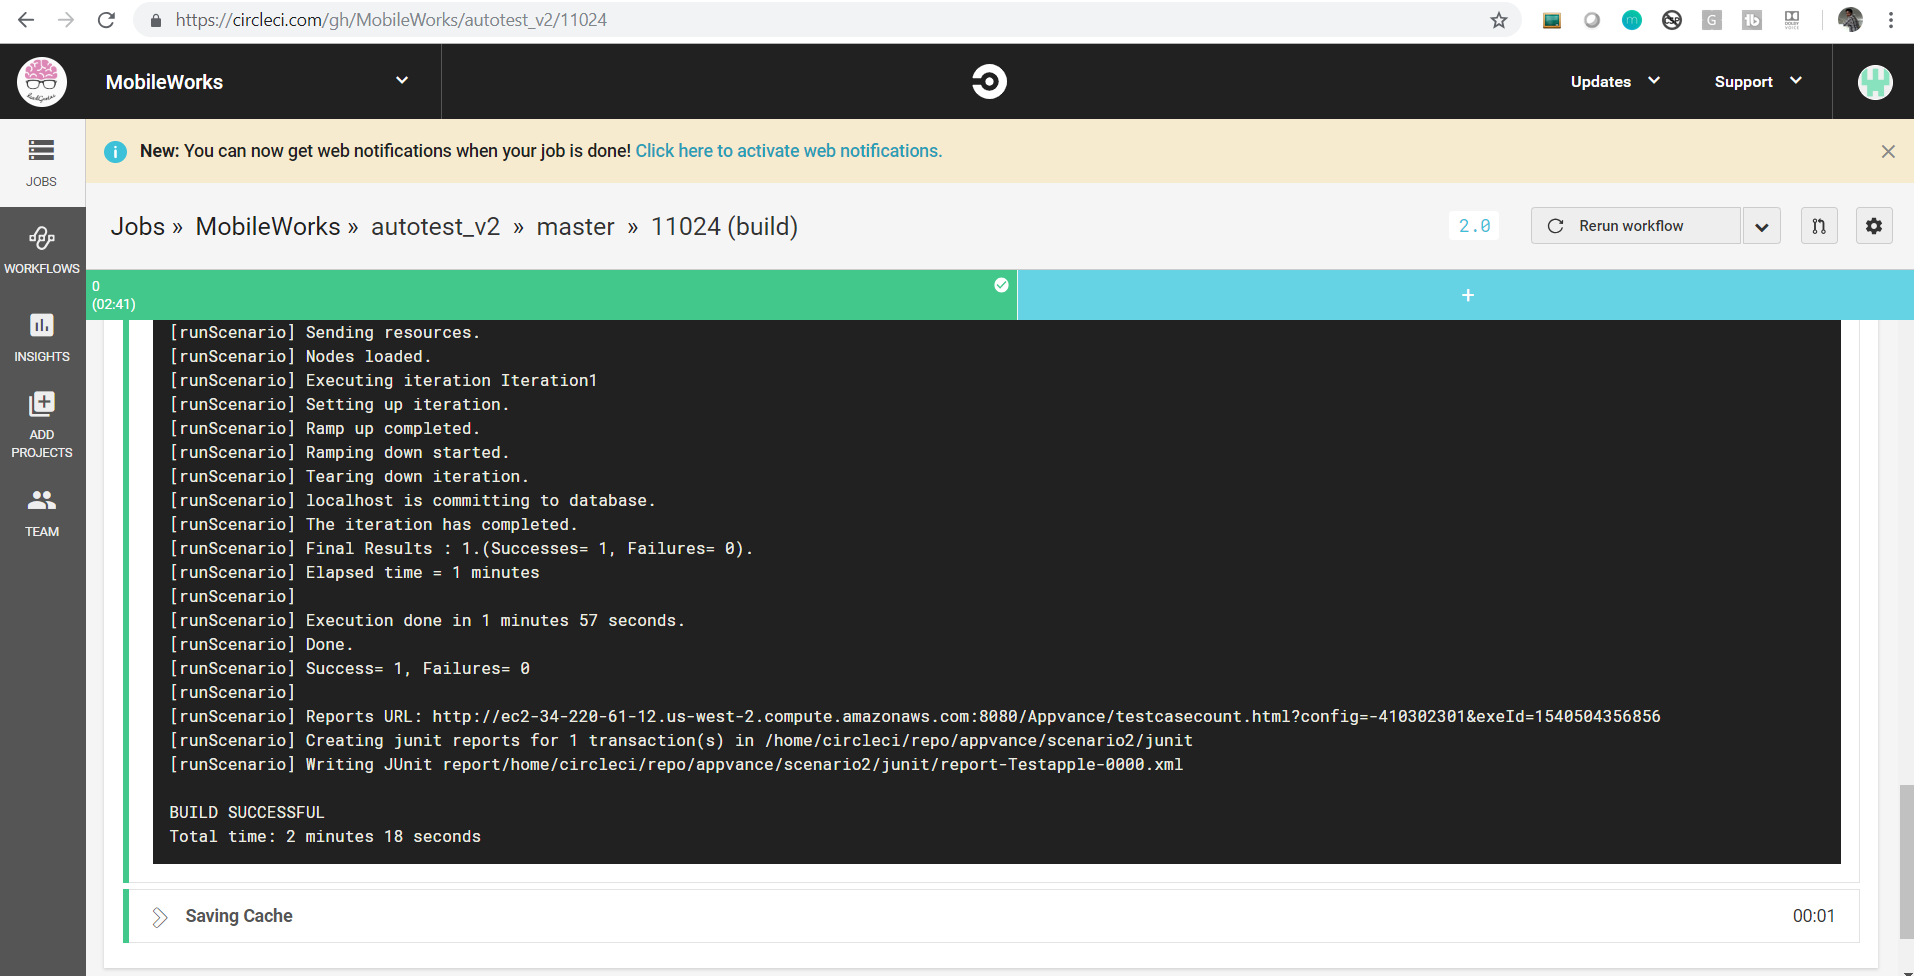
After the successful execution, go to the Install Ant section which will display all the logs and the link to navigate to Reports of the test run.
You can copy-paste the link in your favorite browser to check the results in details
Last updated: June 02, 2023
If you have any feedback on this topic, please contact us at documentation@appvance.ai