Create a New Mobile Blueprint
Here are the basic steps for creating and configuring a new Mobile Blueprint.
Creating a New Mobile Blueprint File
-
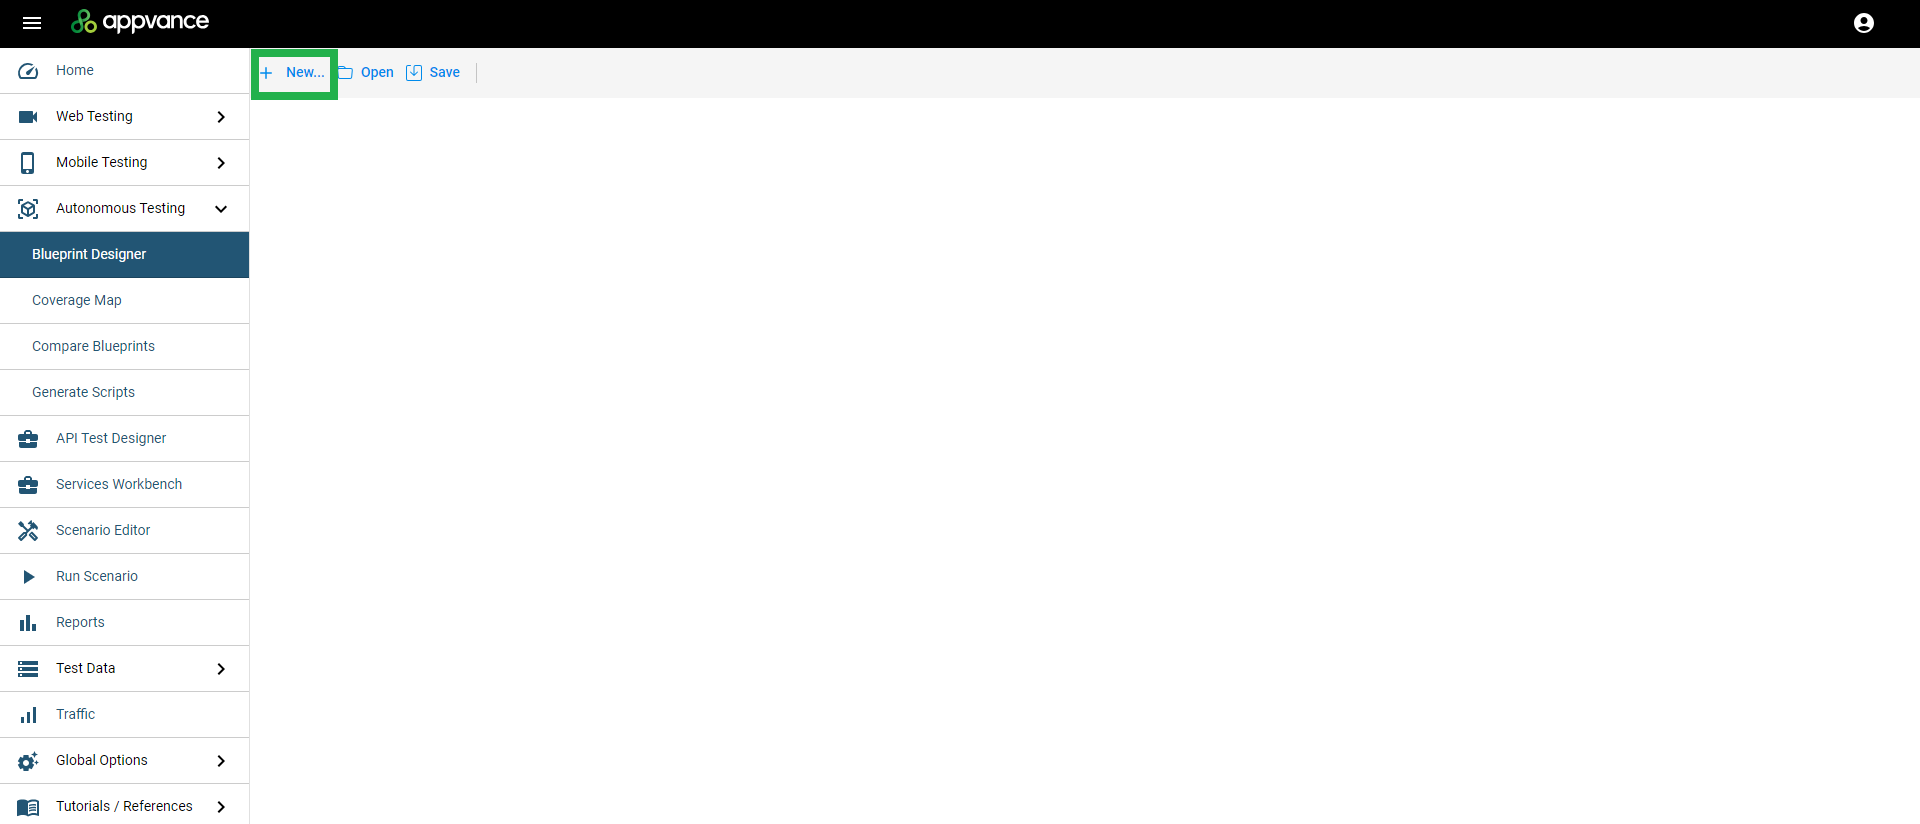
Open the Blueprint Designer. See Launching AI Script Generation if you need more information on how to access the Blueprint Designer.
-
Click New.
-
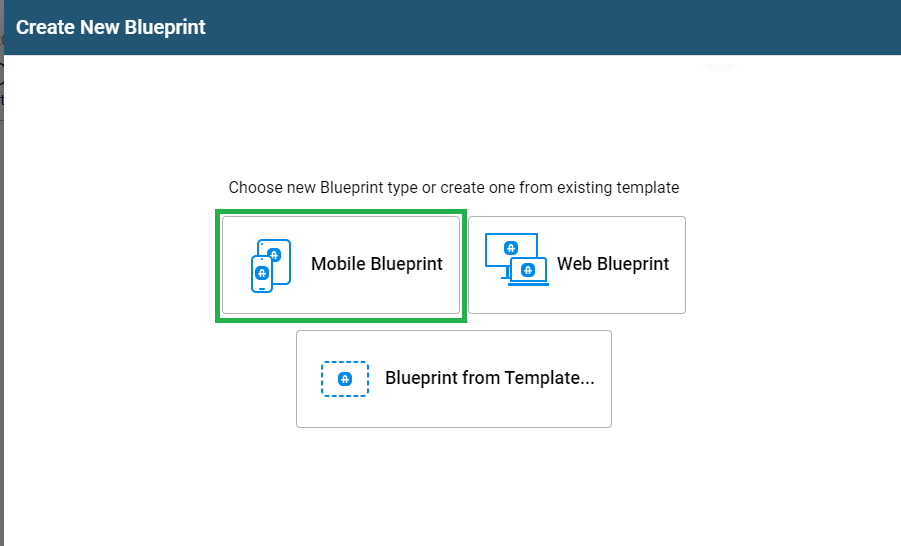
In AIQ 5.0.x, click Mobile Blueprint.
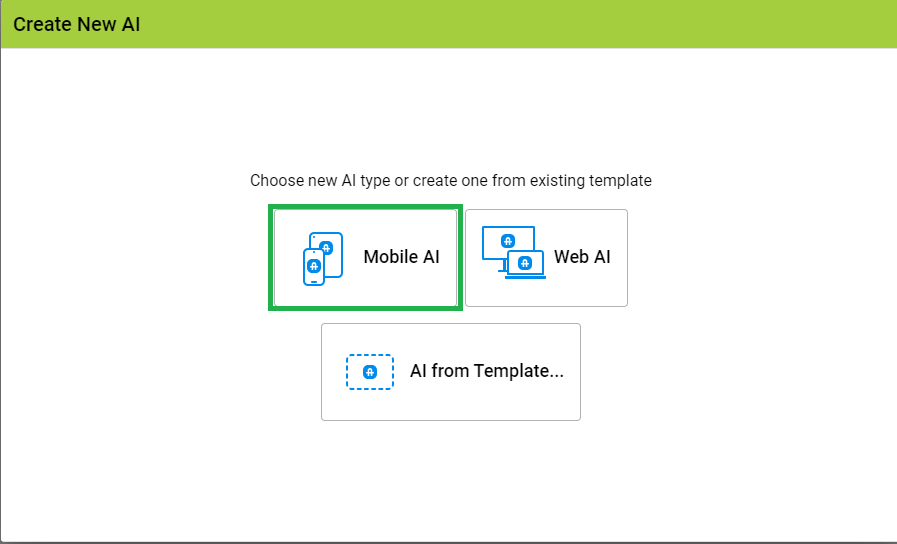
In AIQ 5.2.x, click Mobuile AI.
-
Select the appropriate repository in the Repository pane.
-
Name your file.
-
Click Save. The file is saved with a
.mpbfile extension.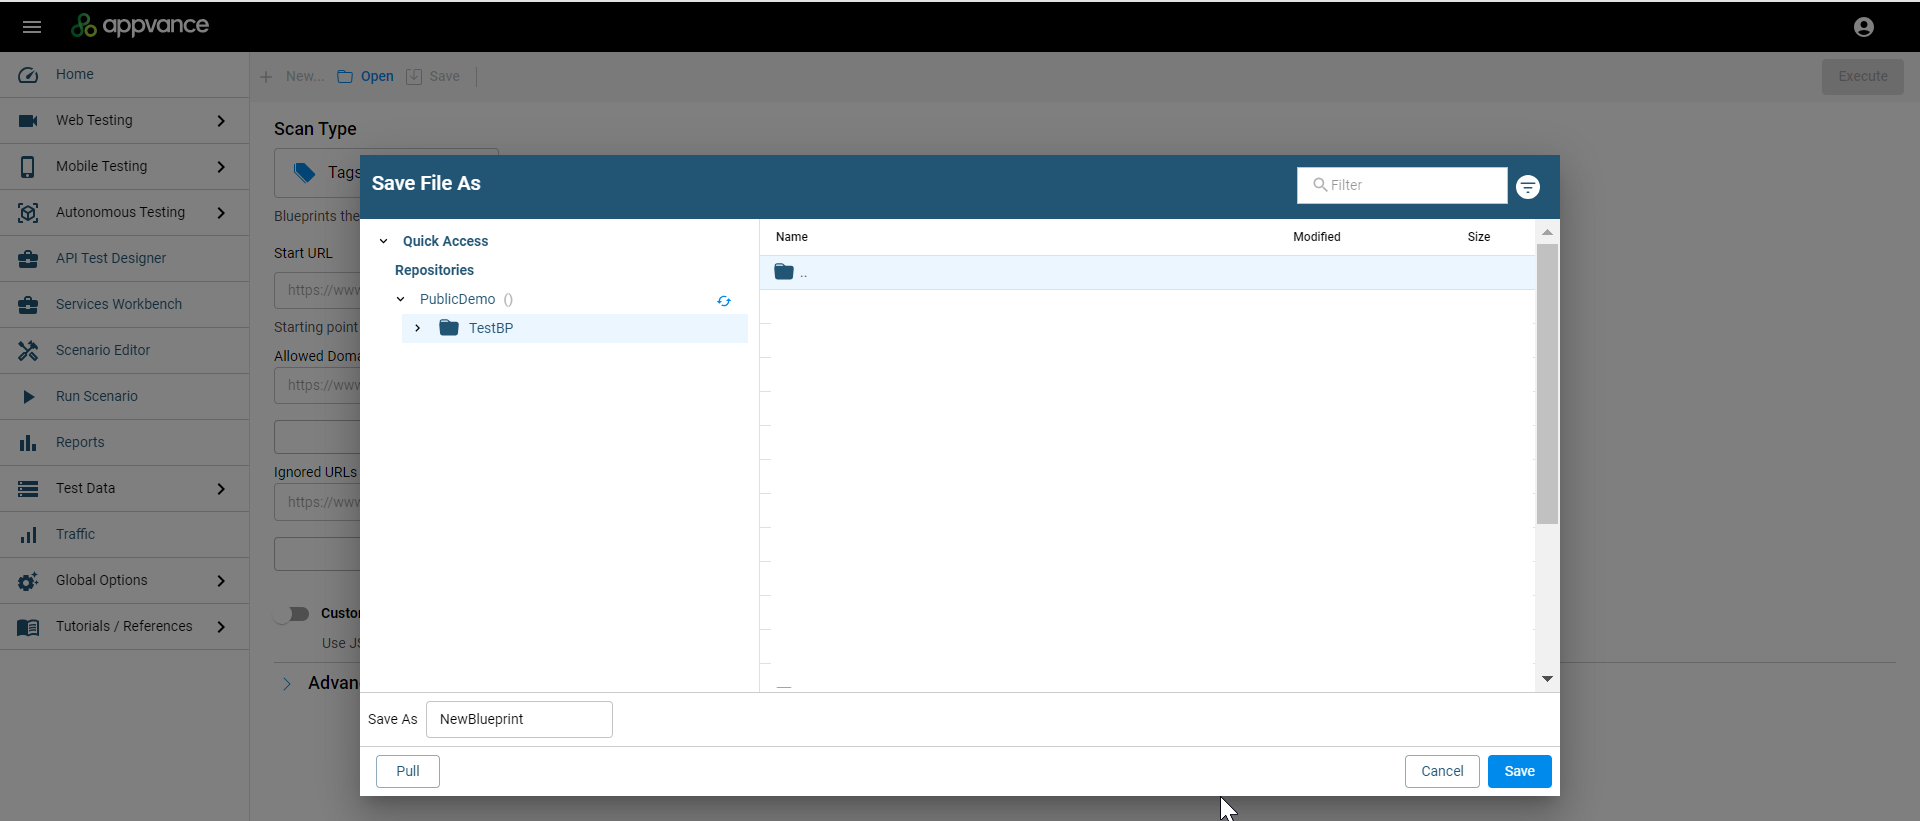
The file is not actually saved until you execute the Blueprint. This means that after you configure everything, if you reload the page or leave the page and come back before executing the Blueprint, all data and configuration settings will be lost.
Once the execution starts, the file will be auto-saved at five minute intervals. -
You can now configure your Blueprint. See Configuring the Mobile Blueprint and Advanced Setup Options.
-
Once the configuration is complete, click Execute. See Add an Execution for information on that process.
Configuring the Mobile Blueprint
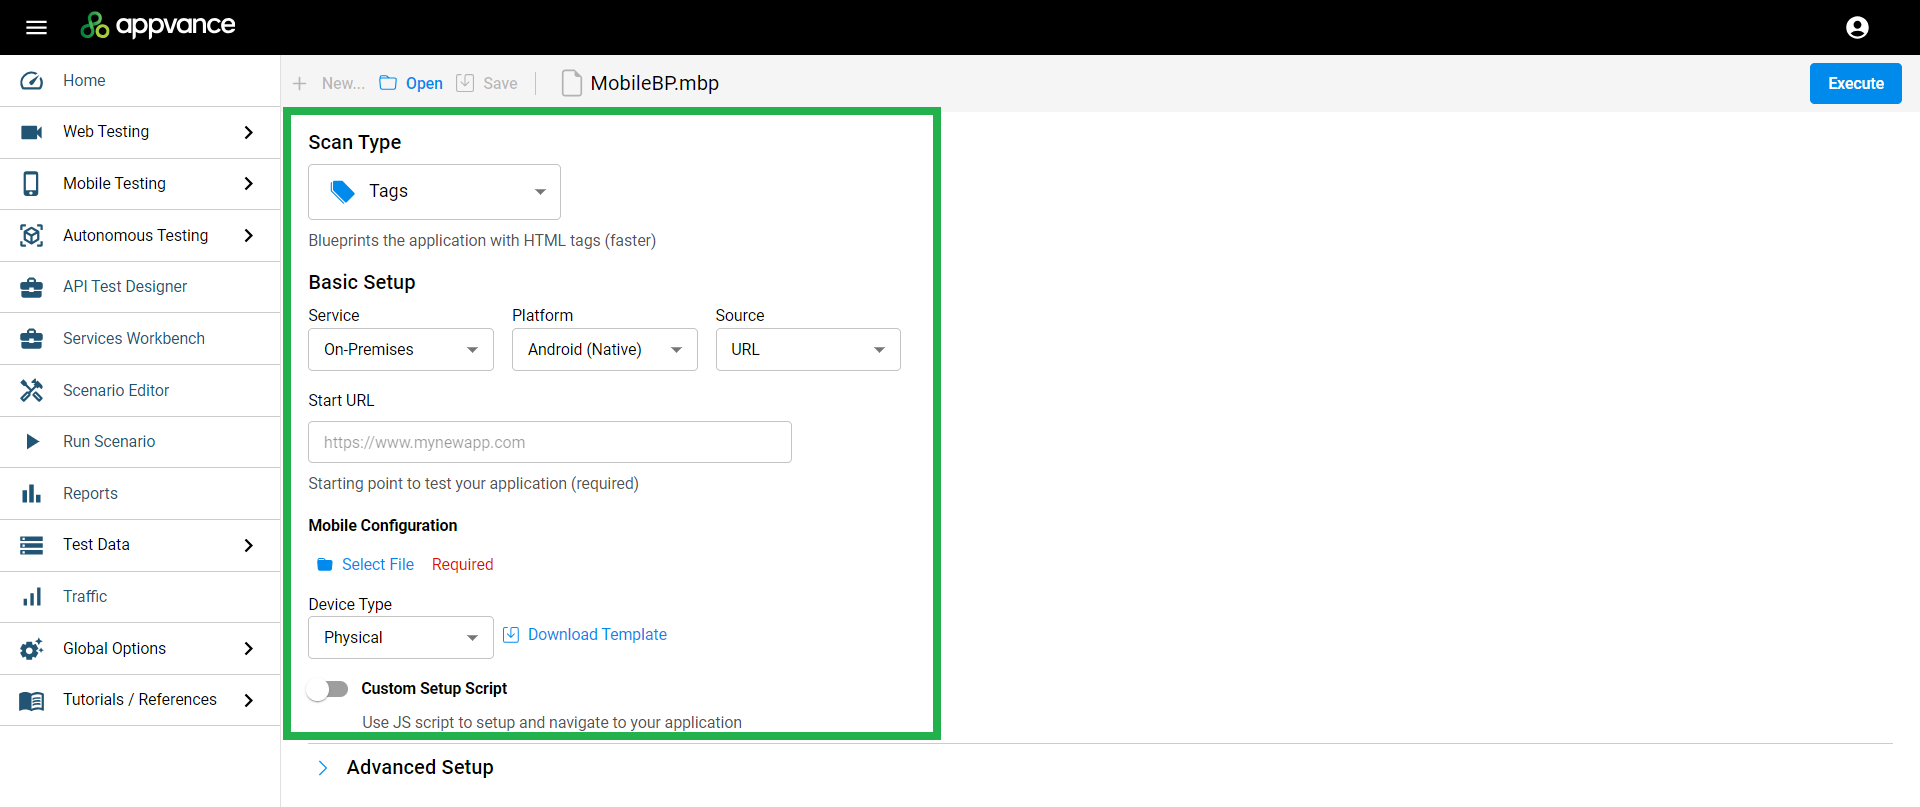
The following sections detail the basic configuration settings and options (highlighted section).
Blueprint configurations cannot be modified after the Blueprint has been executed. See Modifying Blueprint Configuration Settings for more information.
Scan Type
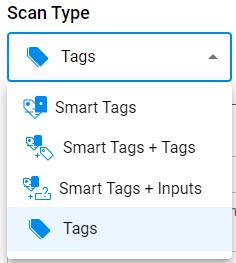
Blueprints can be created with the following Scan Types.
Tags
Scans the application with HTML tags.
-
Uses the
getAllTags()function. -
Slowest but most complete scan type.
SmartTags
Blueprints the application with a SmartTags library that serves as meta-data.
-
Uses the
getSmartTags()function which returns the HTML elements that match the rules defined in the SmartTags library as SmartTags. -
A file that corresponds to the SmartTags library is required. Click Select File under SmartTag Library to select the corresponding
.stagsfile. -
This scan type is fast, but depends on the number of SmartTags and their coverage.
-
Allows Blueprinting specific portions of the application.
For more information on SmartTags see:
SmartTags + Tags
Blueprints the application with a SmartTags library and HTML tags
-
Uses the
getTagsSmartTags()function. -
Combination of Tags and SmartTags.
-
This scan type is very slow.
SmartTags + Inputs
Blueprints the application with a SmartTags library and uses INPUT, SELECT, BUTTON, SUBMIT and FORM tags.
-
Uses the
getInputsSmartTags()function. -
Reduces the number of SmartTags in the SmartTags library.
-
Input elements that also correspond to a SmartTag is replaced by the SmartTag.
-
This scan type is fast.
Start URL
Specify the base URL of the application as the starting point.
Allowed Domains
Determines access to URLs that might normally be blocked.
Ignored URLs
Specify any URLs that should be ignored during the Blueprint execution.
Mobile Configuration
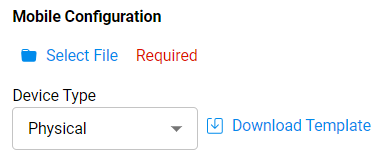
A mobile configuration file contains all the necessary configuration information that is needed when testing a mobile application. A mobile configuration file is required for a Mobile Blueprint and should be created before you create a Mobile Blueprint.
-
Click Select File to select an existing mobile configuration file.
-
Select a Device Type. The options are a physical device or an emulator.
Custom Setup Script
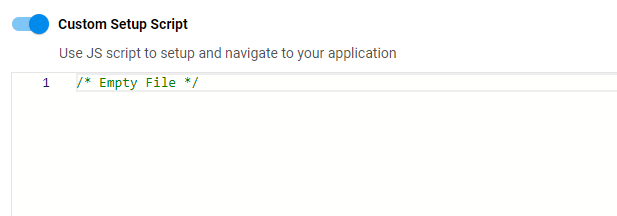
You can use a custom js script to setup and navigate to your application. If you enable this option, you can enter the js script directly.
Advanced Setup Options
You can also set some more advanced options for your Blueprint. All the advanced setup options are disabled by default.
Expand the Advance Setup node to see the available options.
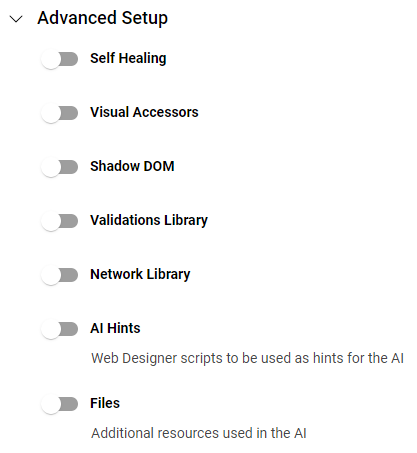
Self Healing
When working with SmartTag-based application Blueprinting, enabling self-healing and with multiple iterations of Blueprint, this has the ability to change the importance of the rules defined in the SmartTags.
This will change the importance of the rules defined (when there are multiple rules defined) depending on how the app is changing and the importance will be increased or decreased, and when the importance goes below 10%, the rule would be removed from the SmartTags and if there are any new attributes defined for the accessors, self-healing will have the ability to add new rules as well to the defined SmartTags.
Shadow DOM
If the application you are testing was built using Shadow DOM, such as Salesforce, you will need to enable this option to let the Blueprint know that this is a Shadow DOM-based application. This will allow the AI to see hidden accessors.This is disabled by default as it will not be needed by most applications.
Situations where you might consider enabling this option:
-
The execution stops almost immediately. Enable this option and start a new execution.
-
You know that the application you are testing contains hidden accessors.
Validations Library
Adding a Validations Library allows the Blueprint to validate the application based on business logic definitions and decisions.
Once you enable the Validations Library option, the Select File link is shown. Use this to browse to the appropriate validation library file (.valid file extension).

Network Library
Network Library files contain validations can be extracted when they match the defined URLs. which will be in a specific format like JSON, HTML, HTTP, MD5, PDF, etc., from the response to validate it or to create variables for future usage in the scripting.
Once you enable the Network Library option, the Select File link is shown. Use this to browse to the appropriate network library file (.netx file extension).

Network library files are created in the Network Workbench. See Network Workbench for more information.
AI Hints
Enabling AI Hints allows you to use created Mobile Designer scripts as hints for the Blueprint.
Once you enable the Network Library option, the Select File link is shown.

For example, if you already have a login script created using Web Designer, you can make use of that login script in your Blueprints as an AI Hint. This means that whenever the AI navigates to that page, it automatically uses the provided script as an input and logs into the application to perform further Blueprinting.
If you are data driving some variables in the script you are providing as a hint, you will need to add that data set before you can execute your Blueprint. See Add an Execution for more information on adding a data set.
AI Hints used for blueprints must be simple scripts. For example, validations, if, and while statements are not supported at this time. Examples of supported items include clicks and setting values. You may need to simplify your scripts for them to work as AI Hints for your blueprints. This functionality will be enhanced in future releases of AIQ.
Technical Details
AI hints allow you to guarantee the coverage of your application by the Blueprint. This means that the Blueprint will scan those pages and then continue to branch out from there.
AI hints will start new threads even during script execution. At the beginning of the Blueprint, one thread will be started for each test script. For example, if five test scripts are provided, five threads will be started at the beginning.
The general process for a thread is:
- AI starts a thread.
- AI performs an action which navigates to a page.
- Page is scanned and saved.
- Actions are created from the scanned elements and added to the queue.
- Thread runs the next action from the queue.
New threads are started because the processes that happen after adding a new Action to the Blueprint, such as saving the Visual Hint and getting all the elements can take time. In the case of getting all the elements, having to scroll up and down can sometimes lead to a failure to execute the next step of the test script if AIQ cannot find the element of the next step. For this reason, another thread is started to continue the test script from where the current thread left off, while the current thread executes the processes that may take a long time to complete. By doing this the Blueprint is able to execute the test script completely while also performing all processes needed to complete the Blueprint.